Imagine waking up to the aroma of freshly brewed espresso, the rich and velvety taste of that first sip embracing your senses. For coffee enthusiasts like us, that experience is irreplaceable, and it all starts with a reliable espresso machine.
Today, we want to introduce you to the Gaggia Classic Pro Espresso Machine, a versatile and high-quality machine that can transform your morning routine into a barista-like experience. Whether you’re new to home brewing or a seasoned coffee aficionado, this beginner’s guide will equip you with the knowledge and techniques to master the art of espresso making with the Gaggia Classic Pro.
Let’s dive in and unlock the potential of this exceptional machine, step by step.
Key Takeaways:
- Learn how to harness the power of the Gaggia Classic Pro Espresso Machine for your perfect cup of espresso.
- Discover the importance of preheating the machine and the correct dosage of coffee for optimal results.
- Master puck preparation, extraction techniques, and milk steaming for professional-level espresso beverages.
- Understand the significance of regular cleaning, maintenance, and descaling for the longevity and performance of your machine.
- Explore valuable online resources for further learning and expertise in the world of coffee.
Understanding the Machine Interface: Switches, Lamps, and Knob

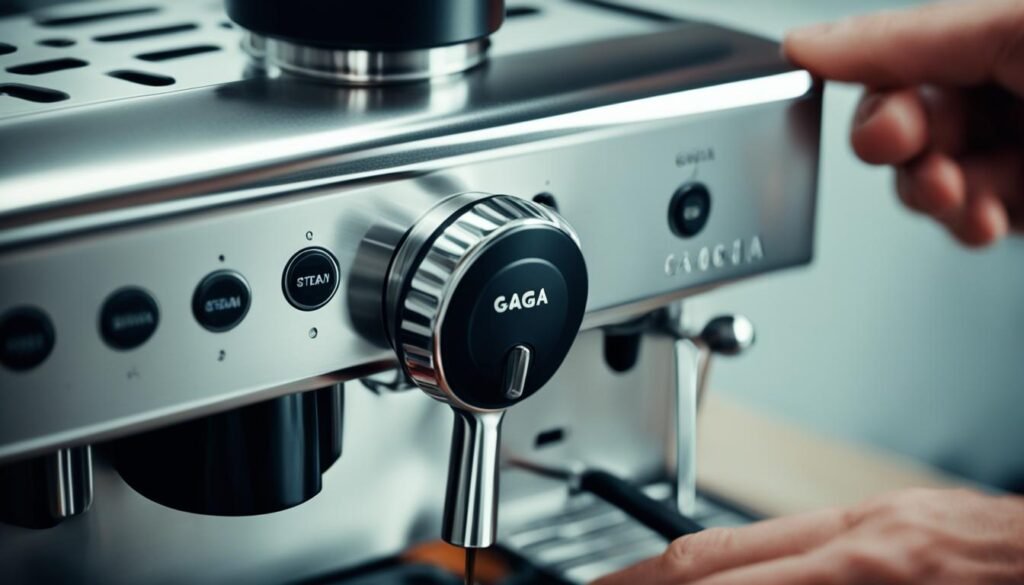
When it comes to using the Gaggia Classic Pro espresso machine, understanding its user-friendly interface is essential. The interface consists of three switches, lamps, and a steam knob, each serving a specific function for a seamless coffee-making experience.
Switches and Lamps
The Gaggia Classic Pro features three switches that are easily accessible on the front panel. These switches control the power, brewing, and steaming functions of the machine. The power switch turns the machine on and off, while the brewing switch activates the espresso extraction process. The steaming switch, on the other hand, initiates the steaming function for milk frothing.
Accompanying the switches are the lamps, which serve as temperature indicators. These lamps provide a visual representation of the boiler temperature, allowing users to monitor and adjust accordingly for optimal espresso extraction and milk frothing.
Steam Knob
The Gaggia Classic Pro is equipped with a professional steam wand that features a steam knob for control. This knob allows users to adjust the steam flow according to their preference and the specific milk type being used. Whether you’re creating silky microfoam for latte art or frothing milk for a creamy cappuccino, the steam knob provides the flexibility to achieve the desired results.
With a firm grip on the steam knob, you can effortlessly unleash your inner barista and create velvety milk foam to complement your espresso shot.
| Gaggia Classic Pro Interface | Switches and Lamps | Steam Knob |
|---|---|---|
| Three switches for power, brewing, and steaming functions. | Lamps provide temperature indicators for precise control. | Steam knob offers adjustable steam flow for milk frothing. |
Understanding the Gaggia Classic Pro interface is the first step towards mastering this remarkable espresso machine. By effectively utilizing the switches, lamps, and steam knob, you can create cafe-quality beverages in the comfort of your own home.
Setting up the Machine: Washing and Priming

Before you can start brewing delicious espresso with your Gaggia Classic Pro espresso machine, it’s essential to properly set up and prepare the machine. This involves two crucial steps: washing and priming.
Washing: Begin by disassembling the machine parts, such as the portafilter, basket, drip tray, reservoir, and drain pipe. Thoroughly wash each component with warm soapy water, ensuring all coffee residue and impurities are removed. Rinse them well and allow them to air dry completely before reassembling.
Priming the Boiler: Priming the boiler is a critical step to prevent damage when heating. To prime the Gaggia Classic Pro, fill the water reservoir with fresh, filtered tap water. Insert the reservoir back into the machine, ensuring it is securely in place. Turn on the machine and allow it to heat up for approximately 30 minutes.
Why Priming the Boiler is Important
Priming the boiler ensures that there is enough water in the system to generate steam and to control the brewing temperature. It is a crucial step in machine preparation.
| Key Features of the Gaggia Classic Pro | |
|---|---|
| Designed and made in Italy | 100% of Gaggia Classic Pro Espresso Machines are designed and made in Italy. |
| 15 BAR pump | The machine features a 15 BAR pump, perfect for making Italian espresso with a layer of authentic “crema naturale”. |
| Professional steam wand | The professional steam wand has two holes, making the best milk froth for cappuccinos. |
| Multiple filters | Gaggia Classic Pro comes with 3 filters suitable for various expertise levels, from beginners to pros, for ground coffee or coffee pods. |
| New controls | The machine has new rocker buttons for intuitive control of on/off, espresso, and steam functions. |
Once the machine is heated, it is now ready for brewing. Preparing the perfect espresso shot requires attention to dose, grind size, and extraction time. A typical double shot espresso dose is around 18 grams, ground to the ideal size. The suggested extraction time is between 20-30 seconds, ensuring a flavorful and balanced shot.
Remember, the Gaggia Classic Pro is a versatile espresso machine that allows you to customize your brewing experience. Feel free to adjust the espresso-to-coffee ratio and experiment with different doses and grind sizes to find your preferred taste profile.
Now that your machine is set up and primed, it’s time to start brewing the perfect espresso shot with the Gaggia Classic Pro.
Brewing the Perfect Espresso Shot
Now that we have the Gaggia Classic Pro set up and ready, it’s time to dive into the art of brewing espresso. Brewing a perfect shot requires precision and attention to detail. In this section, we will guide you through the essential steps, from dosing the coffee to achieving the ideal extraction.
Dosing: The first step in brewing espresso is dosing the coffee. The recommended range for a double filter basket dose is between 16 and 18 grams of ground coffee. This optimal dose ensures a balanced flavor profile and a consistent extraction.
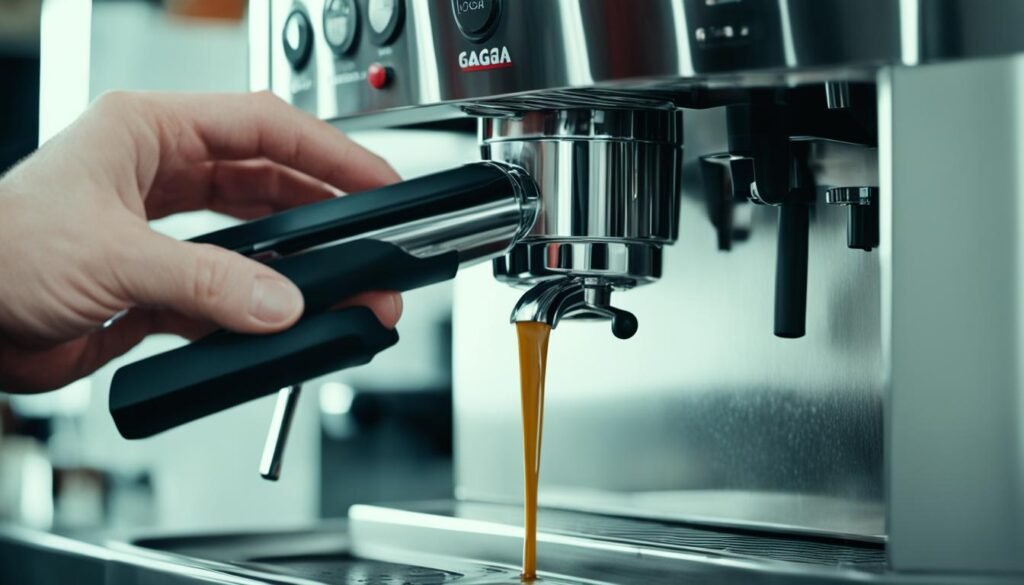
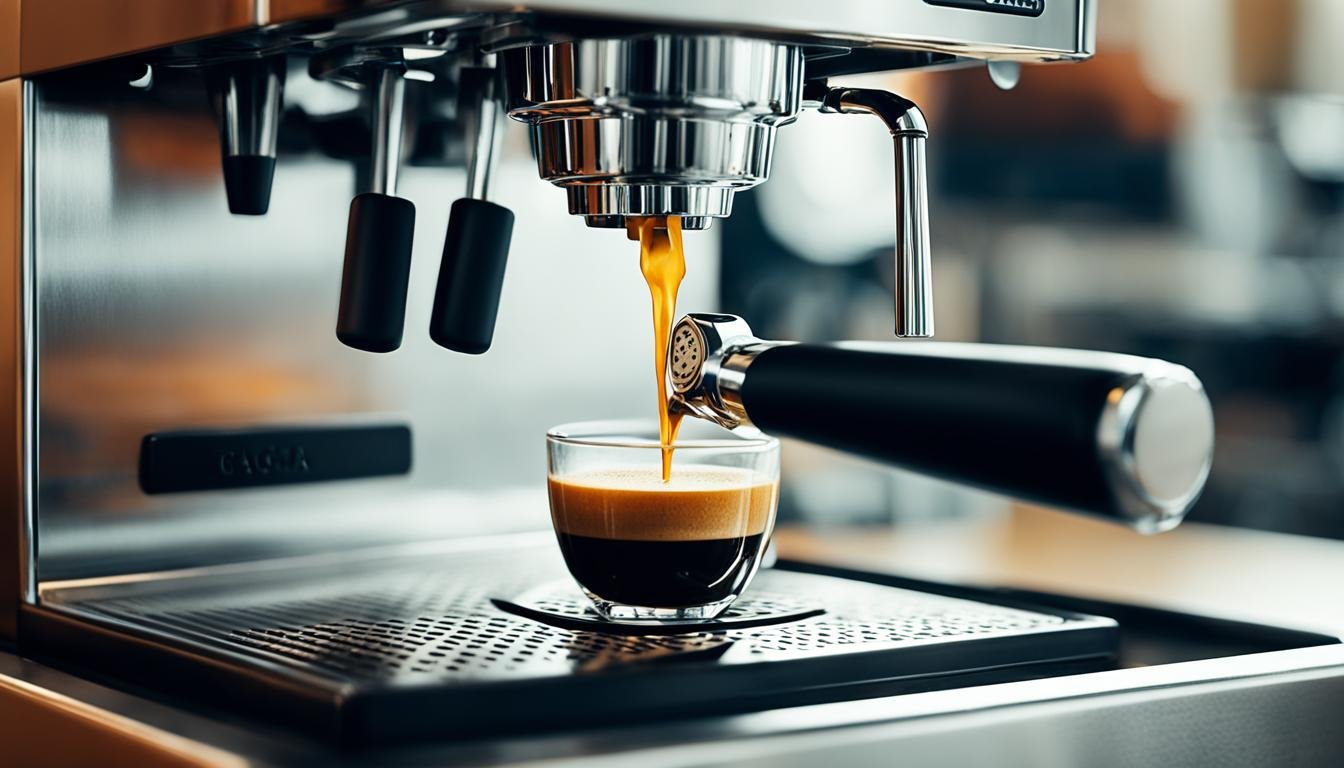
Extraction: Proper extraction is crucial for a flavorful espresso. The espresso shot should ideally fully extract within 25-30 seconds. This extraction time allows for the optimal balance of flavors. When properly pulled, doubles will extract 1.5 – 2.25 ounces of espresso, resulting in a brewing ratio of 50%. The crema on top of the espresso shot indicates a successful extraction process.
Temperature Surfing: Temperature surfing involves adjusting the temperature of the espresso machine to achieve the desired flavors. It’s recommended to preheat the machine for at least 30 minutes before use. This allows the internal components to reach the optimal temperature for brewing espresso. Professional baristas often aim for consistency in temperature, grind size, and recipe variables to pull a good espresso shot.
Shot Timing: Timing is crucial when brewing espresso. Using a timer, typically ranging from 20 to 30 seconds, helps ensure consistency in shot timing. Aim to achieve a complete extraction within this time frame for the best results.
Remember to allow 2-3 minutes between shots for the espresso machine to recover. This downtime allows the machine to stabilize and ensures consistent extraction for each shot.
Experimenting with different coffee bean blends or single-origin beans is an exciting part of espresso preparation. Quality and freshness are crucial when selecting coffee beans for espresso. It’s recommended to buy beans no older than 2 weeks past the roast date for the best flavor. When grinding the beans, opt for a burr grinder to achieve a uniform grind size, which is essential for optimal extraction.
| Machine Type | Control Level | Drink Quality | Ease of Use |
|---|---|---|---|
| Manual Espresso Machine | High | High | Hard |
| Semi-automatic Espresso Machine | Medium | High | Medium |
| Automatic Espresso Machine | Low to Medium | Low | Easy |
By following these guidelines and adjusting your technique, you’ll be well on your way to brewing the perfect espresso shot with your Gaggia Classic Pro. In the next section, we’ll learn the art of milk frothing and steaming techniques to create delicious espresso-based drinks.
Milk Frothing Basics: Steaming Techniques
Frothing milk is a crucial skill for creating the perfect cappuccinos and lattes. In this section, we will explore the essential techniques for steaming milk using the Gaggia Classic Pro espresso machine. Mastering these techniques will allow you to achieve creamy, velvety milk foam for your favorite milk-based espresso beverages.
The Art of Steaming Milk
Steaming milk requires precision and practice. By following these expert tips and techniques, you can elevate your frothing game:
- Start with Cold Milk: Cold milk froths better and helps achieve the desired texture and temperature. Always use fresh, cold milk from the refrigerator.
- Positioning and Technique: Place the steam wand just below the surface of the milk and activate the steam. Slowly lower the pitcher as the milk expands to incorporate air into the foam. Adjust the position of the steam wand to control the consistency of the froth.
- Purging the Steam Wand: After frothing the milk, purge the steam wand briefly to remove any remaining moisture and ensure optimal milk quality for your beverages.
Creating the Perfect Foam
When steaming milk, different froth consistencies are desired for various espresso drinks, like lattes and cappuccinos. Here’s what you need to know:
- Latte Foam: For a latte, you should aim for incorporating all the air into the milk by the time the outside of the pitcher warms up. This will produce a creamy, smooth microfoam suitable for latte art.
- Cappuccino Foam: If you prefer airier froth for your cappuccinos, continue adding air until you reach the desired consistency. Remember that more air results in denser foam, perfect for creating traditional cappuccinos.
Choosing the Right Pitcher Size
The size of your pitcher can affect the frothing process, especially when preparing multiple drinks. Here are some recommendations:
An ideal pitcher size for steaming milk is around 300-350ml capacity, filled no more than one-third to one-half full. This allows ample space for the milk to expand during frothing, ensuring proper aeration and texture.
Additionally, when making multiple drinks, it is advisable to limit the quantity to a maximum of two at a time to maintain consistent quality and foam texture.
Continual Improvement
Remember, mastering the art of milk frothing takes time and practice. As mentioned in the discussions, enthusiasts continuously explore new techniques and seek equipment upgrades to enhance the quality of their steamed milk and frothed beverages.
“Technique, practice, and perseverance are essential aspects of achieving the perfect foam; don’t be afraid to experiment and grow your skills over time.” – Dedicated Espresso Enthusiast
Some enthusiasts even consider upgrading to a larger frothing jug or investing in specialized frothing wands to achieve even better foam production and texturing.
Summary
Steaming milk is an art that requires a delicate touch and attention to detail. By following the proper techniques and using the right equipment, you can create deliciously frothed milk for your favorite espresso beverages. Experiment with different milk types and foam consistencies to discover your personal preference. Remember, practice makes perfect, so keep honing your skills to achieve barista-level milk frothing mastery.
Conclusion
We have reached the end of our beginner’s guide to using the Gaggia Classic Pro espresso machine. Throughout this guide, we have covered everything you need to know to start brewing your own delicious espresso beverages with confidence.
The Gaggia Classic Pro provides a versatile and user-friendly experience for coffee enthusiasts. With its commercial-sized portafilter and fast heating capabilities, this machine is capable of pulling high-quality shots once the grinder is dialed in. The addition of a pro steam wand allows for frothing microfoam milk, making latte art a possibility.
Throughout our journey, we have learned about the recommended dosages for a perfect shot, the importance of grind settings, and the process to achieve approximately 32-34g of espresso in about 30 seconds. We have also discussed the machine’s history, including the upgrade to the Gaggia Classic Evo Pro in 2023 with updates like a solid brass group and a non-stick coating on the aluminum boiler.
While the Gaggia Classic Pro may require some initial adjustments, it is highly moddable, giving you the flexibility to tailor the machine to your preferences. From temperature surfing to managing occasional overheating, this machine offers a rewarding espresso experience with practice.
So, whether you are a coffee enthusiast just starting your espresso journey or a seasoned home barista, the Gaggia Classic Pro is a reliable choice that delivers consistent and delicious results. Get ready to impress your taste buds with expertly crafted espresso from the comfort of your own home.
FAQ
How do I use the Gaggia Classic Pro espresso machine?
To use the Gaggia Classic Pro, you need to understand its interface components, such as the switches, lamps, and steam knob. The switches control the power, brewing, and steaming functions, while the lamps indicate the boiler temperature. The steam knob regulates the steam flow during milk frothing. Refer to the user manual for specific instructions.
What are the initial setup steps for the Gaggia Classic Pro?
Before using the Gaggia Classic Pro, it is important to wash and prime the machine. This involves removing the various parts for washing, filling the reservoir with water, and priming the boiler to ensure proper functioning. Following these preparation steps will ensure a clean and ready-to-use machine for brewing espresso.
How do I brew the perfect espresso shot with the Gaggia Classic Pro?
Brewing the perfect espresso shot requires attention to dosing, extraction, and temperature. Start by dosing the coffee correctly, then adjust the grind size and extraction time to achieve optimal flavors. Temperature surfing can also help enhance the shot. Refer to the user manual and our brewing techniques guide for detailed instructions.
What are the basics of milk frothing with the Gaggia Classic Pro?
Milk frothing is essential for creating delicious cappuccinos and lattes. With the Gaggia Classic Pro, proper positioning, creating microfoam, and achieving the desired consistency are important. Experiment with different techniques and milk types to find your preferred results. Consult our milk frothing basics guide for step-by-step instructions and tips.
How can I maintain and clean the Gaggia Classic Pro espresso machine?
Regular descaling and maintenance are important for the longevity and performance of the Gaggia Classic Pro. Follow the recommended descaling schedule and clean the machine after each use. Refer to the user manual for detailed instructions on descaling and general machine maintenance.


