So you’ve always admired those beautifully crafted designs on your morning latte and wished you could create your own masterpiece? Look no further, because “The Ultimate Beginner’s Guide to Mastering Latte Art” is here to help you fulfill your dreams of becoming a latte art pro. This comprehensive guide will take you through all the essential techniques, tools, and tips you need to create intricate and professional-looking latte art, whether you’re a complete beginner or wanting to perfect your existing skills. Get ready to impress your friends and become the envy of every coffee lover you know!
Understanding Latte Art
Latte art is the beautiful and intricate designs that baristas create on the surface of a latte. It is a combination of science, skill, and creativity that adds an extra touch of artistry to your coffee experience. By understanding the basics of latte art, you can elevate your coffee game and impress your friends with your newfound skill.
What is Latte Art?
Latte art refers to the patterns and designs that are formed when the barista pours steamed milk into a shot of espresso. It can include various shapes such as hearts, rosettas, tulips, and even more complex designs like swans. The artistry in latte art lies in the ability to control the pouring technique, milk temperature, and consistency to create visually appealing designs on the surface of the latte.

Why is Latte Art Important?
Latte art is not just about aesthetics; it also demonstrates the barista’s skill and attention to detail. A perfectly executed latte art design shows that the barista has mastered the art of milk steaming and espresso extraction, resulting in a visually pleasing and delicious cup of coffee. Additionally, latte art can enhance the overall coffee-drinking experience, making it more enjoyable and memorable.
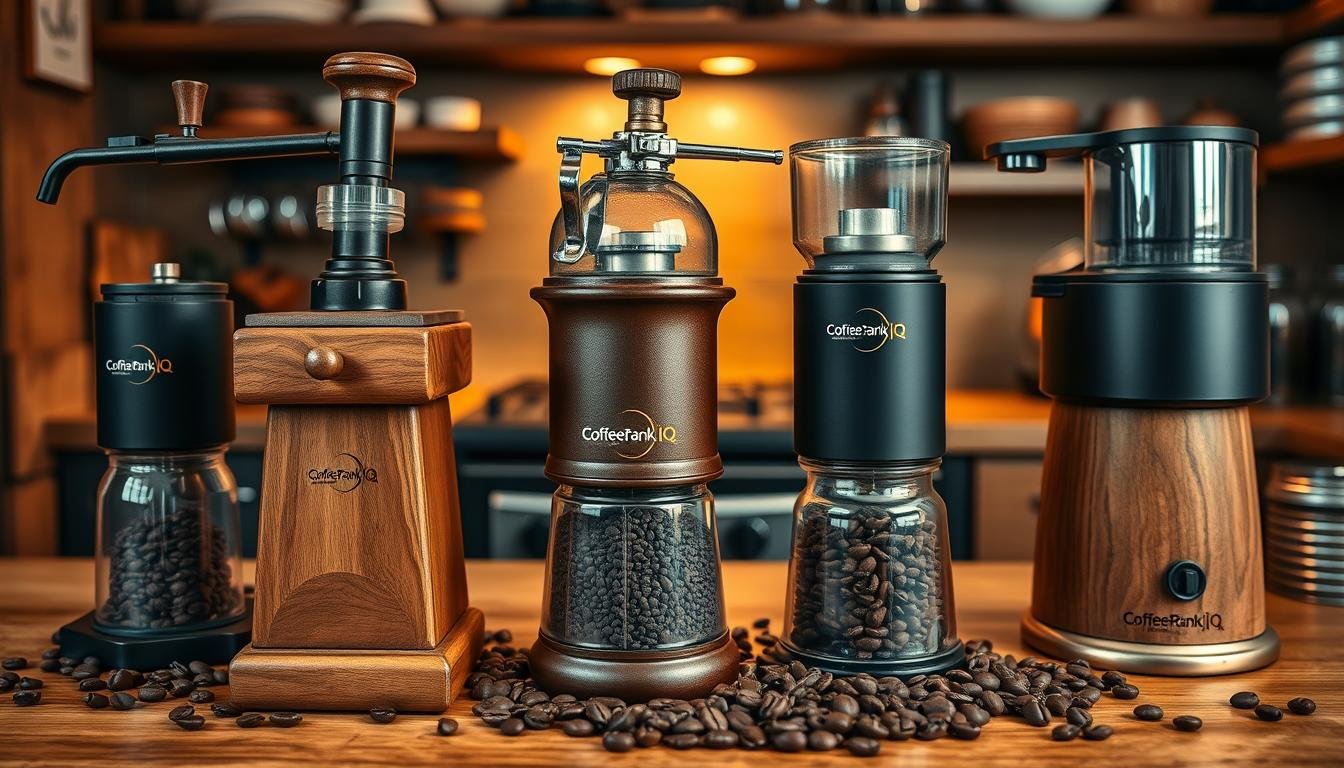
Essential Tools and Equipment
To create latte art, you’ll need a few essential tools and equipment:
Espresso Machine
An espresso machine is the heart of any coffee shop or home setup for latte art. It allows you to brew a concentrated shot of espresso, which serves as the base for your latte. Investing in a quality espresso machine will ensure consistency and optimal extraction of flavors from the coffee grounds.
Milk Frother
A milk frother is essential for creating the perfect texture and consistency of milk for latte art. There are various types of milk frothers available, including steam wands, handheld frothers, and automatic frothers. Whichever type you choose, make sure it can produce microfoam, which is vital for creating latte art designs.
Espresso Grinder
A high-quality espresso grinder is crucial for achieving the right grind size and consistency. Consistency in grind size ensures even extraction of flavors from the coffee grounds, allowing you to have full control over the brewing process. Invest in a burr grinder to achieve the best results.
Latte Art Pitcher
A latte art pitcher, also known as a milk jug, is specifically designed to aid in the pouring and control of steamed milk. Look for a pitcher with a pointed spout, as it allows for greater precision when pouring, facilitating the creation of intricate latte art designs.
Latte Art Stencils
Latte art stencils can be helpful if you’re just starting with latte art or want to add some extra flair to your designs. These stencils come in various shapes and patterns, enabling you to easily create consistent and recognizable designs on top of your latte.
Thermometer
A thermometer is an essential tool for monitoring the temperature of your milk. Different latte art designs require different milk temperatures, so having a reliable thermometer will help you achieve the perfect results every time.

Choosing the Right Milk
The choice of milk has a significant impact on the outcome of your latte art. Here are a few factors to consider when selecting the right milk:
Types of Milk for Latte Art
Whole milk is the most commonly used milk for latte art. Its higher fat content gives the milk a creamy texture and allows for better microfoam formation. However, if you prefer non-dairy alternatives, such as almond milk or oat milk, make sure to choose a brand that froths well and can create microfoam.
Temperature and Freshness
The temperature of the milk plays a crucial role in achieving the desired texture and consistency for latte art. The milk should be steamed between 140°F and 160°F (60°C and 70°C). Using fresh milk is also important, as older milk can affect the taste and texture of your latte.
Mastering Milk Steaming
Milk steaming is a fundamental skill in latte art. Here are the basics of milk steaming and how to achieve the desired texture and consistency:
Milk Steaming Basics
To steam milk properly, start with a pitcher filled with cold milk, ensuring it’s filled no more than halfway to allow room for expansion during steaming. Submerge the steam wand just below the surface of the milk, positioning it at an angle. As the milk expands, slowly lower the pitcher to maintain the wand’s immersion depth, until the milk reaches the desired temperature.
Creating Microfoam
Microfoam refers to the smooth and velvety texture of steamed milk, which is crucial for creating latte art. To achieve microfoam, position the steam wand just below the surface of the milk while steaming. As the steam creates a whirlpool effect, carefully adjust the depth and angle of the wand to incorporate more air into the milk, while avoiding large bubbles or excessive foam.
Texture and Consistency
The texture and consistency of steamed milk vary depending on the type of latte art design you want to create. For simpler designs like hearts or rosettas, aim for a creamy and silky texture with tiny microfoam bubbles. For more complex designs like tulips or swans, slightly thicker and more structured microfoam is necessary. Practice and experimentation will help you find the ideal texture for different latte art designs.
Perfecting Espresso Shots
Alongside perfectly steamed milk, a well-extracted espresso shot is vital for achieving outstanding latte art. Here are a few tips for perfecting your espresso shots:
The Importance of Espresso Extraction
Espresso extraction is the process of extracting the flavors and characteristics of the coffee grounds using hot water under pressure. It is crucial to achieve balanced extraction to ensure the espresso is neither under-extracted (weak and sour) nor over-extracted (bitter and astringent).
Adjusting Grind Size
Grind size plays a significant role in espresso extraction. If your espresso is under-extracted, it may be because the grind size is too coarse, resulting in a fast pour and weak flavors. On the other hand, if your espresso is over-extracted, it may be because the grind size is too fine, resulting in a slow pour and bitter flavors. Experimenting with different grind sizes will help you find the perfect balance.
Measuring Espresso Yield
Measuring the amount of espresso extracted, commonly referred to as the espresso yield, is crucial for consistency in taste and strength. By adjusting the ratio of coffee grounds to water, you can control the strength and flavors of your espresso shots. A scale and a shot glass with volume measurements can assist in achieving the desired yield.
Achieving Optimal Extraction Time
The duration of the espresso extraction, commonly referred to as the extraction time, is key to achieving a well-balanced espresso shot. Ideally, the extraction time should fall between 25 and 30 seconds. If the extraction is too fast or too slow, it can impact the flavors and overall quality of your espresso. Keep track of the time and make adjustments as needed to find the optimal extraction time.
Pouring Techniques
After mastering milk steaming and extracting the perfect espresso shot, it’s time to master the art of pouring. Here’s what you need to know about pouring techniques for latte art:
Understanding the Pouring Process
The pouring process involves pouring the steamed milk into the espresso shot while creating specific movements and patterns to achieve different latte art designs. It’s essential to have a steady hand and control the flow of milk to create the desired patterns.
Free Pouring Techniques
Free pouring is a popular technique used in latte art that involves pouring the milk directly from the pitcher onto the espresso. With practice, you can create basic designs like hearts and rosettas by manipulating the height, speed, and angle of the pour.
Pouring Basic Latte Art Designs
To create basic latte art designs, such as a heart or rosetta, start by pouring milk into the center of the espresso shot from a height of about an inch. As the cup fills, gently move the pitcher back and forth or side to side to create the desired pattern. With practice, you’ll develop the muscle memory needed to achieve consistent and aesthetically pleasing designs.
Creating Latte Art Designs
Now that you have a good foundation of latte art techniques, let’s explore some common latte art designs:
Heart
The heart is one of the simplest and most recognizable latte art designs. Begin by pouring a stream of milk into the center of the espresso shot. As the cup fills, slightly wiggle the pitcher back and forth to create the bottom point of the heart. Then, slowly move the pitcher back towards the starting point while pouring a second stream of milk to create the rounded top of the heart.
Rosetta
The rosetta is a classic latte art design that resembles a fern or leaf. To create a rosetta, start by pouring milk into the center of the espresso shot, similar to the heart technique. As the cup fills, gently move the pitcher side to side in a zigzag motion, creating multiple veins or lines in the design. This will result in a beautiful leaf-like pattern on the surface of the latte.
Tulip
The tulip is a more complex design that requires precision and control. Begin by pouring milk into the center of the cup and let it flow outward in a circular motion. As the cup fills, concentric circles will form. Then, using a clean implement like a toothpick or a latte art tool, drag from the center outward, creating the distinct petals of the tulip. With practice, you can master this elegant design.
Swan
The swan is a challenging but impressive latte art design that requires advanced pouring techniques. Start by pouring a thin line of milk across the center of the cup, creating the body of the swan. Then, pour two parallel lines on each side of the body to create the wings. Next, use the tip of a clean implement to drag through the milk, connecting the lines and creating the neck and head of the swan. It may take time to perfect this design, but the end result is truly stunning.
Etching and Layering Techniques
Beyond the traditional designs, latte art provides opportunities for further creativity through etching and layering techniques. Etching involves using a latte art tool or a toothpick to create intricate patterns, shapes, or even drawings on the surface of the latte. Layering techniques involve pouring different colored or flavored steamed milk in a controlled manner to create visually stunning designs. These techniques allow you to truly personalize your latte art and take it to the next level.
Troubleshooting Common Issues
Latte art may not always turn out as expected, but with some troubleshooting, you can overcome common issues:
Inconsistent Milk Texturing
Inconsistent milk texturing can result from improper steam wand positioning, insufficient milk swirling, or poor milk quality. Make sure to position the steam wand at the optimal angle and depth to incorporate air and create microfoam consistently. Practice swirling the milk in the pitcher to distribute the foam evenly. Additionally, pay attention to using fresh milk for the best results.
Weak Espresso Shots
Weak espresso shots can be caused by under-extraction, insufficient coffee grounds, or incorrect grind size. Adjust your grind size to achieve a finer grind or increase the amount of coffee grounds for a stronger shot. Experiment with different extraction times to find the right balance for your preferences.
Improper Pouring Techniques
If your latte art designs aren’t turning out as expected, it could be due to poor pouring techniques. Practice consistency in height, speed, and angle of the pour to achieve better control. Experiment with different patterns and movements to refine your pouring technique.
Low Contrast Latte Art
Low-contrast latte art can result from incomplete incorporation of the microfoam, improper pouring techniques, or insufficient contrast in the milk and espresso colors. Ensure that you achieve a well-incorporated microfoam with no separation between the milk and foam. Experiment with different milk temperatures and milk-to-espresso ratios to enhance the contrast in colors.
Taking Your Latte Art to the Next Level
Once you feel confident in basic latte art techniques, consider exploring the following ways to elevate your latte art skills:
Experimentation with Colors and Flavors
Break away from traditional latte art by experimenting with colored steamed milk or flavored syrups. Natural food coloring or edible powders can be used to add vibrant hues to your designs. Additionally, flavored syrups can enhance the taste and aroma of your latte art creations, giving them a unique twist.
Advanced Pouring Techniques
Challenge yourself by learning advanced pouring techniques, such as combining different designs, layering multiple patterns, or even creating 3D effects. These techniques require precise control of the pitcher and a deep understanding of milk flow dynamics. Keep practicing and experimenting to expand your repertoire of latte art designs.
Creating Latte Art Competition Pieces
If you’re looking to take your latte art skills to the highest level, consider participating in latte art competitions. These competitions showcase the best baristas from around the world and provide a platform to demonstrate creativity, technical skill, and presentation. Participating in competitions can push you to refine your latte art techniques and learn from industry leaders.
Practicing and Refining Your Skills
To become a master of latte art, practice is key. Here are a few tips for refining your latte art skills:
Importance of Practice
Consistent practice is essential for improving your latte art skills. Set aside dedicated practice sessions to focus on specific designs or pouring techniques. The more you practice, the more natural and effortless your latte art will become.
Consistency and Repetition
Strive for consistency in your latte art by repeating the same design or pouring technique multiple times. This allows you to refine your movements and achieve a uniform appearance in your latte art. Consistency in practice leads to consistency in results.
Receiving Feedback and Critique
Seek feedback and critique from others, such as experienced baristas or coffee enthusiasts. They can provide valuable insights and tips to help you identify areas for improvement. Be open to constructive criticism and use it as an opportunity to grow and refine your latte art skills.
Continuous Learning and Improvement
Stay curious and continuously seek opportunities to learn and develop your latte art skills. Attend workshops, watch online tutorials, and engage with the latte art community to stay up-to-date with the latest trends, techniques, and equipment. Embrace a growth mindset and always strive for improvement.
Mastering latte art is a journey that requires dedication, patience, and a love for coffee. By understanding the techniques and investing in the right tools, anyone can learn to create beautiful latte art designs. So grab your milk pitcher, espresso machine, and start pouring your way to latte art mastery!