So, you’ve decided to become a coffee enthusiast and want to embrace the art of brewing your own perfect cup? Well, you’re in luck because we’re here to guide you through the best ways to use a percolator for beginners. Whether you’re new to the world of coffee or simply looking to upgrade your brewing method, we’ll walk you through the steps to achieve a delicious, aromatic, and rich cup of coffee that will leave you feeling like a true coffee connoisseur. So grab your favorite bag of beans and let’s get started!
Choosing the Right Percolator
When it comes to choosing the right percolator, there are a few factors that you should consider. One of the most important things to think about is the material of the percolator. Percolators can be made from various materials such as stainless steel, glass, or even ceramic. Each material has its advantages and disadvantages, so it’s a good idea to do some research and figure out which one would suit your needs best.
Next, you need to think about the size of the percolator. Do you live alone and only need to make one cup of coffee at a time? Or do you have a large family or frequently entertain guests and need a percolator that can brew multiple cups? Consider your daily coffee consumption habits and choose a percolator that meets your needs.
Lastly, you should choose the right type of percolator. There are stovetop percolators that require an external heat source, as well as electric percolators that heat the water themselves. Consider your lifestyle and preferences when deciding which type of percolator is the right fit for you.
Grinding the Coffee Beans
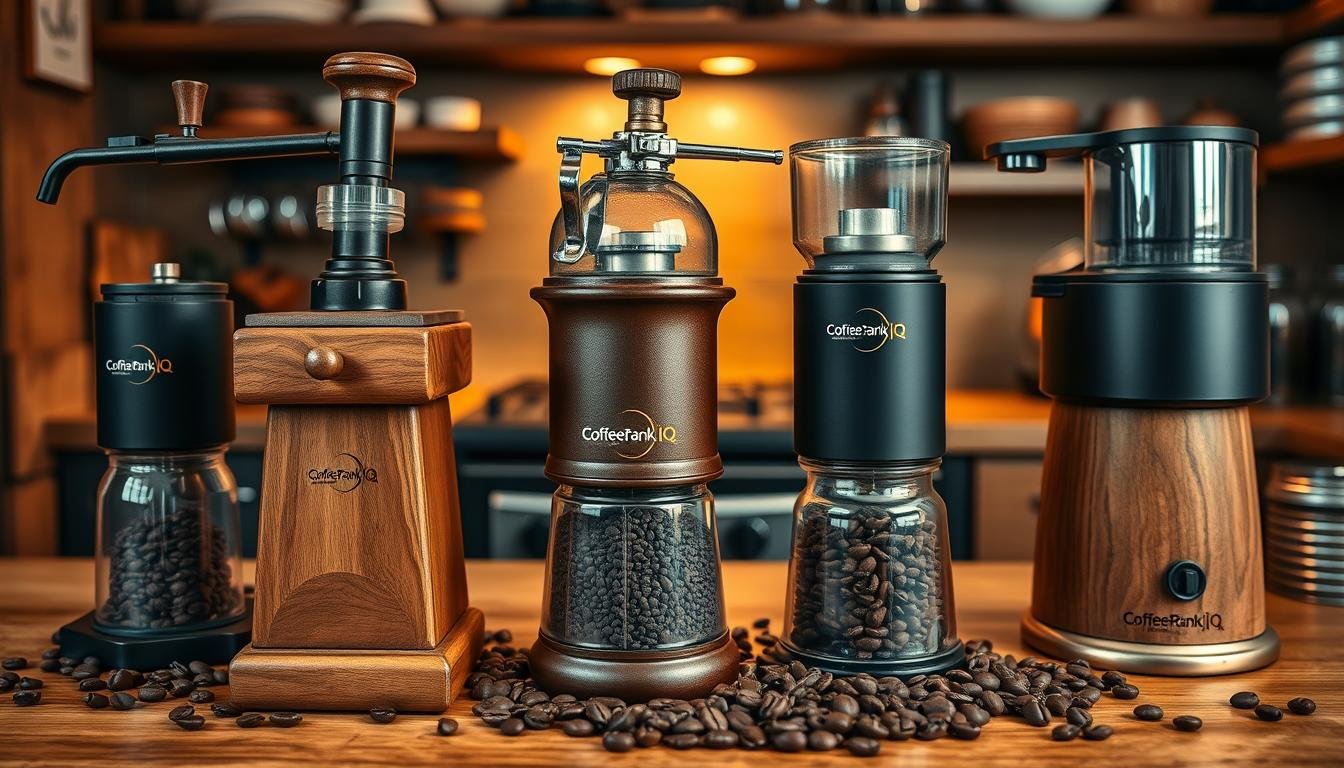
To achieve the best flavor and aroma from your coffee, it’s important to grind your coffee beans just before brewing. Using whole bean coffee ensures that the flavors and oils are preserved until the last moment. By grinding your coffee beans fresh, you allow the water to extract the maximum amount of flavor from the beans.
When it comes to choosing the grind size, it’s all about the brewing method you’re using. For percolators, a medium grind is usually recommended. This allows for a balanced extraction and prevents over or under-extraction. Experiment with different grind sizes to find the one that suits your taste preferences.
Properly storing your coffee beans is also crucial to maintaining their freshness. Coffee beans should be stored in an airtight container away from heat, light, and moisture. Avoid storing them in the refrigerator or freezer, as the moisture can degrade the quality of the beans.
Measuring Coffee and Water
Getting the right ratio of coffee to water is key to brewing a delicious pot of coffee with your percolator. The general rule of thumb is to use one to two tablespoons of coffee for every six ounces of water. However, this ratio can be adjusted based on personal preference. If you prefer a stronger cup of coffee, you can use more coffee grounds. Similarly, if you prefer a milder cup, you can use less.
Using a measuring scale or scoop can help you achieve consistency in your coffee brewing. A scale ensures that you are using the precise amount of coffee and water, while a scoop can provide a rough estimate if you don’t have a scale. Find a method that works best for you and stick to it to achieve consistent results.
Keep in mind that personal preferences may vary, so don’t be afraid to experiment and adjust the ratio to your liking. Brewing coffee is a personalized experience, and finding the perfect balance of coffee and water is part of the fun.
Assembling the Percolator
Before you start brewing, it’s important to assemble your percolator properly. Begin by removing and cleaning all the components of your percolator. This ensures that there are no leftover residues or debris that could impact the taste of your coffee.
Next, attach the percolator stem to the base of the percolator. This stem acts as a conduit for the hot water to rise up and percolate through the coffee grounds. Make sure it is securely attached to avoid any leaks or mishaps during brewing.
After attaching the stem, place the filter basket and gasket inside the percolator. The filter basket holds the coffee grounds while allowing the water to flow through, and the gasket helps create a tight seal between the percolator stem and the filter basket. Double-check that everything is in place before moving on to the next step.
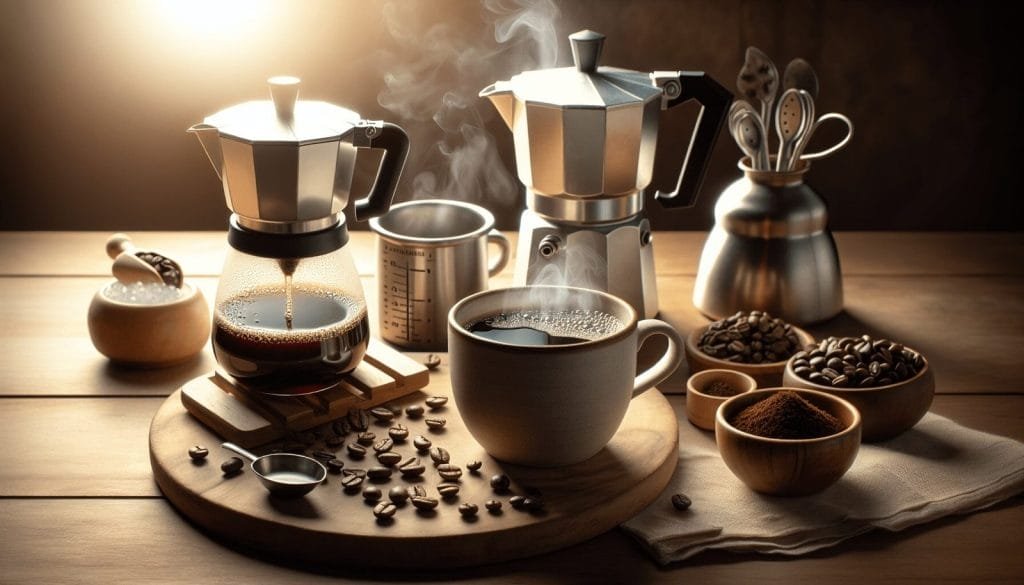
Adding Water
When it comes to adding water to your percolator, it’s important to use cold, filtered water. Cold water ensures that the brewing process is slow and steady, allowing the flavors to develop fully. Filtered water removes any impurities that may affect the taste of your coffee.
Avoid overfilling the percolator with water. It’s generally recommended to fill the percolator just below the fill line or level indicator. Overfilling can lead to overflow during brewing, resulting in a messy and potentially dangerous situation. Be mindful of the percolator’s capacity and adjust accordingly.
Keep in mind that there will be some water loss during the brewing process. The percolator will absorb some water, and some water will evaporate as steam. Take this into account when measuring the amount of water to add initially.
Adding Ground Coffee
The next step is to add the ground coffee to the percolator’s filter basket. Fill the basket with the desired amount of coffee, keeping in mind the coffee-to-water ratio you determined earlier. Avoid tamping or packing the coffee grounds too tightly, as this can hinder proper water flow during brewing.
Ensure that the coffee grounds are evenly distributed in the filter basket. This will help ensure consistent extraction of flavors throughout the brewing process. Use a spoon or gently shake the percolator to achieve an even distribution.
Heat Source and Brewing Time
Choosing the right heat source is crucial for a successful brewing process. If you’re using a stovetop percolator, make sure to use a low to medium heat setting. Avoid high heat, as this can result in over-extraction and a bitter taste. Electric percolators usually have adjustable heat settings, so experiment with different settings to find the one that works best for you.
Monitoring the brewing time is important to achieve the desired strength and flavor of your coffee. The optimal brewing time for a percolator is typically around 8-10 minutes. However, this can vary depending on personal preferences and the specific percolator you are using. Start with the recommended time and adjust accordingly to achieve the perfect balance.
Keep an eye on the percolator during the brewing process and make adjustments to the heat source as needed. If the coffee is brewing too slowly, increase the heat slightly. If it’s brewing too quickly, decrease the heat. Finding the sweet spot will result in a well-extracted and flavorful cup of coffee.
Watching the Percolation Process
Observing the percolation process can provide valuable insights into the brewing progress. Keep an eye on the percolator to see the bubbles forming and rising through the stem. The size and frequency of the bubbles can indicate the strength and richness of the coffee being brewed.
Monitor the color and clarity of the brew as well. As the water percolates through the coffee grounds, it should turn a rich, dark brown color. The brew should be clear and free of any particles or sediment. If you notice any cloudiness or excessive sediment, it may indicate that the coffee has been over-extracted.
Listen for the percolating sound as the water rises and falls through the stem. The sound should be a gentle, rhythmic bubbling noise. This is an indication that the brewing process is going smoothly. If you hear any loud or irregular noises, it may be a sign that something is amiss with your percolator or brewing technique.
Removing from Heat and Serving
Once the brewing time is complete, it’s time to remove the percolator from the heat source. Turn off the heat and carefully remove the percolator from the stovetop or unplug the electric percolator. Be cautious as the percolator will be hot, so use oven mitts or a towel to handle it safely.
After removing from the heat source, it’s a good idea to let the percolator cool for a few minutes before serving. This allows the flavors to settle and ensures that the coffee is at the optimal temperature for drinking. Pour the coffee into cups or a carafe and enjoy the rich aroma and taste of your perfectly brewed percolator coffee.
Cleaning and Maintenance
Cleaning your percolator after each use is essential to maintain its performance and prolong its lifespan. Start by disassembling the percolator and cleaning each component thoroughly. Use warm soapy water and a non-abrasive sponge or cloth to remove any residue or coffee stains.
Avoid using harsh cleaning agents or abrasive materials that can damage the percolator’s surface. Stick to mild dish soap and gentle scrubbing to keep your percolator in top shape.
Regularly inspect the percolator and its parts for any signs of wear or damage. Replace any worn-out or broken parts promptly to ensure the optimal functioning of your percolator. This includes gaskets, filters, and the percolator stem. Regular maintenance will help you enjoy your percolator for years to come.
In conclusion, using a percolator to brew coffee can be a rewarding and enjoyable experience. By choosing the right percolator, grinding your coffee beans fresh, measuring coffee and water accurately, properly assembling the percolator, and paying attention to the brewing process, you can achieve a flavorful cup of coffee every time. With proper cleaning and maintenance, your percolator can provide you with years of delicious coffee. So go ahead, get brewing, and savor the rich aroma and taste of percolator coffee.
