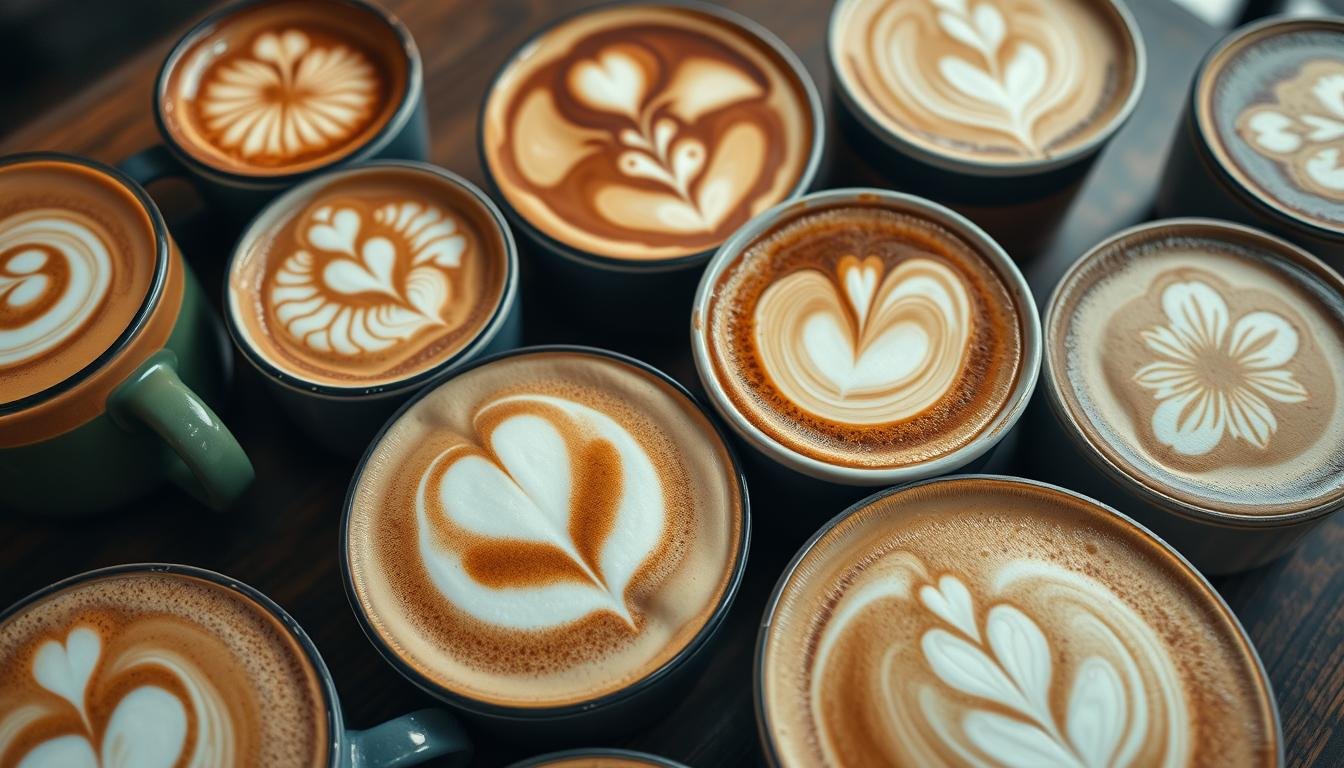
You are about to embark on an artistic journey that will take your barista skills to new heights. In this article, we will explore the top 10 advanced latte art techniques that are sure to impress both you and your customers. From intricate designs to mesmerizing patterns, these techniques will elevate your latte-making game and transform each cup into a masterpiece. So grab your apron, tighten your grip on that milk pitcher, and get ready to create coffee art like never before. Get ready to become a master of latte art!

Understanding Latte Art Basics
Latte art is not just about making a beautiful design on the surface of a latte. It is an intricate process that involves mastering various techniques to create stunning patterns and designs. To get started with latte art, it is important to understand the basics.
The importance of milk and coffee quality
The quality of both the coffee and the milk plays a vital role in creating beautiful latte art. High-quality, freshly roasted coffee with a balanced flavor profile is essential for a good latte. Similarly, the milk should be fresh, cold, and well-textured, with the right amount of fat content. Using low-quality ingredients can affect the taste and texture of the latte, making it difficult to achieve the desired designs.
Groundwork of Espresso pouring
Before diving into latte art, it is necessary to master the art of espresso pouring. The espresso shot serves as the foundation for latte art, as it forms the base layer upon which the design is created. Perfecting the art of pouring espresso involves controlling the flow rate, achieving the right extraction time, and maintaining consistency in the size and thickness of the crema. These skills are crucial for creating a solid canvas for latte art.
Fundamentals of frothing milk techniques
Frothing milk is a crucial step in creating latte art. It involves aerating the milk and creating microfoam with the right texture and consistency. Mastering frothing techniques like the swirling motion, the angle of the steam wand, and the incorporation of air bubbles are essential for achieving the desired smooth and velvety texture. The correct milk temperature and ratio of milk to espresso are also key factors in creating latte art.
Mastering The Free Pour Technique
The free pour technique is the foundation of most latte art designs. This technique involves pouring the milk directly into the espresso, with precise control over the flow rate and the position of the pitcher.
The art of controlling milk flow
Controlling the flow of milk is crucial in creating intricate patterns and designs. The speed at which the milk is poured, the angle of the pitcher, and the height at which the milk is poured all determine the flow of milk onto the espresso. Mastering the art of controlling milk flow enables baristas to create beautiful and distinct shapes with precision and control.
Perfect the tilt-and-pour technique
The tilt-and-pour technique is a fundamental skill in latte art. By tilting the cup and pouring the milk at an angle, baristas can create depth and dimension in their designs. The tilt creates a canvas for the milk to blend and interact with the espresso, resulting in visually appealing patterns and designs. Perfecting this technique requires practice and a keen eye for detail.
Techniques to create base designs like Heart and Rosetta
To master the free pour technique, baristas should start by practicing basic designs like the heart and the rosetta. These designs are the building blocks for more complex and intricate patterns. Creating these base designs involves mastering the control of milk flow and understanding the proper sequence of movements. With consistent practice, baristas can develop the muscle memory required to create these designs effortlessly.
Utilizing The Etching Technique
etching is a technique that involves using tools to create intricate designs on the surface of the latte. It adds depth and detail to the art, allowing baristas to showcase their creativity and skill.
Different tools used for etching
Etching tools come in various shapes and sizes, each serving a specific purpose in creating intricate designs. Fine-tipped tools are used for drawing lines and creating fine details, while broader tools are used for filling in larger areas and creating contrasting textures. Baristas often experiment with different types of tools to achieve the desired effects in their latte art.
Creating intricate designs using the etching technique
Etching allows baristas to create intricate designs by selectively removing the foam or changing its texture on the surface of the latte. This technique can be used to create detailed shapes, textures, and even images. By combining etching with the free pour technique, baristas can achieve stunning and visually captivating designs.
Practicing control and precision in etching
Etching requires a steady hand and precise control over the depth and intensity of the design. By practicing control and precision, baristas can refine their etching techniques and create more consistent and professional-looking designs. It is important to maintain a light touch and work with patience to achieve the desired results.
Creating 3D Latte Art
3D latte art takes latte art to a whole new level by adding depth and dimension to the designs. It requires a combination of sculpting techniques and creative imagination.
Understanding the 3D latte art process
Creating 3D latte art involves sculpting foam into three-dimensional shapes and then incorporating them into the final design. This technique requires a good understanding of perspective and an ability to visualize how the design will come together. Baristas often use toothpicks or other tools to carefully shape the foam and create the desired 3D effect.
Sculpting techniques for 3D art
Mastering sculpting techniques is crucial for creating 3D latte art. Baristas need to develop a sense of the foam’s texture, density, and malleability to sculpt it into intricate shapes. Using sculpting tools and techniques like layering, carving, and shaping, baristas can bring their designs to life. Practice and experimentation are key to mastering these techniques.
Focus on common 3D designs
There are several popular 3D designs that baristas often create, such as animals, flowers, and objects. By focusing on these common designs, baristas can develop their skills and gain a better understanding of foam manipulation. These designs often incorporate a combination of pouring, etching, and sculpting techniques, allowing baristas to showcase their versatility and creativity.
Incorporating Colors in Latte Art
While traditional latte art relies on shades of brown and white, incorporating colors can add a new dimension to the designs. By using food coloring, baristas can create vibrant and eye-catching patterns.
Using food coloring for latte art
Food coloring can be used to add a pop of color to the latte art. Liquid food coloring or edible paints can be mixed into the milk or applied directly to the foam to create the desired colors. Baristas should experiment with different shades and combinations to achieve the desired effect. It is important to note that a little goes a long way, and too much food coloring can overpower the taste of the latte.
Practicing color distribution techniques
Creating vibrant and well-distributed colors in latte art requires practice and experimentation. Baristas should focus on achieving even color distribution throughout the design, avoiding clashing or muddied colors. Techniques like layering, blending, and feathering can help create smooth transitions and gradients, adding depth and visual interest to the design.
Dos and Don’ts of colored latte art
When working with colored latte art, it is important to keep a few things in mind. Do start with small amounts of food coloring and gradually add more if needed. Do experiment with different hues and shades to create visually pleasing effects. Don’t overdo the colors, as it can overwhelm the design and the taste of the latte. Don’t forget to clean and sanitize any tools or brushes used for applying food coloring to ensure food safety.
Employing the Layering Technique
Layering is a technique that involves creating different layers of foam and espresso in the cup, resulting in visually appealing designs with depth and dimension.
Understanding the principles of latte layering
latte layering is based on the concept of density and the interaction between milk and espresso. The layering technique involves pouring the espresso and milk in a way that creates distinct layers without blending the colors together. By carefully controlling the milk flow and the angle of the pitcher, baristas can create visually striking designs that showcase the different layers.
Mastering the layering technique
Mastering the layering technique requires practice and an understanding of the characteristics of milk and espresso. Baristas should focus on achieving consistent layer thickness, avoiding any spills or blending between layers. Smooth and steady pouring, along with proper positioning of the pitcher, is crucial in creating clean and precise layers. With time and practice, baristas can develop a natural feel for layering and create stunning designs.
Advanced layering designs
Once the basics of layering are mastered, baristas can experiment with more advanced layering designs. This may involve creating complex patterns, incorporating multiple layers, or even combining layering with other techniques like etching or sculpting. Advanced layering designs allow baristas to push the boundaries of their creativity and create truly unique and awe-inspiring latte art.
Creating the Tulip Design
The tulip design is a classic latte art pattern that resembles a blooming tulip. It requires precise pouring technique and attention to detail.
Steps to pour a perfect tulip design
To pour a perfect tulip design, start by pouring a small circle in the center of the cup. Next, pour a thin stream of milk into the cup, starting from the center and moving outward in a circular motion. As the circle expands, pour thicker streams of milk towards the center, alternating between clockwise and counterclockwise motions. Finish with a flutter pour to create the final petals. The key is to maintain control over the milk flow and create distinct layers to bring out the tulip-like shape.
Practicing spacing and layering for tulip design
Achieving the right spacing and layering is crucial in creating a visually appealing tulip design. The petals should have consistent thickness and be evenly spaced to create a symmetrical and balanced pattern. Pay attention to the angle and speed of pouring, ensuring that the milk flows smoothly and blends well with the espresso. With practice, baristas can achieve a tulip design that is both elegant and flawless.
Troubleshooting common mistakes in Tulip design
Creating a perfect tulip design requires attention to detail, and it is common to encounter some challenges along the way. If the petals are too thick or too thin, adjust the milk-pouring technique to achieve the desired consistency. If the layers blend together, pour more slowly and focus on maintaining control over the milk flow. Practice and experimentation are key in troubleshooting and overcoming any mistakes in the tulip design.
Constructing the Swan Design
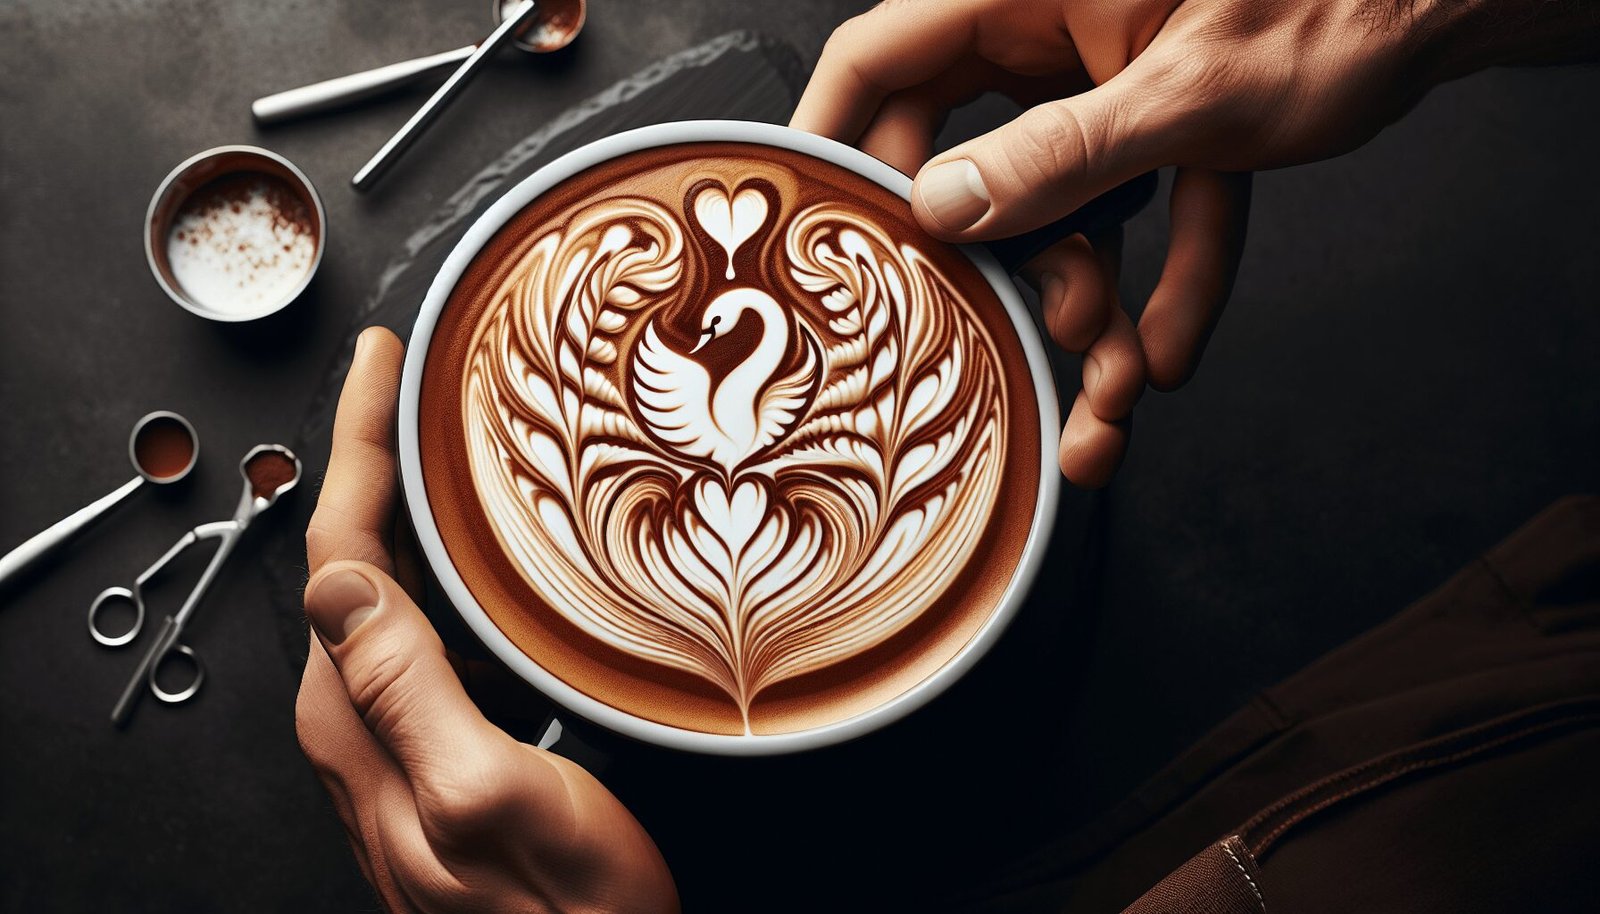
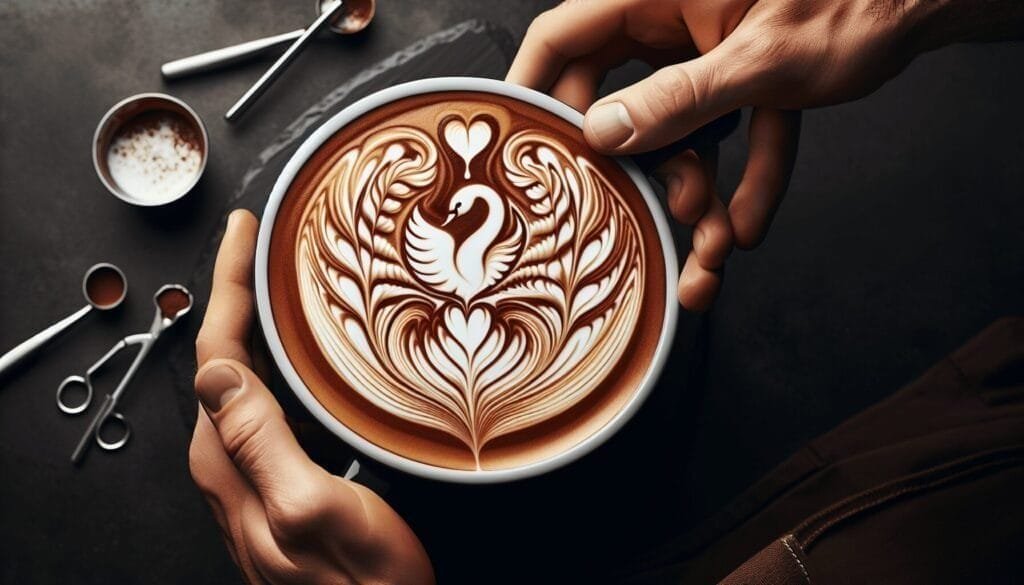
The swan design is a symbol of elegance and grace in latte art. Creating this intricate design requires precision and meticulous attention to detail.
Understanding the complexity of Swan design
The swan design is one of the more complex and challenging designs in latte art due to its intricate details and the precision required to bring out the swan’s features. It involves creating distinct layers, precise shaping of foam, and careful control over the milk flow. The swan design requires a deep understanding of both the free pour and etching techniques, making it a true test of a barista’s skill and creativity.
Step-by-step guide on creating the Swan design
To create the swan design, start by pouring the base of the body with a slow and steady flow of milk, forming a teardrop shape. Next, gently pour the neck and head, curving the stream to create the swan’s graceful shape. Detail the body with etching techniques, creating feather-like lines and defining the wings and neck. Finally, add the eyes and beak with precision. It is important to have patience and take your time to achieve the desired swan design.
Improving alignment and proportion in Swan design
Achieving alignment and proportion in the swan design is key to creating a visually appealing and realistic representation of a swan. Ensure that the body, neck, and head of the swan are in proper proportion and that the various elements align correctly. Pay attention to the details and use etching techniques to add depth and texture to the design. With practice and attention to detail, baristas can continue to improve their alignment and proportion in the swan design.
Designing the Rosetta Pattern
The rosetta pattern is a classic and intricate latte art design resembling the shape of a rosette flower. Creating this design requires skillful pouring techniques and attention to detail.
In-depth process of creating a Rosetta design
The rosetta design starts with the creation of a base of microfoam, which is poured in a steady and controlled manner into the espresso. The barista then creates the rosetta shape by moving the milk pitcher in a gentle back-and-forth motion, creating thin lines that resemble petals. The key to creating a visually striking rosetta pattern is achieving a balance between the pouring technique, the movement of the milk pitcher, and the consistency of the milk foam.
Techniques to perfect the Rosetta flow and symmetry
Perfecting the flow and symmetry of the rosetta design requires practice and attention to detail. Baristas should focus on achieving a steady and controlled milk flow in order to create crisp and defined lines. The movement of the milk pitcher should be smooth and fluid, ensuring that the lines are evenly spaced and symmetrically aligned. By paying close attention to these details and practicing consistently, baristas can achieve a rosetta design that is both visually pleasing and technically impressive.
Variations and styles in the Rosetta design
While the classic rosetta design is a staple in latte art, there are various variations and styles that baristas can explore. These variations may involve altering the size or angle of the pour, experimenting with different shapes and patterns within the rosetta, or combining the rosetta with other elements such as hearts or tulips. These variations allow baristas to showcase their creativity and add a unique flair to their latte art.
Combining Multiple Designs
Combining multiple designs in latte art allows baristas to push the boundaries of their creativity and create visually stunning and complex designs.
Overcoming challenges of combining latte art designs
Combining multiple designs in latte art presents unique challenges. Baristas must consider factors such as design compatibility, color coordination, and the overall composition of the latte art. It can be challenging to seamlessly integrate different designs without overwhelming the overall aesthetic. Overcoming these challenges requires careful planning, practice, and a strong understanding of the different techniques involved.
Steps on successfully combining designs
To successfully combine multiple designs, baristas should start by planning the layout and placement of each design element. This involves considering the size, shape, and position of each design within the overall composition. Baristas should then focus on executing each design with precision and attention to detail, ensuring that the different elements complement one another. Practice is key in refining the skill of combining designs and achieving harmonious and visually striking latte art.
Tips and tricks on creating combinations of advanced designs
Creating combinations of advanced designs requires advanced skills and techniques. Here are some tips and tricks to help baristas create visually compelling combinations:
- Start with a strong foundation: Ensure that each design element is well-executed and stands on its own before combining them.
- Think about compatibility: Consider how different designs complement each other in terms of shape, texture, and color.
- Experiment with different placements: Try different arrangements and orientations to find the most visually appealing composition.
- Practice with simpler combinations first: Start by combining two or three simpler designs before attempting more complex combinations.
- Embrace creativity and innovation: Don’t be afraid to experiment and think outside the box when combining designs. Push the boundaries of what is possible in latte art.
By following these tips and tricks, baristas can create truly unique and awe-inspiring combinations of advanced designs, pushing the boundaries of their latte art skills.
In conclusion, mastering advanced latte art techniques requires a combination of skill, practice, and creativity. Understanding the basics, such as milk and coffee quality, espresso pouring, and frothing milk techniques, is essential. From there, baristas can progress to more advanced techniques like the free pour, etching, 3D art, incorporating colors, layering, and creating specific designs like the tulip, swan, and rosetta. By continually learning and experimenting, baristas can create stunning and visually captivating latte art that delights both the eyes and the taste buds. So go ahead, grab your milk pitcher and espresso cup, and start honing your latte art skills today!

