You’re standing in line at your favorite local café, eagerly awaiting the moment when you can savor the rich, velvety taste of your meticulously crafted latte. As you take the first sip, the beautiful etched design on the surface of the frothy milk catches your eye, instantly bringing a smile to your face. Have you ever wondered how baristas create those intricate patterns? This article will uncover the top ways for you to improve your latte art etching skills, turning your morning caffeine fix into a work of art. Get ready to impress yourself and your coffee-loving friends with your newfound talent. So grab your apron, summon your inner artist, and let’s embark on a journey to perfect our latte art etching!

Understanding the Basics of Latte Art Etching
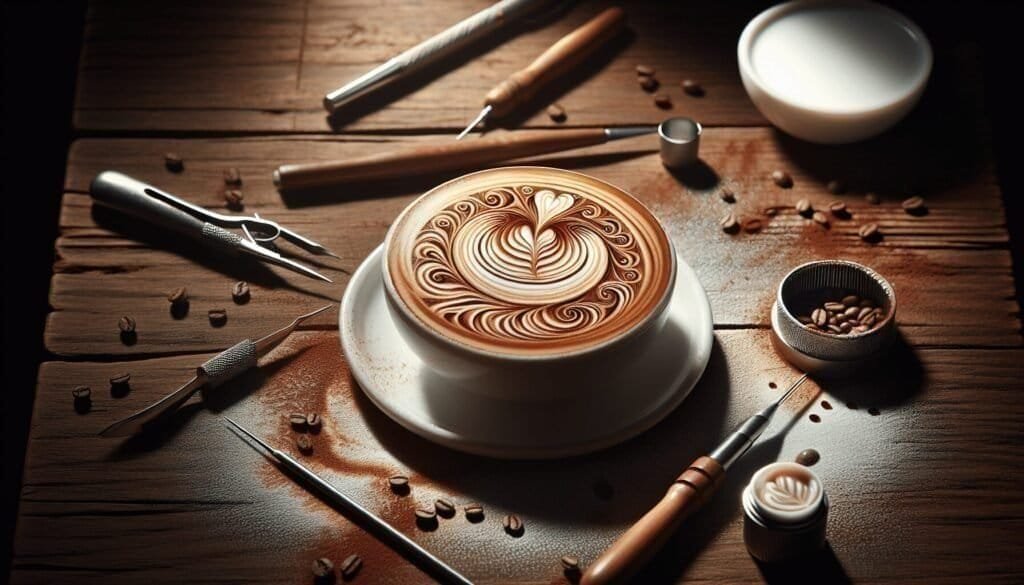
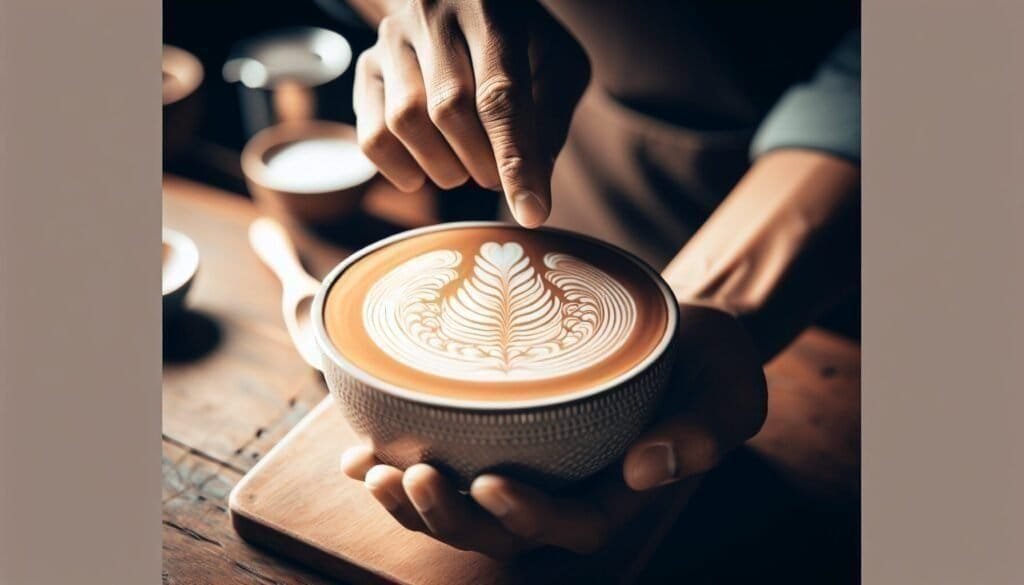
Latte art etching is a technique used to create intricate designs on the surface of a latte using a sharp object, such as a toothpick or a dedicated etching tool. This technique allows baristas to express their creativity and add a personal touch to each latte they serve. By etching into the top layer of milk foam, baristas can create stunning designs that enhance the overall visual appeal of the latte.
Difference between Free Pour and Etching techniques
While both free pour and etching techniques are used to create latte art, there are a few key differences between the two. Free pour involves pouring steamed milk into espresso in a controlled manner, allowing the milk to mix naturally and form patterns as it is poured. Etching, on the other hand, involves manipulating the milk foam and crema on the surface of the latte using a tool. Etching provides greater control over the design, allowing baristas to create more intricate and detailed patterns.
Tools required for Latte Art Etching
To create latte art etching designs, you will need a few essential tools. The most important tool is an etching tool, which can vary in shape and size. Toothpicks, skewers, or specifically designed latte art etching tools can all be used for this purpose. It is also important to have a high-quality espresso machine and grinder to prepare a perfect canvas for etching. Additionally, having access to fresh, high-quality milk and a steam wand is crucial for creating smooth microfoam that is ideal for etching.
Preparing the Perfect Canvas for Etching
Before diving into the art of latte art etching, it is crucial to prepare the perfect canvas. This involves pulling a perfect espresso shot and creating the smoothest microfoam milk.
How to pull the perfect espresso shot
Pulling a perfect espresso shot is essential for a good canvas. Begin by using freshly roasted and ground coffee beans. Adjust the grind size and dose to achieve the desired extraction time and volume. Be sure to distribute the coffee grounds evenly in the portafilter and tamp with consistent pressure. Run the espresso machine for the appropriate duration and observe the flow of espresso. The ideal shot will have a rich, reddish-brown color with a steady flow and a thick layer of crema.
Creating the smoothest microfoam milk
To create the smoothest microfoam milk, start with fresh and cold milk. Ensure that the steam wand and pitcher are clean before starting. Begin by submerging the steam wand just below the surface of the milk and turning it on. Gradually lower the pitcher as the milk expands and continues to steam. The goal is to create a velvety texture with small, uniform bubbles. Once the milk reaches the desired temperature (between 150°F to 160°F), swirl the pitcher to integrate any remaining bubbles and achieve a smooth, creamy consistency.
Creating a contrast between crema and milk for better etching
To enhance the visibility of your etching design, it is important to create a contrast between the crema and the milk. The crema is the rich, reddish-brown layer that forms on top of the espresso shot. By pouring the milk smoothly and gently into the espresso, you can achieve a clear distinction between the light color of the milk and the darker crema. This contrast will make your etching design stand out and add depth to your latte art.
Choosing the Right Etching Tools
Choosing the right etching tools is essential for achieving precise and detailed designs in your latte art etching.
The importance of good quality etching tools
Investing in good quality etching tools is crucial for achieving consistent and professional-looking designs. High-quality tools will have sharp, durable tips that allow for precise etching without damaging the foam or crema. Cheap or poorly made tools may not provide the necessary control and can result in messy or uneven designs.
Best types of etching tools to use
When it comes to etching tools, there is a wide range of options to choose from. Toothpicks and skewers are commonly used by beginners and can produce excellent results. However, as you become more proficient in latte art etching, you may want to invest in dedicated etching tools, such as needles or latte art pens, which provide more control and precision. These tools come in various shapes and sizes, allowing you to create a wide range of intricate designs.
Maintenance and care for etching tools
To ensure that your etching tools last and remain in optimal condition, it is important to properly clean and maintain them. After each use, rinse the tools with warm water to remove any residual milk or foam. If necessary, use a mild detergent or cleaning solution to remove stubborn stains. Dry the tools completely before storing them in a clean and dry place. Regularly inspect the tips of the tools and replace them if they become dull or damaged.
Developing Basic Etching Techniques
Mastering basic etching techniques is essential for creating consistent and visually appealing designs in your latte art. Here are some key techniques to focus on:
Ideal depth to etch in a latte
When etching into the milk foam of a latte, it is important to find the ideal depth to achieve clear and visible designs. Generally, aim to etch about 1/8 to 1/4 inch into the foam. This depth will allow you to create distinct lines without breaking through the foam or disturbing the crema layer.
Speed and precision in etching
Etching requires a delicate balance of speed and precision. Moving too quickly can result in messy or uneven lines, while moving too slowly can cause the foam to settle and lose its texture. Aim for a steady and controlled pace, maintaining even pressure on the etching tool as you create your design. Practice and experimentation will help you find the right speed and level of precision that works best for you.
Avoiding common etching mistakes
When starting out with latte art etching, it is common to make some mistakes. Here are a few common pitfalls to avoid:
- Applying too much pressure on the etching tool can result in cutting through the foam and disrupting the crema layer.
- Etching too deeply can cause the design to become indistinct or messy.
- Moving the etching tool too quickly can lead to shaky or uneven lines.
- Not practicing proper foam texture and milk pouring techniques can result in a poor canvas for etching. By being mindful of these common mistakes and practicing regularly, you can overcome these challenges and improve your etching skills.

Practicing Essential Etching Shapes
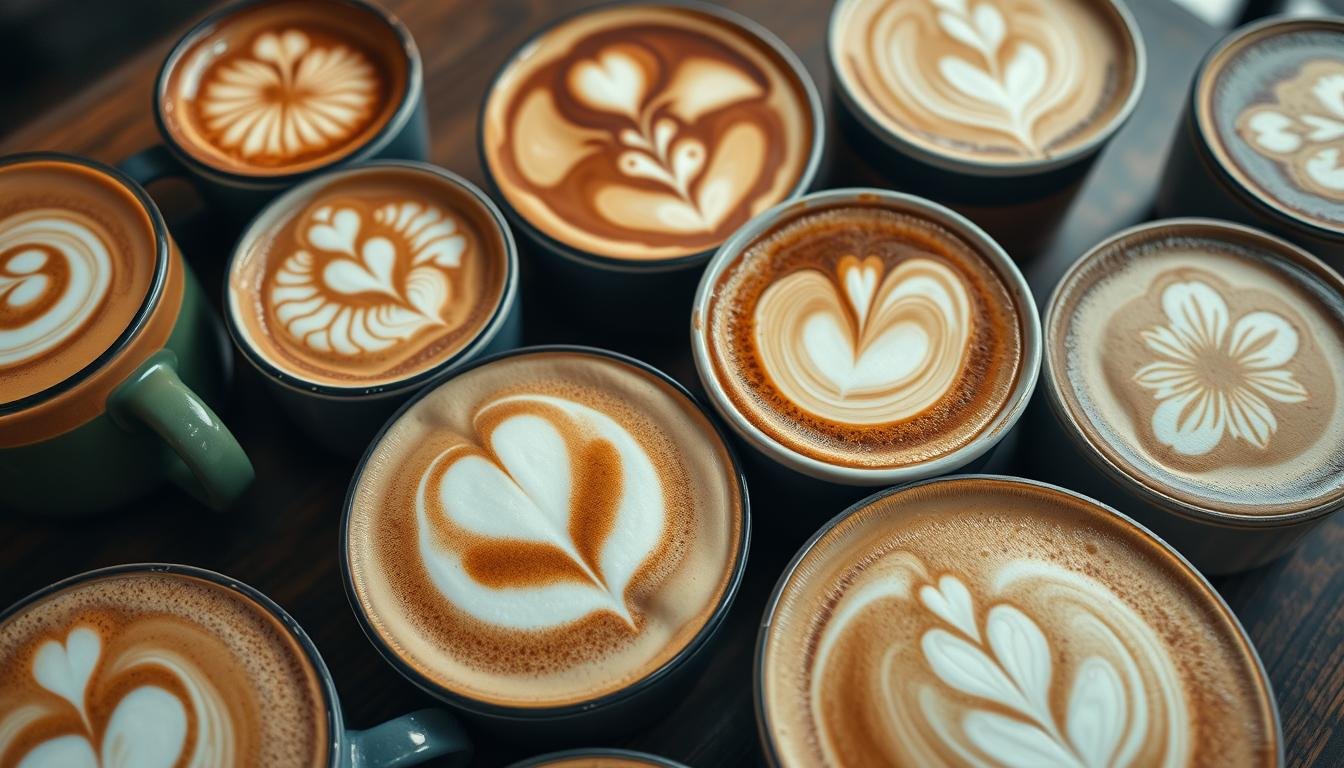
There are several classic etching designs that every aspiring latte artist should strive to master. Here are three essential shapes to practice:
Creating the perfect heart shape
The heart shape is a classic and timeless design in latte art. Start by pouring a smooth, symmetrical circle of milk into the center of the espresso. Next, use the etching tool to create a vertical line from the bottom of the circle to the top. Then, draw a gentle curve from the top of the line to each side of the circle, creating the top halves of the heart shape. Finally, connect the two curves at the bottom to complete the heart. Practice this design repeatedly until you achieve a consistent and well-defined heart shape.
Mastering the rosetta design
The rosetta design is a more complex and visually stunning etching design. To create a rosetta, begin by pouring a small dot of milk slightly off-center in the center of the espresso. Next, begin pouring a thin stream of milk into the dot and move the pitcher from side to side while maintaining a steady flow. As the milk spreads outward, use the etching tool to draw a series of parallel lines through the milk and crema, alternating directions with each pass. The result should be a beautiful fern-like pattern. Practicing the rosetta design will require patience and precision, but with time and practice, you can achieve impressive results.
How to etch a layered tulip
The layered tulip design is another popular and intricate etching design. Start by pouring a small dot of milk towards the edge of the espresso. Then, slowly and gently pour a thin stream of milk back and forth across the surface of the espresso, gradually moving towards the center. As the milk spreads outward, use the etching tool to create a series of curved lines, gradually increasing in length and spacing, resembling the petals of a tulip. Continue until you reach the center, and then etch a thin, vertical line from the top. With practice, you will be able to create a layered tulip design that adds an elegant touch to your latte art.
Improving Your Etching with Stencils
using stencils can be a helpful tool for beginners or those looking to add additional complexity to their designs.
Using stencils for beginners
Using stencils is a great way for beginners to start experimenting with more intricate designs and shapes. Stencils are pre-cut templates that can be placed on top of the latte, allowing you to etch your design within the designated area. This eliminates the need for freehand etching and provides a guide to follow. By starting with stencils, you can begin to develop your etching skills and gain confidence in creating more complex designs.
Types of stencils available
There are various types of stencils available for latte art etching. From basic shapes like hearts and flowers to more intricate designs like animals or landscapes, stencils offer a wide range of possibilities. Some stencils are made of plastic or metal, while others are crafted from food-safe paper. Choose stencils that suit your desired designs and ensure they are compatible with food-grade materials to maintain hygiene and safety standards.
Creating your own stencils for unique designs
For those looking to create unique and personalized designs, making your own stencils can be a fun and rewarding process. Start by sketching your desired design on a piece of paper. Then, carefully cut out the design using a sharp knife or scissors. Transfer the cutout onto a food-safe material, such as plastic or metal, and cut along the outline to create your stencil. Remember to smooth any rough edges or corners to ensure a clean etching result. With self-made stencils, you can explore endless possibilities and showcase your artistic style.
Advancing Your Etching with Color
Adding color to your latte art etching can take your designs to the next level, creating eye-catching and visually stunning results.
Using natural food coloring in latte art etching
When incorporating color into your latte art etching, it is important to use natural food coloring that is safe to consume. There are many natural colorings available, such as beetroot juice, turmeric, matcha powder, or spirulina. By adding a small amount of these natural colorings to your milk before steaming, you can create vibrant hues that will enhance your etching designs.
Creating gradients and shaded etching designs
To create gradients and shaded effects in your etching designs, you can experiment with layering different shades of colored milk. Start by pouring a base layer of white or uncolored milk into the espresso. Then, add a few drops of your desired food coloring to a small portion of milk and gently mix it in. Pour this colored milk onto the base layer, focusing on specific areas where you want to create shading or gradients. With careful pouring and etching, you can achieve stunning effects that add depth and dimension to your latte art.
Incorporating color without sacrificing texture
While adding color to your latte art etching can be visually captivating, it is important to ensure that the textured microfoam is not compromised. The microfoam is responsible for the velvety and creamy mouthfeel of a latte. When adding color, be mindful not to overheat the milk or introduce excessive air during the steaming process, as this can affect the texture and quality of the foam. By striking a balance between color and texture, you can create visually stunning designs while maintaining the integrity of the latte’s taste and texture.
Exploring the World of 3D Latte Art
For those looking to push the boundaries of latte art, exploring the world of 3D latte art can open up a whole new dimension of creativity.
What is 3D latte art?
3D latte art involves creating three-dimensional shapes, figures, or objects using milk foam. With the proper technique and creativity, baristas can sculpt foam into intricate and realistic designs that appear to pop out of the latte. From adorable animals to whimsical characters, 3D latte art adds an element of surprise and delight to the latte-drinking experience.
Combining etching skills with 3D foam techniques
To create impressive 3D latte art, it is important to combine etching skills with 3D foam techniques. Start with a solid foundation of etching designs on the surface of the latte. Then, use the remaining foam to sculpt three-dimensional shapes on top. By etching additional details onto the foam, such as facial features or textures, you can bring your 3D designs to life. Balancing the etching and sculpting techniques will allow you to create captivating and visually dynamic latte art.
Developing 3D latte art designs
Developing your own 3D latte art designs requires practice, patience, and creativity. Start by mastering the fundamentals of etching and foam techniques. Once you feel confident with your skills, experiment with creating simple three-dimensional shapes, like hearts or flowers. As you become more proficient, challenge yourself to create more complex designs, such as animals or objects with intricate details. By continuously refining your techniques and pushing the boundaries of your creativity, you can develop unique and impressive 3D latte art designs that leave a lasting impression.
Engaging in Latte Art Competitions
Participating in latte art competitions can be a rewarding experience that allows you to showcase your skills and connect with other passionate latte artists.
Benefits of participating in coffee art competitions
Participating in latte art competitions offers several benefits. Firstly, it provides an opportunity to receive feedback and constructive criticism from experienced judges and fellow baristas. This feedback can help you identify areas for improvement and refine your techniques. Additionally, competitions allow you to showcase your skills and gain recognition within the coffee industry. Winning or placing well in competitions can enhance your professional reputation and open up new opportunities for career advancement or collaboration. Lastly, competitions foster a sense of community and camaraderie among coffee enthusiasts, allowing you to connect with like-minded individuals and learn from their experiences.
Preparing your latte art for judgement
To prepare your latte art for judgement in competitions, it is important to focus on presentation and consistency. Ensure that your espresso shots are pulled perfectly, with a rich crema layer and balanced flavor. Take time to pour your milk smoothly and create well-defined designs. Etch with precision and pay attention to intricate details. Practice and refine your techniques to ensure consistency in your designs, as judges value consistency over one exceptional piece. Lastly, present your latte art with confidence and provide a brief description of your design inspiration or technique used.
Local and international latte art competitions to consider
There are numerous local and international latte art competitions that you can consider participating in. Some well-known competitions include the World Latte Art Championship, the United States Barista Championship, the Australian Specialty Coffee Association Latte Art Championship, and the London Coffee Festival Latte Art Smackdown. Research and explore competitions in your region or those that align with your personal and professional goals. Participating in these events can provide valuable learning experiences, recognition, and opportunities for growth in your latte art journey.
Consistently Mastering your Etching Skills
To become a true master of latte art etching, it is important to commit to regular practice and continuous improvement.
The importance of regular practice
Regular practice is crucial for developing and refining your etching skills. Set aside dedicated time each week to practice different etching techniques and designs. By repeating the motions and experimenting with different angles and pressures, you will develop muscle memory and improve your overall control and precision. Consistency in practice is key to mastering the art of latte art etching.
Receiving feedback and refining techniques
Seeking feedback from experienced baristas, colleagues, or even customers can provide valuable insights and perspectives on your etching skills. Be open to constructive criticism and suggestions for improvement. Actively incorporate this feedback into your practice sessions and work on refining your techniques. By continuously challenging yourself and adapting to feedback, you can elevate your etching skills to new heights.
Keeping up-to-date with new coffee art trends
The world of coffee art is constantly evolving, with new trends and techniques emerging regularly. Stay informed and up-to-date with the latest developments in latte art by following industry publications, attending workshops, or joining online communities and forums. Exploring new trends and experimenting with innovative techniques can inspire your creativity and help you stay ahead of the curve in the ever-evolving world of latte art etching.
In conclusion, latte art etching is an intricate and creative process that allows baristas to transform ordinary lattes into works of art. By understanding the basics of etching, preparing the perfect canvas, choosing the right tools, and mastering essential techniques, you can create visually stunning designs that showcase your skills and creativity. With practice, experimentation, and a dedication to continuous improvement, you can consistently refine your etching skills and stay at the forefront of the coffee art world. So grab your etching tool, prepare that perfect canvas, and let your creativity run wild. The world of latte art etching is waiting for you to make your mark.


