Aerolatte To Go Recipes: Lattes, Cold Foam and Travel Drinks
In “The Complete Guide to Using the Aerolatte To Go Milk Frother,” you will discover complete instructions and insightful tips on how to improve your at-home coffee experience with this portable device. This guide delves into the step-by-step process of operating the Aerolatte, ensuring that you achieve the perfect froth every time. From mastering the basic techniques to exploring advanced frothing methods, this guide will equip you with the knowledge to transform regular milk into a creamy, luxurious addition to your favorite beverages. With expert advice and practical pointers, you will feel confident in your ability to create barista-quality drinks right in your own kitchen.
Aerolatte to go recipes, in short: The Aerolatte To Go makes a latte, cappuccino, cortado, cold foam or matcha latte from the same technique: froth the milk briefly with the whisk low for a latte, longer near the surface for cappuccino foam, and cold milk for cold foam. Start with a strong base such as a double espresso.
The Complete Guide to Using the Aerolatte To Go Milk Frother
Have you ever wondered how to get that perfect froth on your morning latte without having to visit a coffee shop? You are not alone. More and more people are discovering the convenience, efficiency, and, most importantly, the creamy delight of using the Aerolatte To Go Milk Frother. In this complete guide, we will walk you through everything you need to know about using the Aerolatte To Go Milk Frother, from why you should invest in one to step-by-step instructions and tips to ensure you achieve barista-quality results at home.
Why Choose the Aerolatte To Go Milk Frother?
The Aerolatte To Go Milk Frother is a portable, battery-operated device that can quickly and efficiently froth milk to perfection. Its design makes it ideal for those who are always on the move but still want to enjoy their favorite coffee beverages. Here are some compelling reasons to consider it:
Convenience
The compact size and battery operation make it super convenient to use anywhere. Whether you are at home, in the office, or even on a camping trip, you can enjoy a creamy froth on your coffee.
Efficiency
Aerolatte To Go frother works quickly, taking mere seconds to deliver perfectly frothed milk. Its powerful motor ensures consistent and efficient frothing, making it a useful tool for those short on time.
Versatility
Not only is it designed for frothing milk, but it can also be used with other liquids like cream, sauce, and even eggs for a quick froth. This versatility makes it a valuable addition to any kitchen.
Specifications and Features
Understanding the specifications and features of the Aerolatte To Go Milk Frother can help you make an informed decision and appreciate the different ways you can use it.
Battery Operated
The frother operates on two AA batteries, which makes it highly portable. The device is designed to provide optimal power for quick frothing.
Ergonomic Design
The Aerolatte To Go Milk Frother features an ergonomic handle that ensures comfortable use over extended periods. Its design reduces fatigue, making it easier to use multiple times a day.
Stainless Steel Whisk
Made from high-quality stainless steel, the whisk is solid and durable, ensuring longevity. Stainless steel is also resistant to rust and corrosion, which is especially useful given that you will be frothing liquids.
Easy to Clean
The frother is designed to be easy to clean. The stainless steel whisk can be rinsed off or wiped clean effortlessly, ensuring that maintaining hygiene is straightforward and uncomplicated.
Protective Cover
The travel frother comes with a protective cover to keep the whisk clean and safe when not in use. This feature is particularly handy if you are constantly on the go.
Step-by-Step Guide to Using the Aerolatte To Go Milk Frother
Now that you know why the Aerolatte To Go Milk Frother is a must-have, let’s look at how to use it to achieve that perfect froth every time.
Step 1: Assemble the Frother
Before you start, ensure that your Aerolatte To Go is correctly assembled:
- Insert Batteries: Open the battery compartment and insert two AA batteries.
- Attach the Protective Cover: If you are using it for the first time, remove the protective cover from the whisk.
Step 2: Prepare Your Milk
For optimal results, the type of milk you use matters. Here is a quick guide to choosing the right milk:
| Milk Type | Froth Quality | Notes |
|---|---|---|
| Whole Milk | Excellent | Creates the most stable and creamy froth. |
| Skim Milk | Good | Produces a lighter, less creamy froth. |
| Soy Milk | Good | Froths well but can separate over time. |
| Almond Milk | Fair | Takes longer to froth and is less stable. |
| Oat Milk | Good | Froths up nicely and is quite creamy. |
- Heat the Milk: Warm your milk to about 150°F (65°C). This is the optimal temperature range for frothing.
- Pour Milk into Container: Use a stainless steel jug or any vessel that is deep enough to avoid splashing once you start frothing.
Step 3: Frothing Technique
- Submerge the Whisk: Submerge the whisk completely into the milk before turning it on to avoid splattering.
- Turn On the Frother: Switch on the Aerolatte To Go and slowly raise and lower the whisk in the milk. This movement helps incorporate air and creates a rich, creamy froth.
- Achieve Desired Froth: Continue frothing until you achieve your desired consistency. Generally, 15-20 seconds is sufficient.
Step 4: Serve Your Beverage
Pour your frothy milk over your coffee or favorite beverage. Use a spoon to hold back the froth until the end to create beautiful latte art if you wish.
Expert Tips for Optimal Frothing
Use Fresh, Cold Milk
For the best froth, always use fresh and cold milk. Stale milk or milk that has already been heated and cooled will not froth as effectively.
Preheat Your Jug
Warming your frothing jug slightly can extend the life of your froth, especially if you are in a cooler environment.
Practice Makes Perfect
Achieving the perfect froth may take a little practice. Do not be disheartened if your first few attempts are not perfect. Consistency improves with practice.
Clean Immediately After Use
Cleaning your Aerolatte To Go immediately after use will prevent milk residue from drying and hardening on the whisk, making it much easier to maintain.
Cleaning and Maintenance
To ensure the longevity of your Aerolatte To Go Milk Frother, regular cleaning and proper maintenance are essential.
Quick Clean
Immediately after use, run the whisk under warm water and give it a quick wipe-down with a cloth. This helps remove any milk residue.
Deep Clean
For a more thorough cleaning:
- Warm Soapy Water: Submerge the whisk in warm soapy water and turn it on for a few seconds.
- Rinse Thoroughly: Rinse under running water to remove soap residue.
- Dry Completely: Allow the whisk to air dry completely before storing.
Battery Maintenance
Extended battery life is key for the consistent performance of your Aerolatte To Go:
- Remove Batteries if Not in Use: If you will not be using the frother for an extended period, remove the batteries to prevent leakage.
- Check Battery Condition: Regularly check the condition of the batteries and replace them when necessary to ensure optimal performance.
Storage Tips
Always store your Aerolatte To Go in its protective cover to keep the whisk clean and safe from damage.
Troubleshooting Common Issues
Even the best kitchen gadgets can sometimes run into problems. Here are some common issues you might face and how to troubleshoot them:
Frother Not Turning On
- Check Batteries: Make sure the batteries are correctly installed and have not run out of power.
- Contact Points: Ensure that the battery contact points are clean and free from any corrosion.
Froth Not Forming
- Milk Quality: Ensure you are using fresh, cold milk.
- Technique: Correct your frothing technique by ensuring the whisk is fully submerged before turning it on.
Frother Making Unusual Noises
- Alignment: Ensure that the whisk is properly aligned and securely attached.
- Contact Aerolatte: If unusual noises persist, contact Aerolatte for further assistance.
2026 Update: Price and What Comes in the Box
The travel version is still on shelves, now usually listed as the Aerolatte Milk Frother with Travel Case. Cook’s Warehouse had it at $19.95 and in stock in September 2026, with an 18/8 stainless steel whisk and a black case that snaps over the head. Aerolatte puts a full froth at about 15 to 20 seconds, and the wand works with warm or chilled milk, and handles whole, skim and goat milk plus almond, soy, cashew, hemp and other plant milks. Hand wash the whisk end in warm, soapy water.
Aerolatte To Go Recipes for Five Cafe Drinks
The frother makes foam. The drink you end up with depends on how much foam you make and how much milk you pour under it. Start with a strong base: a double espresso, 2 oz of AeroPress concentrate, or 3 oz of extra-strong brewed coffee.
| Drink | Milk | How to froth it | How to pour it |
|---|---|---|---|
| Latte | 6 to 8 oz, warmed | Keep the whisk low in the milk for a short burst, so you get silky milk with a thin cap | Pour the milk in first, then spoon a little foam on top |
| Cappuccino | 4 oz, warmed | Work the whisk up near the surface longer to build thick, airy foam | Roughly equal parts coffee, milk and foam |
| Cortado | 2 oz, warmed | A quick froth, just enough to smooth the milk | Equal parts coffee and milk in a small glass |
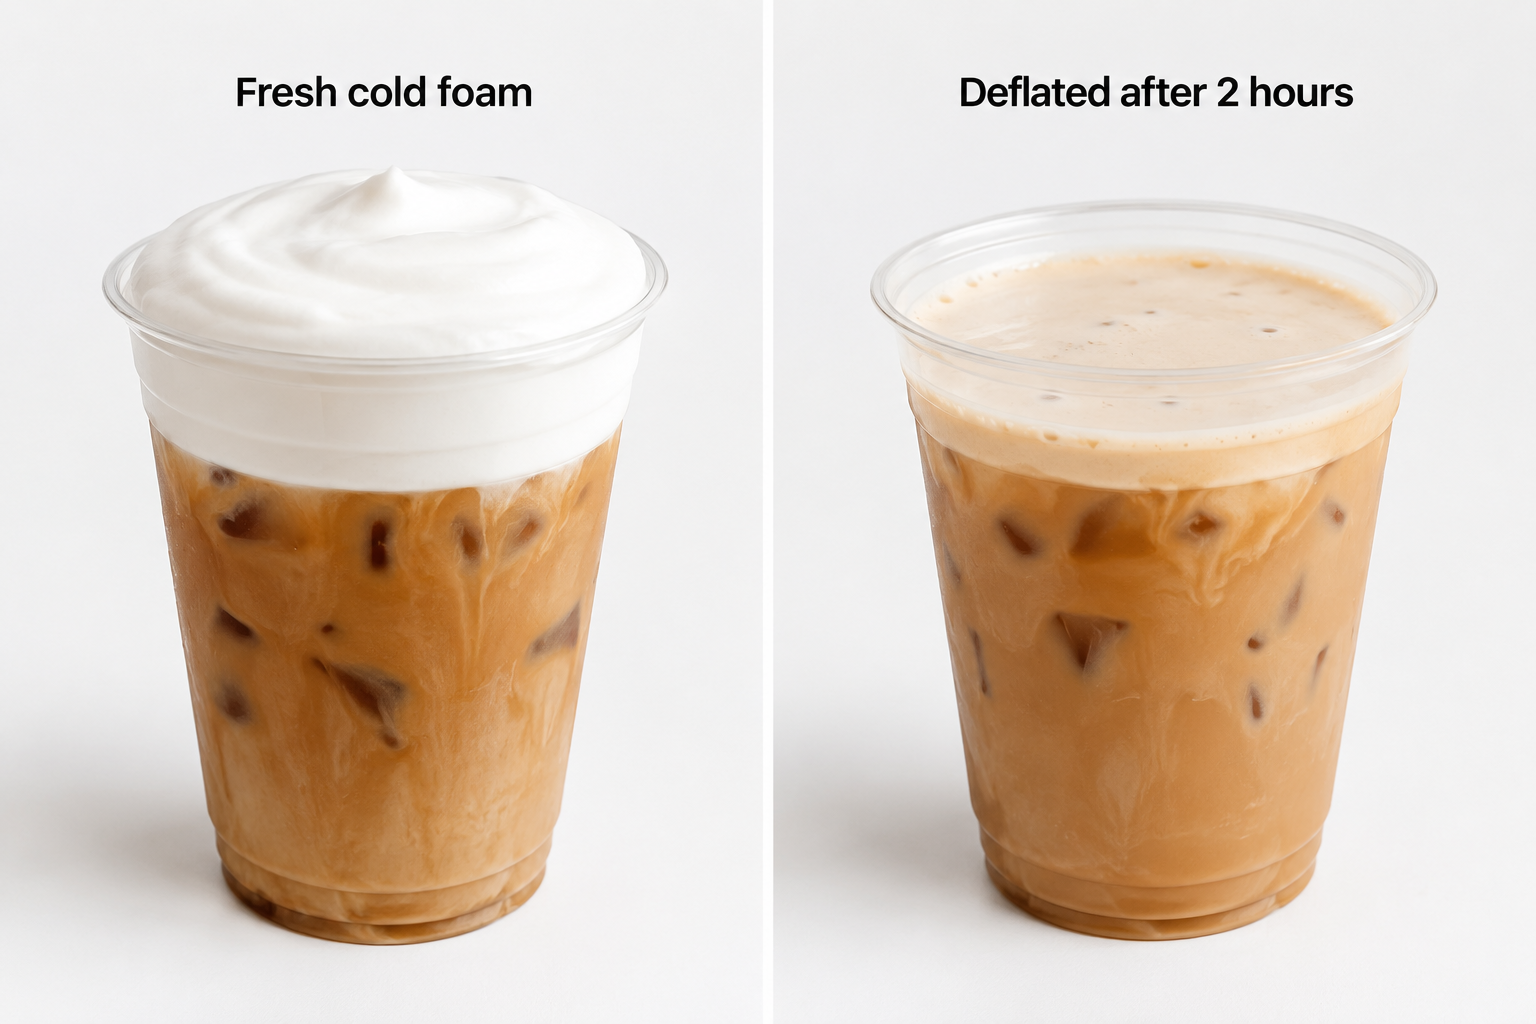
| Cold foam | 3 oz, straight from the fridge | Froth cold until it doubles and turns glossy; skim or 2% holds shape well | Spoon it over iced coffee so it floats |
| Matcha latte | 6 to 8 oz, warmed | First whisk the matcha into 2 oz of hot water to break up clumps, then froth the milk separately | Pour the frothed milk into the matcha |
Not sure which milk drink you actually like? Our cappuccino vs latte breakdown explains how the milk and foam change the cup, and our cold foam guide covers the sweetened cafe versions.
A Hotel Room Latte in Five Steps
This is where the To Go earns its name. The case keeps milk off everything else in your bag.
- Brew a strong base with whatever you packed, an AeroPress, instant coffee, or the room’s pod machine set to its smallest cup.
- Heat milk in the room kettle’s mug or a microwave until it steams but does not bubble.
- Pour the milk into a tall mug no more than one third full. Foam needs room to grow.
- Sink the whisk, switch it on, and froth until the milk looks glossy and has grown by about half.
- Pour the milk into the coffee, then rinse the whisk under the tap and run it for a second to fling off the water before it goes back in the case.
If you want a frother that also heats the milk, compare the handheld and electric options in our best milk frother guide. For more drink guides, visit the Coffee Rank IQ homepage.
FAQ
Can the Aerolatte To Go froth cold milk?
Yes, it froths chilled milk as well as warm milk. Cold froth is the base for cold foam on iced coffee, and skim or 2% milk gives the stiffest cold foam.
Does the Aerolatte To Go work with plant milk?
Yes, retailer listings name almond, soy, cashew, hemp and other non-dairy milks. Barista versions of oat and almond milk hold foam longer than regular cartons because they are made to be frothed.
How long should I froth with an Aerolatte?
Aerolatte says about 15 to 20 seconds is enough; go toward 30 seconds only if you want stiffer, drier foam. Stop sooner for a latte with a thin cap, and go longer near the surface for cappuccino foam.
Conclusion
The Aerolatte To Go Milk Frother is a big upgrade for anyone who loves coffee. Its convenience, efficiency, and versatility make it an invaluable tool in any kitchen. By following the steps and tips outlined in this guide, you can achieve barista-quality froth right at home, no matter where you are. Happy frothing!
Keep Exploring Coffee Rank IQ
- Coffee Rank IQ home: reviews, brewing guides, and coffee science
- Best Nespresso Pods for Lattes, Iced Drinks, and Straight Shots
- How to Make Cold Foam at Home…No Starbucks Line Required
- Best Nespresso Pods for Lattes, Iced Drinks, and Straight Shots
- Best Manual Coffee Grinder for Pour Over, Espresso, and Travel