How to Use an Aerolatte Milk Frother: Temp, Timing and Care
In your pursuit of the perfect cup of coffee or tea, mastering the art of frothing milk can improve your beverage experience to the next level. “How To Use The Aerolatte To Go Milk Frother For Perfectly Frothed Milk” is a complete guide designed to help you achieve this feat with ease and precision. This guide will walk you through the step-by-step process of using the Aerolatte To Go Milk Frother, ensuring that you can create flawlessly frothed milk every time, enhancing both the flavor and presentation of your favorite drinks.
Aerolatte milk frother, in short: To use an Aerolatte, heat milk to about 140°F (60°C), fill a tall mug one third full, and start the whisk near the bottom. Switch on for 15 to 20 seconds, raising the whisk so it stays just under the top of the froth. Then run it in hot soapy water, rinse and spin it dry.
How To Use The Aerolatte To Go Milk Frother For Perfectly Frothed Milk
Have you ever wondered how to achieve that perfectly frothed milk for your morning coffee or favorite latte? You are not alone. The desire for a barista-quality drink at home is something many of us share. This article aims to demystify the process, providing you with a complete guide to using the Aerolatte To Go Milk Frother, so you can enjoy perfectly frothed milk anytime.
Why Choose the Aerolatte To Go Milk Frother?
The Aerolatte To Go Milk Frother stands out for several reasons. Unlike bulky electric frothers or specialized steam wands, the Aerolatte offers portability, ease of use, and consistency. Let’s look at why this tool should be your go-to for milk frothing.
Portability and Convenience
One of the primary benefits of the Aerolatte To Go Milk Frother is its portability. This compact device fits easily into a kitchen drawer, a work bag, or even a suitcase, making it the perfect companion for those who are always on the move.
The frother is battery-operated, which means you don’t need to worry about finding an electrical outlet. It’s designed for the complete in convenience, ensuring you can enjoy frothed milk wherever you are.
Efficiency and Speed
Time is of the essence in today’s fast-paced world. The Aerolatte To Go Milk Frother delivers perfectly frothed milk in about 20 seconds. Whether you’re rushing out the door or enjoying a leisurely morning, this device ensures you won’t be kept waiting.
Consistency and Quality
Consistency is key for making a great cup of coffee or any milk-based beverage. The Aerolatte To Go Milk Frother is designed to provide consistent results every time, ensuring your frothed milk is always of high quality. This reliability sets it apart from many other frothers on the market.
Components of the Aerolatte To Go Milk Frother
Before you start frothing, it’s essential to familiarize yourself with the components of your Aerolatte To Go Milk Frother. Knowing the parts will make the operation much smoother and will help you troubleshoot if needed.
| Component | Description |
|---|---|
| Frother Wand | The main component that does the frothing, often made of stainless steel. |
| Storage Tube | A protective case that keeps the wand clean and damage-free. |
| Batteries | Runs on two AA alkaline batteries, included in the box. |
| On/Off Switch | A simple, intuitive button or switch to power the frother on and off. |
Preparing the Aerolatte To Go Milk Frother for Use
Preparation is the first step toward achieving perfect frothy milk. Here’s how to get your Aerolatte To Go Milk Frother ready.
Inserting the Batteries
The frother is powered by AA batteries. Installing them correctly will ensure optimal performance.
- Remove the Battery Cover: The cover is usually located at the end of the handle.
- Insert the Batteries: Ensure you place them in the correct orientation as indicated.
- Replace the Cover: Securely snap the cover back into place.
Cleaning the Frother Wand
It’s key to clean your frother before its first use and after every subsequent use to ensure hygiene and optimal performance.
- Rinse the Wand: Run the frother for a few seconds in a mug of hot soapy water, then rinse the whisk and switch it on briefly to spin it dry. Keep water off the handle.
- Use Mild Detergent: If necessary, apply a small amount of mild dish soap.
- Rinse Thoroughly: Make sure to remove all soap residues to avoid affecting the taste of your milk.
- Dry the Wand: Wipe the wand with a clean towel or let it air dry.
Choosing the Right Milk
The type of milk you choose can significantly impact the quality of your froth. Here are some considerations:
Dairy Milk
Whole Milk: Provides a rich, creamy froth due to its fat content.
2% Milk: Offers a balance between creaminess and health-conscious choice.
Skim Milk: Produces froth that is airy and has larger bubbles.
Non-Dairy Milk
Soy Milk: Froths well and has a creamy texture ideal for lattes.
Almond Milk: Often produces a light, airy froth.
Oat Milk: Known for its creamy, smooth froth and has become a popular choice.
| Type of Milk | Froth Quality |
|---|---|
| Whole Milk | Rich and creamy |
| 2% Milk | Balanced |
| Skim Milk | Airy with larger bubbles |
| Soy Milk | Creamy |
| Almond Milk | Light and airy |
| Oat Milk | Smooth and creamy |
Frothing the Milk
Once your Aerolatte To Go Milk Frother is prepared and you’ve chosen your milk, it’s time to start frothing. Follow these steps for the best results.
Step-by-Step Guide to Frothing
- Warm the Milk: For best results, warm the milk to about 140°F (60°C), the temperature Aerolatte’s instructions give. Avoid boiling, as this can alter the taste and texture.
- Pour the Milk: Fill a tall, narrow container about one-third full with the warmed milk.
- Insert the Frother Wand: Place the frother wand into the milk, starting with the whisk close to the bottom of the mug, then raise it as the foam builds so it stays just under the top of the froth.
- Switch On: Turn on the frother using the on/off switch. Start frothing by moving the wand in a circular motion.
- Create Volume: Gradually move the frother wand up and down, allowing air to be incorporated and creating a dense froth.
- Monitor Consistency: Continue frothing until you reach your desired consistency. This generally takes 15 to 20 seconds.
- Turn Off and Remove: Turn off the frother and carefully remove it from the milk.
Tips for Effective Frothing
- Angle the Container: Slightly tilting the container helps to incorporate air more effectively.
- Avoid Over-Frothing: Too much frothing can make the milk too airy and unappetizing.
- Clean Immediately: Clean the frother wand immediately after use to prevent milk residue from hardening.
Serving Suggestions
Now that you have perfectly frothed milk, let’s explore some serving suggestions to improve your beverages.
Classic Cappuccino
- Espresso: Brew a shot of espresso.
- Pour Milk: Pour the frothed milk over the espresso.
- Top with Foam: Use a spoon to add a layer of foam on top.
Creamy Latte
- Espresso or Coffee: Brew a shot of espresso or a strong cup of coffee.
- Mix in Milk: Pour the frothed milk into the coffee, stirring gently.
- Swirl the Foam: Add a final swirl of foam on top.
Hot Chocolate
- Hot Cocoa Mix: Prepare hot cocoa in a cup.
- Frothed Milk: Add the frothed milk to the hot cocoa.
- Top with Marshmallows: Garnish with mini marshmallows for an indulgent treat.
Iced Coffee
- Frothed Milk: Froth cold milk instead of heating it.
- Cold Brew: Pour cold brew coffee into a glass filled with ice.
- Top with Frothed Milk: Add the frothy cold milk on top.
Maintaining Your Aerolatte To Go Milk Frother
Maintaining your Aerolatte To Go Milk Frother ensures its longevity and performance. Follow these maintenance tips to keep your frother in tip-top shape.
Regular Cleaning
- After Each Use: Rinse the frother wand under warm water immediately after use.
- Deep Clean: Occasionally, perform a deeper clean using mild detergent and ensuring no residues remain.
Battery Replacement
Change the batteries periodically to maintain optimal performance. Weak batteries can result in lesser frothing power.
Storage
Store the Aerolatte in its protective tube when not in use. This prevents damage and keeps it clean.
Troubleshooting Common Issues
Even the best tools can encounter issues. Here are some common problems you might face and how to resolve them.
Frother is Not Turning On
- Check Batteries: Ensure the batteries are correctly inserted and not depleted.
- Inspect the Switch: Make sure the on/off switch is functioning correctly.
Froth is Not Good Quality
- Check Milk Type: Different milk types froth differently. Ensure you’re using a milk that froths well.
- Heating Issues: If the milk is too hot or too cold, it may not froth properly. Aim for around 140°F (60°C).
Frother Wand is Clogged
- Deep Clean: Perform a deep clean if you notice any clogging.
- Regular Maintenance: Ensure you clean the wand immediately after each use to prevent clogs.
Environmental Considerations
It’s also important to consider the environmental impacts of our kitchen appliances. Here’s how you can make environmentally friendly choices with your Aerolatte To Go Milk Frother.
Battery Disposal
Improper disposal of batteries can harm the environment. Make sure to:
- Recycle Batteries: Use designated battery recycling programs.
- Opt for Rechargeable Batteries: Consider using rechargeable batteries to reduce waste.
Sustainable Milk Choices
- Plant-based Milks: Non-dairy milks often have a smaller carbon footprint.
- Local Sources: Purchase milk from local suppliers to reduce transportation emissions.
Aerolatte’s Own Frothing Numbers
Aerolatte still sells this model as the Original Steam Free Milk Frother To-Go, with the same storage tube and an 18/8 stainless steel whisk. Its printed instructions give exact numbers, and they are worth following before you start improvising.
| Step | What Aerolatte says |
|---|---|
| Milk temperature | Heat to 60°C (140°F), and do not boil |
| How much milk | Fill a tall mug one third full |
| Where to start | Whisk close to the base of the mug |
| While frothing | Raise the whisk so it stays just under the top of the froth, moving slowly around the outside |
| How long | 15 to 20 seconds |
| Batteries | Two AA alkaline, included |
| When to change them | When the motor slows and the shaft wobbles, after about 150 uses |
| Cleaning | Run it in hot soapy water, rinse, then switch on for a few seconds to dry |
| Never | Put it in the dishwasher or let water reach the handle |
The 140°F target matters more than it looks. Milk heated well past it foams less willingly and tastes flatter, because hot milk loses the sweetness that makes a latte taste rich without sugar.
Hot Foam vs Cold Foam With the Aerolatte
- Hot foam for a latte: keep the whisk deeper for longer, closer to 15 seconds. You want small bubbles folded into the milk rather than a tall cap.
- Hot foam for a cappuccino: spend more of the 20 seconds near the surface so more air gets pulled in. The foam should sit in a thick layer on top.
- Cold foam: Aerolatte’s advice is to use milk as cold as possible. Pour it straight from the fridge into a chilled glass and froth near the surface. Our cold foam guide covers which milks hold their shape longest.
If you are unsure which drink you are aiming for, our cappuccino vs latte breakdown explains how much foam each one needs.
Aerolatte milk frother: FAQ
How long should you froth milk with an Aerolatte?
Froth milk with an Aerolatte for 15 to 20 seconds, which is the time Aerolatte’s instructions give for a third of a tall mug of milk. Going much longer mostly adds big bubbles that collapse.
Can the Aerolatte go in the dishwasher?
No, Aerolatte says the frother should never go in the dishwasher. Run the whisk in hot soapy water, rinse it, spin it dry, and keep water away from the handle, which houses the motor and batteries.
When should you replace the Aerolatte’s batteries?
Replace the batteries when the motor noticeably slows and the whisk shaft starts to wobble, which Aerolatte puts at about 150 uses. If you froth daily and want more power, our best milk frother guide compares handheld and electric picks. More milk drink guides live on the Coffee Rank IQ homepage.
Conclusion
Achieving perfectly frothed milk at home is not just a possibility but a certainty with the Aerolatte To Go Milk Frother. By following the steps detailed in this article, paying attention to the type of milk you use, and maintaining your frother, you can improve your homemade beverages to barista-quality levels. Enjoy the convenience, efficiency, and consistency this amazing tool provides, and make every cup a delightful experience.
Keep Exploring Coffee Rank IQ
- Coffee Rank IQ home: reviews, brewing guides, and coffee science
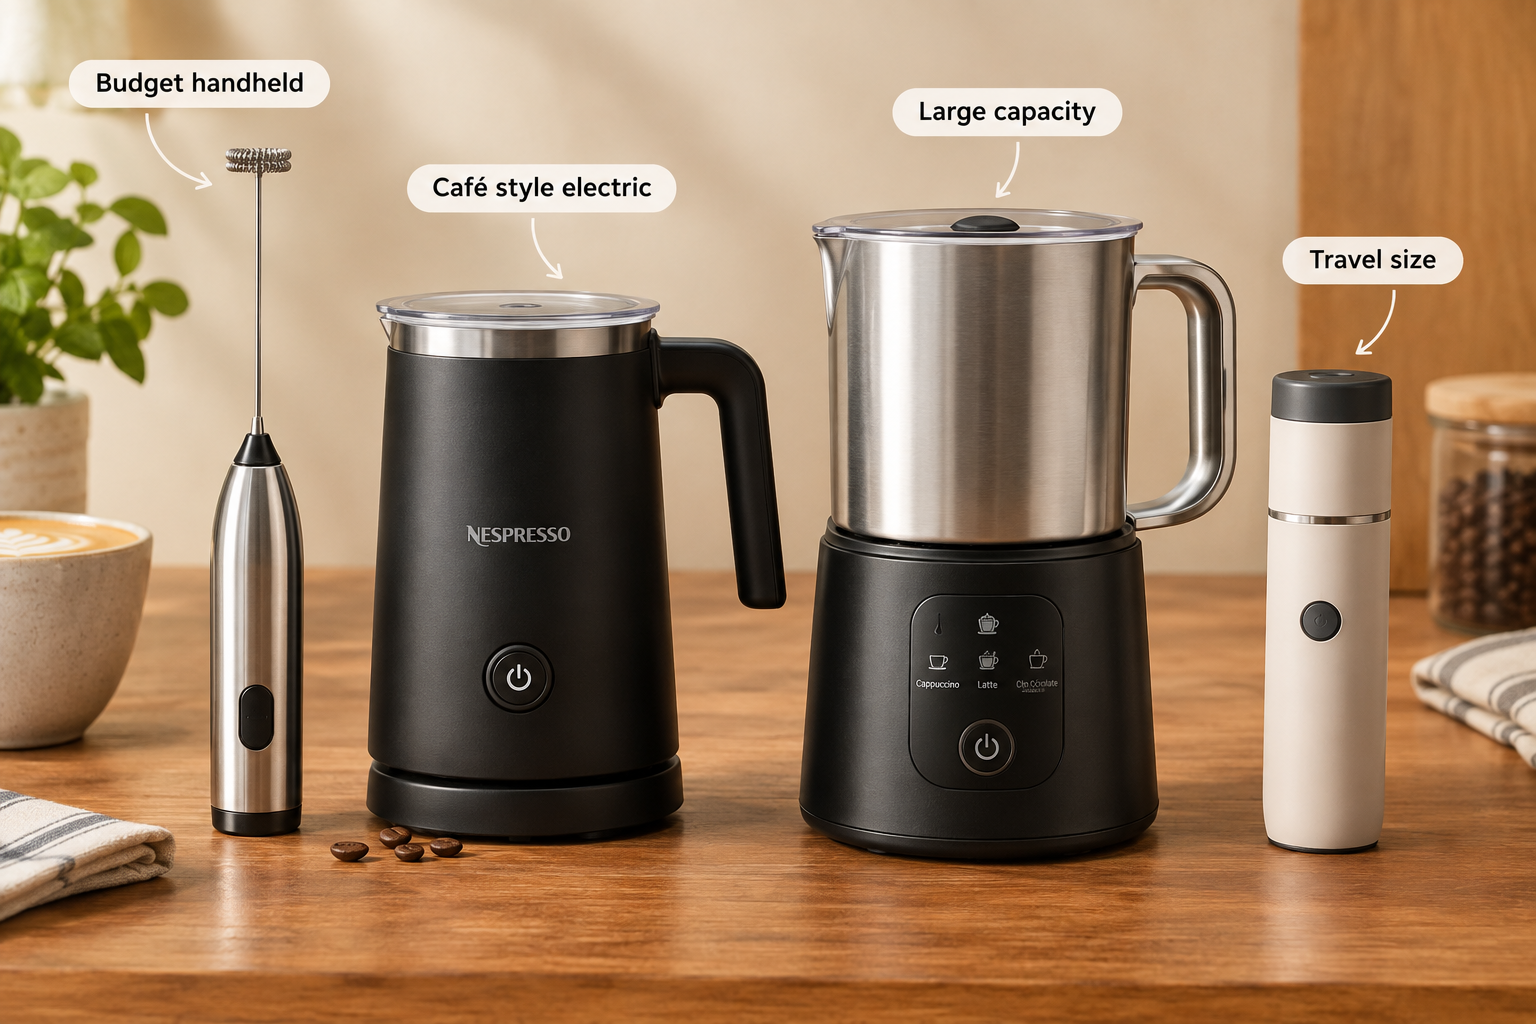
- Best Milk Frother for Lattes at Home: Handheld vs Electric
- Best Milk Frother for Lattes at Home: Handheld vs Electric
- How To Use The Breville Milk Cafe Milk Frother
- Complete Guide To Using The Secura Automatic Electric Milk Frother And Warmer