Latte Art Patterns: Heart, Tulip, and Rosetta Step by Step
You have mastered the art of making a perfect espresso, but are you ready to take your skills to the next level? In this article, we will explore the exciting world of advanced espresso and uncover the essential tips and techniques for creating mesmerizing latte art. From mastering the delicate balance of milk frothing to perfecting the art of free pouring, you will discover the secrets to creating stunning designs that will leave your customers in awe. Get ready to bring out your creativity and improve your espresso game to new heights.
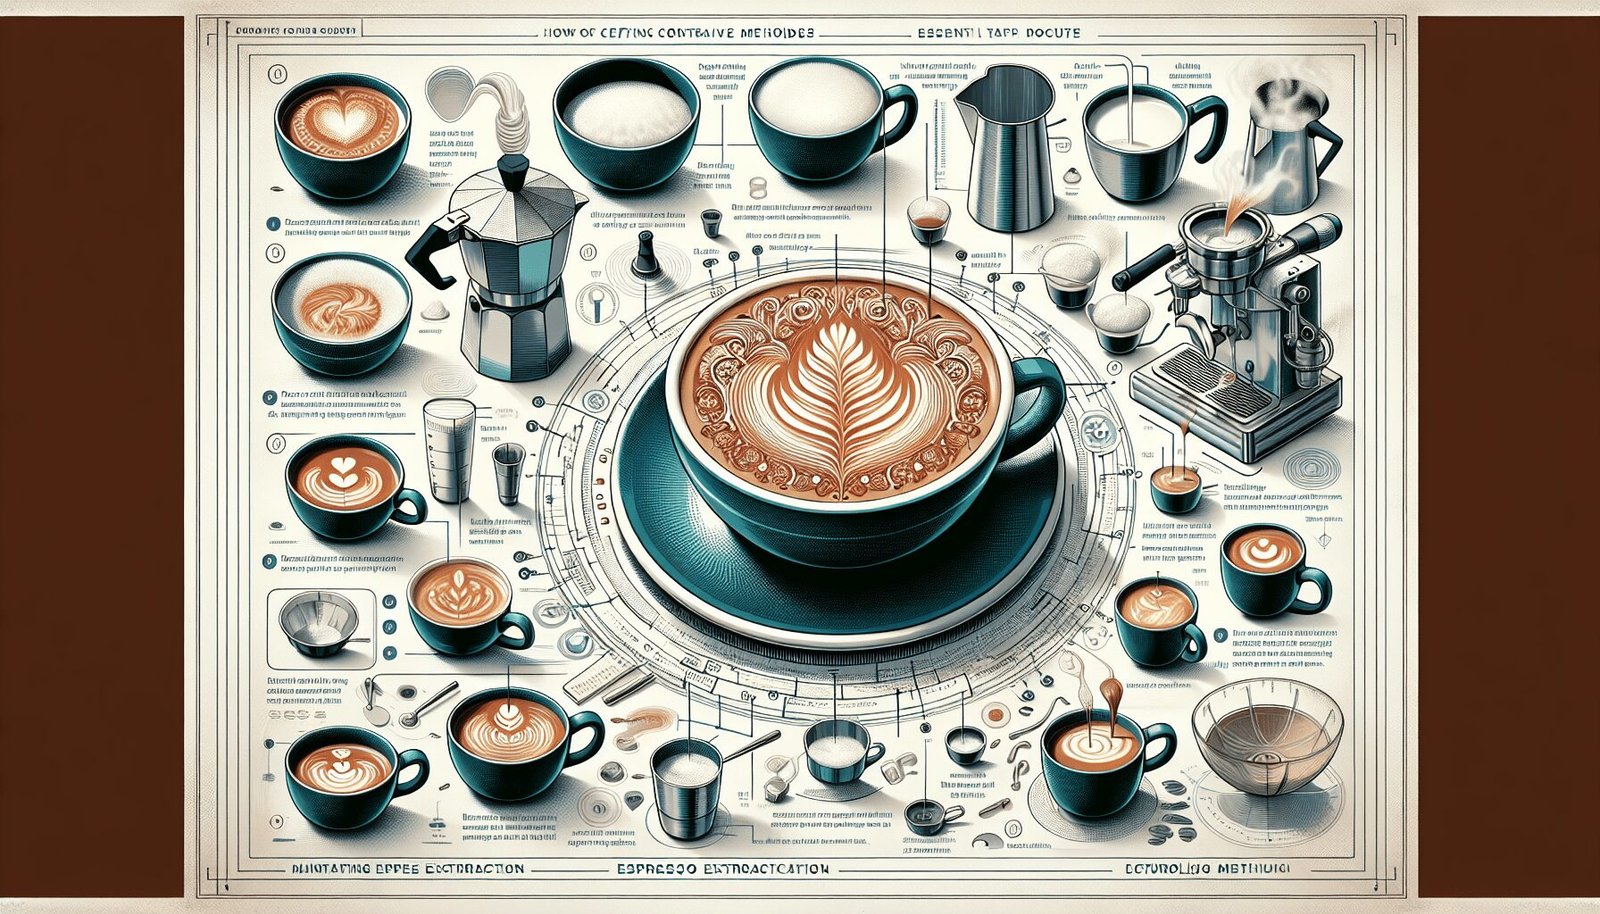
Learn latte art patterns in this order: heart, tulip, then rosetta. All three start the same way, pouring from a few inches up until the cup is about half full, then dropping the pitcher close to the surface so white foam spreads. The heart uses one steady pour, the tulip stacks circles, and the rosetta adds a wiggle.

Understanding Espresso
Defining what an espresso is
Espresso is a concentrated form of coffee that is brewed by forcing a small amount of hot water through finely ground coffee beans. It is known for its rich, bold flavor and its ability to deliver a quick, intense caffeine boost. Unlike other coffee brewing methods, espresso is made using a high-pressure espresso machine, which extracts the flavor from the coffee grounds in a matter of seconds.
History and origin of espresso
Espresso grew up in Italy between the late 1800s and the mid 1900s. Angelo Moriondo patented a steam-driven coffee machine in Turin in 1884, and the high-pressure lever machines that produce crema arrived after Achille Gaggia’s designs in the late 1940s. The popularity of espresso quickly spread throughout Italy and eventually reached other parts of the world, becoming a staple in coffee culture.
Different types of espresso drinks
Espresso serves as the base for a variety of delicious and popular coffee beverages. Some of the most common types of espresso drinks include:
-
Espresso: A shot of pure, concentrated coffee, typically served in a small cup or demitasse.
-
Cappuccino: A combination of equal parts espresso, steamed milk, and frothed milk, often topped with a dusting of cocoa powder or cinnamon.
-
Latte: A beverage made with a shot of espresso and steamed milk, usually topped with a small layer of frothed milk.
-
Americano: A diluted version of espresso where hot water is added to an espresso shot, creating a larger cup of coffee with a milder flavor.
-
Macchiato: A shot of espresso with a small amount of frothed milk added on top.
Becoming Familiar with Latte Art
Introduction to latte art
latte art refers to the practice of creating detailed and visually appealing designs on the surface of a latte or other espresso-based beverages. From simple heart shapes to elaborate patterns, latte art adds a touch of creativity and elegance to a cup of coffee. It requires skill, precision, and a keen eye for detail.
Importance and benefits of latte art
Latte art is more than just a visually pleasing addition to a cup of coffee. It demonstrates the skill and expertise of a barista and reflects the care and attention that goes into preparing the drink. For coffee enthusiasts, latte art improves the overall sensory experience of enjoying a cup of coffee. It also has the potential to attract customers and differentiate a coffee shop in a competitive market.
Significance of latte art in coffee culture
Latte art has become a significant part of coffee culture, particularly in specialty coffee shops and cafes. It has gained popularity as a form of creative expression and has even become a competitive sport in some countries. Latte art competitions showcase the talents of baristas and encourage innovation and skill advancement in the coffee industry. Also, latte art has become a way for coffee shops to showcase their brand and create a unique visual identity.
Ingredients Required for Latte Art
Quality of beans
The quality of coffee beans plays a key role in achieving excellent latte art. It is important to choose beans that are freshly roasted and of high quality. Specialty coffee beans are often preferred for their complex flavors and aromas, which can contribute to the overall taste and appearance of latte art.
Use of fresh milk
Fresh milk is essential for creating the right texture and consistency for latte art. Whole milk, with its higher fat content, is commonly used as it provides a creamy and smooth surface for the latte art design. It is important to steam the milk properly to achieve the ideal temperature and foam consistency needed for latte art.
Importance of brewing temperature
The brewing temperature of espresso affects the flavor and quality of the coffee. It is key to maintain the correct temperature range when brewing espresso for latte art. Too high a temperature can result in bitter and burnt flavors, while too low a temperature can lead to under-extraction and weak flavors.
Significance of grinding size
The size of the coffee grounds used for espresso extraction is another important factor in achieving great latte art. The grind size affects the rate of extraction and the flavor profile of the coffee. Espresso needs a fine grind whether or not you pour art on top. What matters for latte art is a dialed-in shot with enough crema to give the white milk a brown canvas to contrast against.
The Espresso Machine and its Role
Different types of espresso machines
There are various types of espresso machines available, each with its own unique features and capabilities. The most common types include:
-
Manual espresso machines: These lever machines have no pump; you create the brewing pressure yourself by pulling the lever, which gives full control over pressure and shot length.
-
Semi-automatic espresso machines: These machines automate some aspects of the brewing process, such as water temperature and pressure, but still allow for manual control over other variables.
-
Automatic espresso machines: These machines work like semi-automatics but stop the shot on their own at a programmed volume, so you still grind, dose, and tamp.
-
Super-automatic espresso machines: These machines automate the entire brewing process, from grinding to brewing, with the press of a button. They are designed for ease of use and convenience.
Understanding how an espresso machine works
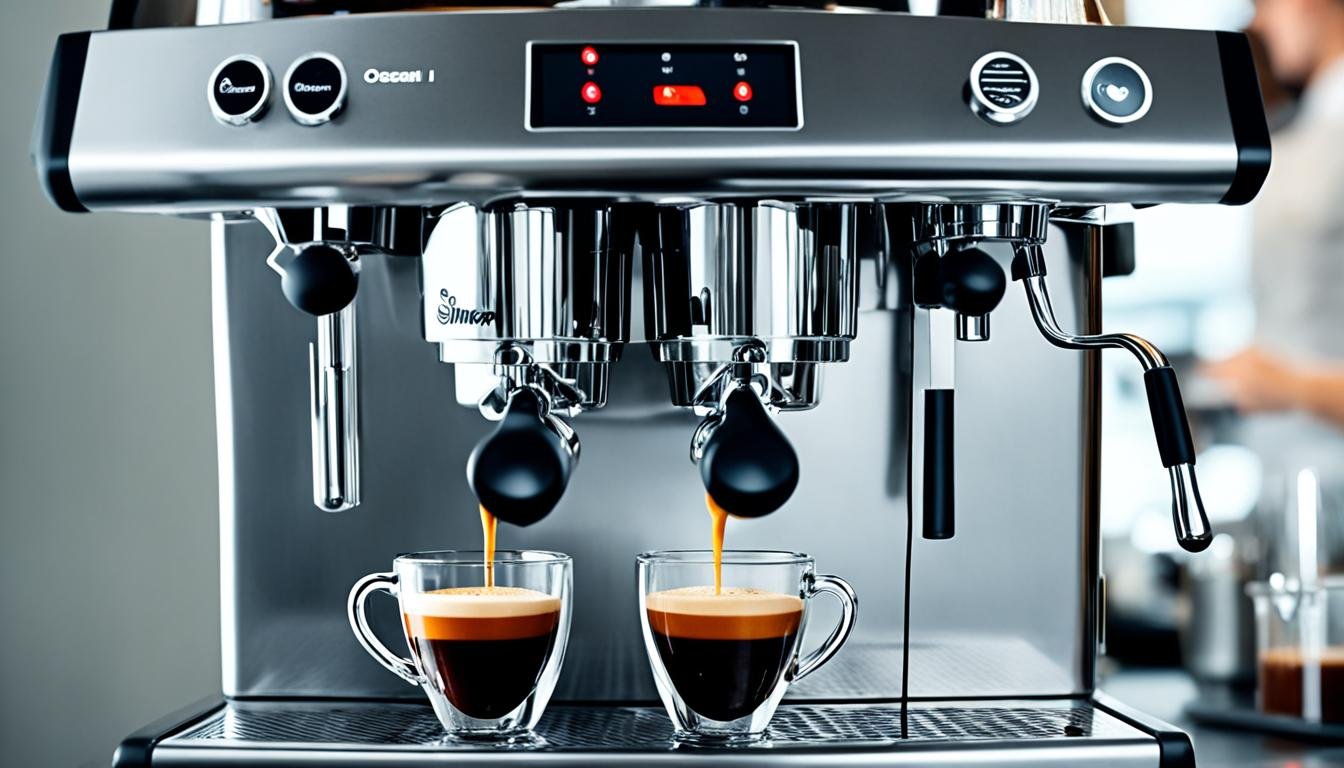
Espresso machines work by forcing hot water through a compacted puck of finely ground coffee under high pressure. The pressure is created by a pump, which pushes the water through the coffee grounds and extracts the flavors and oils from the beans. The water is typically heated using either a boiler or a thermoblock system, ensuring that it reaches the optimal brewing temperature.
Maintenance and cleaning of espresso machines
Regular maintenance and cleaning are essential for keeping espresso machines in optimal condition and ensuring the best possible coffee quality. This includes daily cleaning of the portafilter, group head, and steam wand, as well as periodic descaling and backflushing to remove any built-up residue and mineral deposits. Proper maintenance not only extends the lifespan of the machine but also helps to maintain the flavor and consistency of the espresso.
Mastering the Milk Steaming Process
Understanding the science behind milk steaming
The process of steaming milk for latte art involves creating microfoam, which is a smooth, velvety mixture of steamed milk and air bubbles. The goal is to achieve a creamy and velvety texture that is easy to pour and manipulate for latte art designs. Properly steamed milk improves the taste and appearance of the latte, providing a balanced and pleasing experience.
Effective techniques for milk steaming
There are several techniques that baristas use to steam milk for latte art. The most common technique involves submerging the steam wand a few millimeters below the surface of the milk, creating a whirlpool effect that helps incorporate air into the milk. As the milk heats, the steam wand is gradually lowered to maintain the desired texture and temperature. This technique requires practice and precision to achieve the desired results.
Common mistakes in milk steaming
Milk steaming can be challenging, and it is common for baristas to make mistakes during the process. Some common mistakes include overheating the milk, which can result in scalded flavors and poor foam consistency, as well as underheating the milk, leading to a thin and unsatisfactory texture. Inconsistent pouring techniques and inadequate steaming time can also affect the outcome of the latte art.
Precision in Espresso Extraction
Defining espresso extraction
Espresso extraction refers to the process of extracting the flavors and compounds from the coffee grounds by passing water through them under high pressure. The goal is to achieve a balanced and flavorsome shot of espresso that showcases the unique characteristics of the coffee. Proper extraction is key for obtaining the optimum flavors and aromas from the coffee beans.
Ideal conditions for espresso extraction
Several factors contribute to the ideal conditions for espresso extraction. These include water temperature, brew ratio (the ratio of coffee to water), grind size, and extraction time. The water temperature should be between 195°F and 205°F, as this range allows for optimal extraction of the coffee flavors. The brew ratio and grind size should be adjusted according to the desired strength and flavor profile of the espresso.
Balancing time, temperature, and grind for optimal extraction
Achieving optimal extraction requires finding the right balance between brew time, temperature, and grind size. The brew time should typically fall within the range of 25 to 30 seconds, as prolonged extraction can lead to over-extraction and bitterness, while shorter extraction times may result in under-extraction and weak flavors. Adjusting the grind size and water temperature can help fine-tune the extraction process and achieve the desired flavor profile.
Brewing the Perfect Espresso Shot
Steps to brewing an espresso shot
brewing the perfect espresso shot involves several key steps:
- Start with freshly roasted coffee beans and grind them to the appropriate size.
- Distribute the coffee grounds evenly in the portafilter and tamp them down using firm and even pressure.
- Lock the portafilter into the espresso machine’s group head.
- Start the extraction process, ensuring that the water flows evenly through the coffee grounds for the desired brewing time.
- Monitor the extraction process, adjusting the grind size, and extraction time if necessary.
- Stop the extraction once the desired volume and color of the espresso shot have been achieved.
Identifying a well-extracted espresso shot
A well-extracted espresso shot should have a balanced flavor profile, with a rich crema on top and a smooth, full-bodied taste. The crema, which is the layer of foam that forms on the surface of the espresso, should be thick and golden-brown in color. The taste should be free from any bitterness or sourness, and the coffee should have a pleasant aftertaste that lingers on the palate.
Troubleshooting espresso brewing issues
Several common issues can arise during the espresso brewing process. Some troubleshooting steps to consider include adjusting the grind size if the shot is too fast or too slow, adjusting the brew ratio if the shot tastes weak or too strong, and checking the water temperature if the shot lacks complexity or exhibits off-flavors. Experimenting with these variables can help identify and resolve any issues in the brewing process.
The Art of Pouring: From Basics To Patterns
Basic pouring techniques for latte art
The foundation of latte art lies in mastering basic pouring techniques. The most fundamental technique is known as the “free pour,” where milk is poured into the espresso shot from a specific height and angle. This creates a canvas for the barista to manipulate the milk and create different designs. Two related techniques build on it: the wiggle, a side-to-side rocking of the pitcher that forms rosetta leaves, and etching, where you drag a thin tool through the finished foam to draw details.
Creating simple patterns: Heart, Rosetta, and Tulip
The heart, rosetta, and tulip are among the most popular and commonly created latte art patterns. The heart is a single white circle poured close to the surface, then cut through with a thin lifted stream. The rosetta comes from wiggling the pitcher side to side while drifting backward, then pulling a line through the ripples. The tulip stacks several small circles, each pushed into the one before, finished with a line through the middle.
Advanced latte art patterns: Swan, Winged-Heart, and Phoenix
For those who have mastered the basic patterns, there is a world of advanced latte art waiting to be explored. The swan pattern involves detailed pouring techniques to create the illusion of a swan in flight. The winged-heart pattern incorporates elements of the heart and the tulip, combining them to create a visually captivating design. The phoenix pattern presents a challenge with its detailed feathers and bold lines, requiring expert control and precision.
Troubleshooting Latte Art Problems
Common problems while making latte art
While creating latte art, baristas may encounter various challenges. Some common problems include:
-
Poor contrast: The design lacks visibility due to improper milk-to-espresso ratio or inconsistent pouring techniques.
-
Inconsistent patterns: The design appears messy or distorted due to unsteady hand movements or improper milk steaming.
-
Lack of definition: The design lacks clarity or definition due to improper pouring speed or frothing techniques.
-
Dissolving patterns: The design disappears quickly after pouring due to not achieving the right milk froth consistency or temperature.
Solutions to potential latte art problems
To address common latte art problems, baristas can implement the following solutions:
-
Adjusting milk-to-espresso ratio: Experiment with different ratios to achieve better contrast and visibility.
-
Improving pouring technique: Practice steady hand movements and consistent pouring speed to create more defined and well-formed patterns.
-
Perfecting milk steaming: Improve milk steaming techniques to achieve the correct froth consistency and temperature, ensuring a long-lasting design.
-
Ensuring a clean canvas: Use clean and properly textured espresso shots as the base for the latte art, as this can greatly impact the clarity and longevity of the design.
Avoiding repetition of latte art mistakes
Mistakes are an inevitable part of the learning process for latte art. But, practicing mindfulness, regular self-assessment, and seeking feedback from experienced baristas can help avoid repeating the same mistakes. Learning from past errors allows baristas to refine their techniques and continuously improve their latte art skills.
Embracing Creativity in Latte Art
Exploring innovative patterns
Latte art is not limited to traditional patterns. Baristas are encouraged to explore and create innovative designs that push the boundaries of traditional latte art. From abstract shapes to detailed landscapes, the possibilities are endless. By experimenting with different pouring techniques, milk textures, and unconventional tools, baristas can truly showcase their creativity and create unique works of art in every latte.
Adding color and other ingredients to latte art
For an extra touch of creativity, baristas can improve their latte art by adding color and other ingredients. Edible food coloring can be used to create vibrant designs, adding a visually appealing element to the latte. Also, baristas can experiment with flavored syrups, spices, or edible glitter to further improve the taste and presentation of the latte art. These creative additions allow for an improved and personalized customer experience.
Participation in latte art competitions
Latte art competitions provide an excellent platform for baristas to showcase their skills and creativity on a larger scale. These events bring together talented baristas from around the world to compete and share their knowledge and techniques. By participating in such competitions, baristas have the opportunity to gain recognition, expand their network, and learn from fellow competitors, further fueling their passion for latte art and pushing the boundaries of their creativity.
In conclusion, understanding and appreciating espresso and mastering the art of latte art requires a combination of knowledge, skill, and creativity. From understanding the history and origins of espresso to perfecting the milk steaming process and pouring techniques, each step is integral to achieving a well-crafted cup of coffee. By embracing creativity and continuously pushing the boundaries, baristas can improve their latte art skills and create truly remarkable and visually captivating coffee creations. So, go ahead and look at espresso and latte art, and let your imagination run wild!
Milk Targets Before You Pour
Every pattern below fails the same way when the milk is wrong, so check these first.
| Check | Target | Why it matters |
|---|---|---|
| Milk | Cold whole milk, or a barista edition plant milk | Fat and protein hold fine bubbles. Skim foams easily but pours stiff and dry. |
| Pitcher | A 12 oz (350 ml) pitcher with a pointed spout for a standard latte cup | A sharp spout makes thin lines. A pitcher that is too large leaves too little milk to swirl. |
| Temperature | 55 to 65°C (130 to 150°F), when the pitcher is too hot to hold for more than a second | Hotter milk loses sweetness and its foam goes stiff and bubbly. |
| Texture | Glossy, like wet paint, with no visible bubbles | Large bubbles break the pattern apart. Tap and swirl to fix small ones. |
| Timing | Pour within about 30 seconds of steaming, swirling until you do | Foam starts separating from the liquid as soon as the wand stops. |
A steam wand with real pressure makes this far easier. Our best cappuccino machine guide explains why the wand decides the drink. Without a wand, a good electric frother can still make pourable foam; our best milk frother guide compares handheld and electric options.
Heart, Tulip, and Rosetta: Step by Step
All three patterns share the same first move. Tilt the cup toward the pitcher and pour a thin stream from 3 to 4 inches up into the center until the cup is about half full. That mixes milk under the crema and leaves a clean brown canvas.
Heart
- Drop the spout until it almost touches the surface, then pour a little faster. A white circle appears.
- Keep pouring in the same spot while you slowly level the cup. The circle grows.
- When the cup is nearly full, lift the pitcher a few inches, thin the stream, and draw it straight through the circle. The line pulls the circle into a heart.
Tulip
- Drop close and pour a small circle, then stop the flow.
- Pour a second circle just behind the first and push it forward slightly so it nests into the first.
- Repeat for three to five stacks, each a bit smaller, moving back toward you.
- Lift and pull a thin line through all the stacks to finish.
Rosetta
- Drop the spout close to the surface, starting slightly past the center of the cup.
- Rock the pitcher side to side with small, quick wrist movements. Ripples of white will start to fold across the surface.
- Keep wiggling while you drift backward toward the near edge of the cup.
- At the edge, stop wiggling, lift the pitcher, and pull a thin line forward through the center.
Practice the heart until it lands in the middle of the cup every time, then move to the tulip. The rosetta comes last because the wiggle takes the most hand control. For steaming drills and practice routines, see our latte art tips guide. More milk drink guides live on the Coffee Rank IQ homepage.
FAQ
Which latte art pattern should I learn first?
Learn the heart first, because it uses only one pour position and one finishing line. Once the heart is centered and symmetrical, the tulip is just several small hearts stacked together, and the rosetta adds the wiggle.
Why does my latte art sink or disappear?
The milk usually has too little foam or has started to separate. Stretch the milk a second or two longer, pour sooner after steaming, and swirl right up until you pour. If the white spreads everywhere at once, you have too much foam, which suits a cappuccino better than a latte.
Can you make latte art with oat milk?
Yes, barista editions of oat milk pour well because they are formulated to hold microfoam. Regular cartons often foam poorly and separate fast. Steam plant milks a little cooler than dairy and pour right away. Our flat white vs latte guide shows how the same foam changes the drink.