How to Use an AeroPress: Recipe, Grind Size, Inverted Method
In “The Complete Guide to Using the AeroPress Coffee and Espresso Maker,” you will discover a complete resource built to improve your coffee-brewing expertise. This guide offers step-by-step instructions, essential tips, and invaluable insights, ensuring that you master every aspect of the AeroPress. Whether you are a novice or a seasoned coffee enthusiast, you will learn how to extract maximum flavor, achieve the perfect grind, and explore various brewing techniques to suit your palate. Look at this complete resource, and transform your coffee experience.
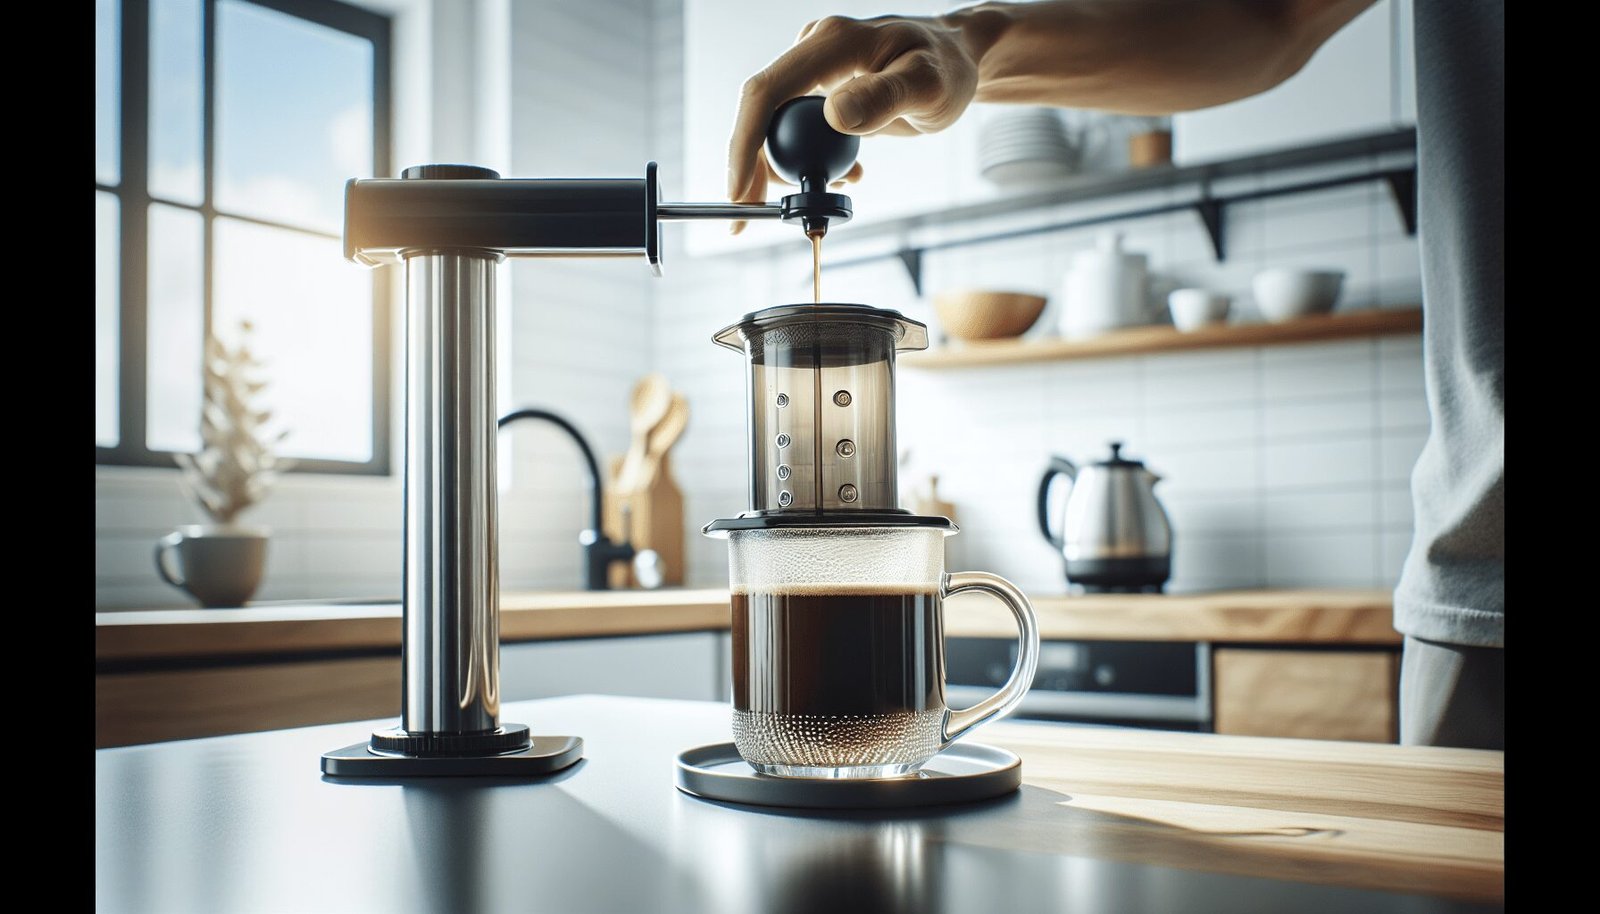
How to use an aeropress, in short: To use an AeroPress, rinse a paper filter in the cap, add 16 to 18 grams of medium-ground coffee, pour 185°F water to the 4 mark, stir for 3 seconds, wait 60 seconds, then press gently until you hear a hiss. That is AeroPress’s own standard recipe, and the whole brew takes about two minutes.
The Complete Guide To Using The AeroPress Coffee And Espresso Maker
Have you ever wondered how to achieve the perfect cup of coffee or espresso without the complexity of bulky machines and detailed procedures? If so, this guide on the AeroPress Coffee and Espresso Maker is exactly what you need.
The AeroPress is a versatile, portable, and user-friendly device that has garnered a dedicated following among coffee enthusiasts. In this guide, you will find complete information designed to help you master the AeroPress and brew a cup of coffee or espresso that meets your highest standards.
What is the AeroPress?
The AeroPress is a device for brewing coffee that was invented by Alan Adler in 2005. It uses immersion, air pressure, and filtration to produce a coffee that is both rich and smooth. The unique design and methodology set the AeroPress apart from other brewing methods, enabling it to create coffee that rivals much more expensive machines.
Key Components of the AeroPress
Understanding the different parts of the AeroPress is key for making the most of your brewing experience. The AeroPress consists of several key components:
| Component | Description |
|---|---|
| Plunger | A cylindrical tube that fits into the main chamber to create air pressure. |
| Chamber | The main body where coffee grounds and water are placed. |
| Filter Cap | Secures the filter at the bottom of the chamber. |
| Paper Filters | Disposable filters that prevent coffee grounds from entering your cup. |
| Stirrer | Used to agitate the coffee grounds, ensuring even extraction. |
| Scoop | Helps measure the appropriate amount of coffee grounds. |
By familiarizing yourself with these components, you will find the AeroPress easier to use and maintain.
Benefits of Using the AeroPress
The AeroPress offers several benefits that make it a favorite among coffee lovers:
- Versatility: The AeroPress brews full cups of coffee and a strong espresso-style concentrate for milk drinks.
- Portability: Its compact design makes it perfect for travel, outdoor activities, or small kitchens.
- Ease of Use: Simple to assemble, use, and clean, ideal for both beginners and seasoned coffee makers.
- Consistency: Achieves consistent results due to its precise brewing process.
The Brewing Process
Step-by-Step Instructions
Now, let’s look at the detailed steps to brew the perfect cup using your AeroPress.
Step 1: Prepare Your Supplies
Before starting, gather all the necessary supplies:
- AeroPress
- Paper Filter
- Freshly Ground Coffee
- Hot Water (AeroPress recommends 185°F or 85°C)
- Stirrer
- Coffee Mug or Carafe
Step 2: Assemble the AeroPress
- Insert Filter: Place a paper filter inside the filter cap and rinse it with hot water to remove any paper taste.
- Attach Filter Cap: Screw the filter cap onto the chamber.
- Position the Chamber: Place the chamber on top of your cup or carafe.
Step 3: Add Coffee and Water
- Measure Coffee: Use the scoop to measure one to two scoops of coffee grounds into the chamber.
- Pre-wet Grounds: Pour a small amount of hot water over the coffee grounds, just enough to wet them. Stir for 10 seconds.
- Add More Water: Fill the chamber with hot water up to the desired level, usually marked on the chamber itself.
Step 4: Stir and Plunge
- Stir Again: Stir the mixture for another 10 seconds to ensure even saturation.
- Insert Plunger: Place the plunger into the chamber and press down slowly and steadily. The plunge should take about 20 to 30 seconds.
Step 5: Serve and Enjoy
Once the plunger reaches the bottom, you can serve and enjoy your freshly brewed coffee or espresso.
Common Mistakes and How to Avoid Them
Mistakes happen, but knowing how to avoid common pitfalls will help you make the perfect cup every time.
- Incorrect Coffee Grind Size: A fine grind is essential for a strong brew, while a coarser grind will produce a weaker coffee.
- Inconsistent Water Temperature: Use a thermometer to ensure water temperature is within the optimal range (90°C-96°C or 195°F-205°F).
- Rushing the Plunge: Pressing the plunger too quickly can result in bitter coffee. Aim for a slow and steady plunge.
Advanced Techniques for AeroPress
Once you are comfortable with the basics, you can explore advanced techniques to improve your AeroPress experience.
The Inverted Method
The inverted method is a popular variation that many users find improves the flavor of their coffee.
- Invert the AeroPress: Assemble the AeroPress with the plunger at the bottom and the chamber placed upside down.
- Add Coffee and Water: Add coffee grounds and water as described in the standard method.
- Stir and Steep: Stir the mixture and let it steep for 1-2 minutes.
- Attach Filter Cap: Secure the filter cap onto the chamber.
- Flip and Plunge: Carefully flip the AeroPress onto your mug and plunge as usual.
Recipes and Variations
The AeroPress is versatile enough to accommodate a variety of recipes:
- Café Americano: Add hot water to your espresso for a smooth, flavorful coffee.
- Cappuccino: Brew a strong cup of coffee and add frothed milk.
- Cold Brew: Use cold water and let the mixture steep for an extended period before plunging.
Grind Size and Measurements
Adjusting the grind size and coffee-to-water ratio can significantly impact the flavor of your brew. Here are some guidelines to help you experiment:
| Coffee Type | Grind Size | Coffee-to-Water Ratio |
|---|---|---|
| Espresso | Fine | 1:2 |
| Regular Coffee | Medium | 1:15 |
| Cold Brew | Coarse | 1:8 |
Maintenance and Cleaning
Proper maintenance ensures that your AeroPress remains in optimal condition for years to come.
Regular Cleaning
- Disassemble Components: Separate the plunger, chamber, and filter cap.
- Rinse Thoroughly: Rinse all parts with warm water to remove coffee residue.
- Clean Filter Cap: Pay extra attention to the filter cap, ensuring no grounds are left behind.
Deep Cleaning
- Monthly Maintenance: Perform a deep clean once a month by soaking all parts in a mixture of hot water and vinegar.
- Dry Completely: Allow all parts to dry completely before reassembling.
Replacing Filters
Regularly replace the paper filters to maintain optimal flavor and filtration. Paper filters are generally inexpensive and readily available.
Troubleshooting Tips
Encountering issues with your AeroPress? Here are some common problems and how to resolve them:
- Weak Brew: Ensure you are using the right coffee-to-water ratio and grind size.
- Bitter Coffee: Check the water temperature and avoid over-extraction by not pressing the plunger too quickly.
- Leakage: Secure the filter cap tightly and ensure the filter is properly seated.
The Official AeroPress Recipe, by the Numbers
AeroPress publishes its own starting recipe on its how to use page, and it is gentler than most people expect. The water is cooler than a pour over kettle and the stir is barely a stir.
| Variable | AeroPress’s standard recipe |
|---|---|
| Coffee | 1 heaping scoop, or 16 to 18 grams |
| Grind | Medium |
| Water temperature | 185°F (85°C), or just-boiled water if your kettle has no temperature control |
| Water level | Up to the 4 mark on the chamber |
| Stir | Gently, for 3 seconds |
| Steep | 60 seconds |
| Press | Gentle, constant pressure until you hear a hiss |
That hiss is air pushing through the spent coffee bed. Stop there. Pressing past it squeezes the last, driest flavors out of the puck and into your mug.
How to Fix a Cup That Tastes Wrong
Change one variable at a time, then brew again. Grind size moves the flavor the most, so start there.
| What you taste or feel | Likely cause | What to change next brew |
|---|---|---|
| Sour, thin, a little salty | Under-extraction | Grind finer or steep 30 seconds longer |
| Bitter, dry finish | Over-extraction | Grind coarser, use cooler water, or stop at the hiss |
| Plunger will barely move | Grind too fine | Grind one step coarser and press with less force |
| Coffee drips through before you press | Normal for the upright method | Brew inverted, or insert the plunger right after stirring to hold a vacuum |
| Grounds in the cup | Filter not seated or cap cross-threaded | Rinse the filter so it sticks flat, then screw the cap on square |
A burr grinder makes this table far more useful, because a blade grinder gives you a mix of dust and chunks that no single fix can correct. Our manual coffee grinder guide covers compact hand grinders that fit in the same travel bag as an AeroPress.
Which AeroPress Model Fits Your Counter in 2026
The lineup has grown well past the single press Alan Adler introduced in 2005. These are the coffee makers and prices listed on the official AeroPress store in September 2026.
| Model | Best for | Price |
|---|---|---|
| AeroPress Original | The classic single cup at home | $39.95 |
| AeroPress Clear | Watching the brew through a see-through chamber | $49.95 |
| AeroPress Go | Travel, with the press packed inside its own mug | $49.95 |
| AeroPress Go Plus | A fuller travel kit | $89.95 |
| AeroPress Original XL | Double capacity for two mugs or a small carafe | $79.95 |
| AeroPress Clear XL | The XL in clear | $89.95 |
| AeroPress Steel | Stainless steel build | $169.95 |
| AeroPress Premium | Glass and metal build | $199.95 |
| AeroPress Premium Walnut | Glass and metal with walnut | $249.95 |
Every model uses the same press-and-filter idea, so the recipe above carries across. If you make one cup a day, the Original at $39.95 does the job. The pricier versions change materials and looks, and the XL changes how much you brew at once.
Still deciding between this and a press pot? Our AeroPress vs French press comparison covers body, cleanup and cost side by side. For more brewing guides and gear picks, start at the Coffee Rank IQ homepage.
How to use an aeropress: FAQ
Can an AeroPress make real espresso?
No, it makes a strong espresso-style concentrate, not true espresso. An espresso machine forces water through the coffee at much higher pressure than your hands can manage, which is where thick crema comes from. The AeroPress concentrate still works well under steamed milk, and our guide to making espresso without a machine compares it with other manual options.
Should I use the upright or inverted AeroPress method?
Use upright if you want the simplest routine and inverted if you want a longer steep without drips. The inverted method holds every drop in the chamber until you flip it, which suits recipes with steeps past 60 seconds. It also means flipping a cylinder full of hot water, so do it on a stable counter over the mug.
How much coffee goes in an AeroPress?
Use 16 to 18 grams, which is about one heaping AeroPress scoop. That dose with water to the 4 mark is AeroPress’s standard recipe. For a stronger cup, keep the dose and grind finer before you add more coffee.
Conclusion
Mastering the AeroPress Coffee and Espresso Maker can improve your coffee experience to new heights. With its versatility, ease of use, and ability to produce a consistently excellent brew, the AeroPress has rightfully earned its place in the toolkit of coffee enthusiasts worldwide. By following this guide, you are well on your way to becoming an AeroPress expert. Happy brewing!