Bambino Plus Settings: Button Combos, Milk Levels and Alerts
In this complete guide, you will discover the intricacies of the Breville Bambino Plus Compact Automatic Espresso Machine, a sophisticated appliance matched for crafting the perfect espresso. You will be taken through a detailed exploration of its features, setup processes, and operational techniques, ensuring you can maximize its capabilities. From understanding its user-friendly interface to mastering the art of achieving the ideal milk froth, this complete guide will equip you with all the knowledge required to improve your home brewing experience to a professional level.
The Bambino Plus settings you can change are shot volume, pre-infusion length, milk temperature (Warm, Ideal, Hot) and milk foam (Low, Medium, High). To program a shot, hold 1 CUP and 2 CUP for 2 seconds, then press a cup button to start and stop. Brew temperature is fixed and cannot be adjusted.
Complete Guide To Using The Breville Bambino Plus Compact Automatic Espresso Machine
Have you recently invested in the Breville Bambino Plus Compact Automatic Espresso Machine and find yourself overwhelmed by its functionalities? You’re not alone. This complete guide is designed to simplify the process of using this feature-packed piece of equipment, enabling you to brew high-quality espresso with ease.
Introduction
The Breville Bambino Plus is lauded for its compact design, innovative technology, and the ability to produce café-quality espresso at home. Despite its small footprint, it boasts features that rival even some commercial machines. In this guide, you’ll learn everything from the initial setup to advanced tips for getting the perfect shot every time.
Unboxing and Initial Setup
When you first unbox your Breville Bambino Plus, you’ll find several components, including the machine itself, a portafilter, filter baskets, a milk jug, and a tamper. Properly setting up your machine is key for a smooth brewing experience.
Components
| Component | Description |
|---|---|
| Machine Body | The core unit of the Bambino Plus. |
| Portafilter | A handle that holds the filter basket and coffee grounds. |
| Filter Baskets | Include both single and double shot options. |
| Milk Jug | A stainless steel jug for frothing milk. |
| Tamper | A tool to compress ground coffee into the portafilter. |
Step-by-Step Setup
- Plug-In and Water Reservoir: Plug in the machine and ensure the water reservoir is securely attached and filled with fresh water.
- Portafilter and Filter Baskets: Insert the appropriate filter basket into the portafilter. For beginners, starting with the dual-wall filter baskets can make the process easier.
- Run a Clean Cycle: Before making your first coffee, run a clean water cycle to ensure there are no residues from the manufacturing process.
Understanding the Control Panel
Buttons and Indicators
| Button | Function |
|---|---|
| 1 Cup | Brews a single shot of espresso. |
| 2 Cup | Brews a double shot of espresso. |
| Steam | Activates the steam wand for frothing milk. |
| Milk Temp | Sets the milk temperature: Warm, Ideal or Hot. |
| Milk Foam | Sets the milk foam level: Low, Medium or High. |
Adjusting Settings
The control panel allows you to fine-tune your espresso experience. For instance, you can program the volume of each shot and set the milk temperature and foam level. The brew temperature is fixed.
Grinding and Tamping
High-quality espresso relies heavily on the right grind size and proper tamping technique.
Grinding
Invest in a burr grinder for uniform coffee grounds. The grind size for espresso should be fine, resembling powdered sugar.
| Grind Setting | Description |
|---|---|
| Fine | Essential for espresso; particles are minute. |
| Medium | Too coarse for espresso, suitable for drip coffee. |
| Coarse | Best for French press but not for espresso. |
Tamping
Tamping compresses the coffee grounds into a consistent puck. Use the provided 54 mm tamper and apply about 30 to 40 pounds of pressure evenly, as Breville recommends. This ensures proper water flow through the coffee puck.
Pulling Your First Shot
Now that your machine is set up and your coffee is ground and tamped, it’s time to pull your first shot.
Pre-Infusion and Extraction
Breville Bambino Plus features pre-infusion, where low pressure slowly wets the coffee grounds before full pressure extraction.
- Insert the Portafilter: Lock it securely into the group head.
- Activate the Shot: Press either the 1 Cup or 2 Cup button.
- Observe: Monitor the flow and aim for a shot time between 25-30 seconds. Adjust grind size if the shot is too fast or too slow.
Frothing Milk
Espresso is just one part of café-quality drinks; the other is perfectly steamed milk.
Using the Steam Wand
- Purge the Steam Wand: Always purge before steaming to release any residual water.
- Position and Angle: Submerge the tip just below the surface of the milk.
- Aerate: Open the steam valve and create a whirlpool by adjusting the angle of the jug.
- Heat: Continue until the milk reaches about 150°F (65°C).
Cleaning and Maintenance
Proper maintenance is key for the longevity of your machine.
Daily Cleaning
- Flush the System: Run hot water through the portafilter after each use.
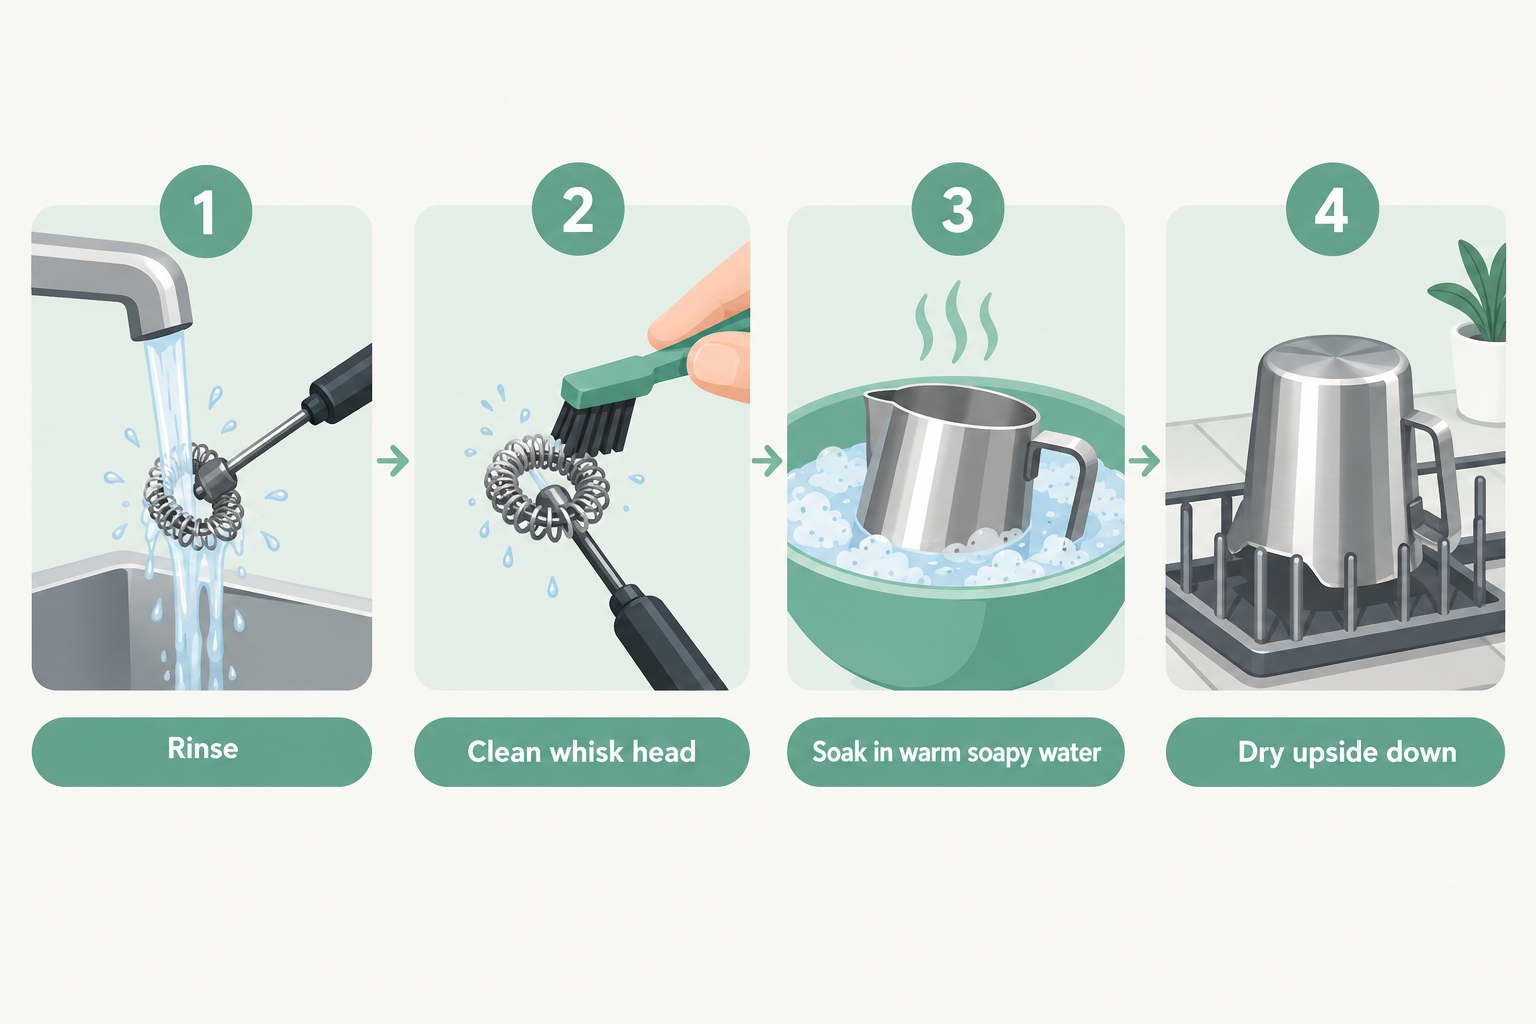
- Clean the Steam Wand: Wipe it down and purge after each use.
Monthly Cleaning
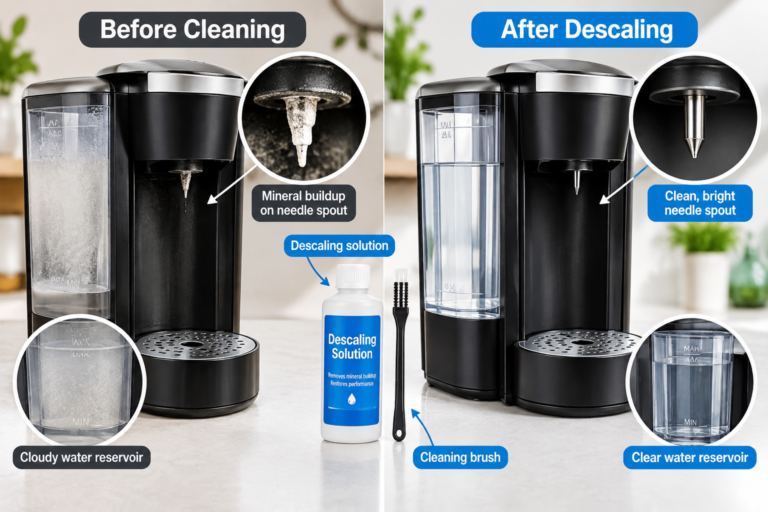
- Descale: Use a descaling agent to clean out any mineral build-ups.
- Deep Clean the Portafilter: Remove and soak the filter basket in a cleaning solution.
Troubleshooting
Experiencing issues is not uncommon, and troubleshooting can often solve the problem.
| Issue | Possible Causes | Solutions |
|---|---|---|
| Weak Coffee | Incorrect grind size or tamp pressure. | Adjust grind finer and apply more tamp pressure. |
| Bitter Coffee | Over-extraction from a grind that is too fine or a dose that is too large. | Grind coarser, trim the dose, or program a shorter shot. |
| Steam Wand Weak | Blockage in steam wand. | Clean and purge the steam wand. |
Advanced Tips
Preheating
Preheat the portafilter and cup to maintain the optimal extraction temperature.
Dual-Wall Filter Baskets
While single-wall baskets give you more control, beginners may find dual-wall baskets more forgiving.
Bambino Plus Button Combos and Hidden Settings
The Bambino Plus has five buttons and no screen, so several functions hide behind button combinations. Everything below comes from Breville’s instruction book for the BES500. If you are still unboxing and want the basic first shot walkthrough, start with our step by step guide to using the Bambino Plus, then come back here for the settings.
| What you want | What to press | What happens |
|---|---|---|
| Preset single shot | 1 CUP once | About 1 oz (30 ml), then it stops on its own |
| Preset double shot | 2 CUP once | About 2 oz (60 ml), then it stops on its own |
| Longer pre-infusion | Hold 1 CUP or 2 CUP | Low pressure pre-infusion runs while you hold. Release to start the shot, press the flashing button to stop it |
| Save a new shot volume | Hold 1 CUP and 2 CUP for 2 seconds, then press 1 CUP (or 2 CUP) to start and again to stop | The machine saves that volume for the button you used |
| Hot water for an Americano | 1 CUP and MILK FOAM together, in ready mode | Hot water runs from the steam wand. Press any button to stop |
| Turn the machine off | 1 CUP and STEAM together | All lights go out |
| Purge the steam wand by hand | Hold STEAM for 5 seconds with the wand lowered | The wand flushes out milk and water |
| Start a cleaning cycle early | From off, hold 2 CUP and STEAM for 5 seconds | Enters cleaning mode before the alert appears |
| Reset shot volumes to factory | From off, hold 1 CUP and 2 CUP for 5 seconds, then press 1 CUP or 2 CUP | A light flashes 3 times to confirm the reset |
The pre-infusion hold is the most useful trick on the list. Freshly roasted beans release a lot of gas, and a few extra seconds of gentle wetting before full pressure helps the puck extract evenly.
Milk Temperature and Foam Levels by Drink
The automatic wand stops steaming when the sensor under the jug reads your chosen temperature. You get three temperature settings (Warm, Ideal, Hot) and three foam settings (Low, Medium, High), and the machine keeps your last choice when you turn it back on.
| Drink | Foam setting | Temperature setting |
|---|---|---|
| Flat white | 1, Low | 2, Ideal |
| Latte | 2, Medium | 2, Ideal |
| Cappuccino | 3, High | 2, Ideal |
| Drink for a child, or one you sip right away | Any | 1, Warm |
| Travel mug for a long commute | 2, Medium | 3, Hot |
Treat the chart as a starting point. Breville notes that different milks and milk alternatives texture differently, so an oat milk that foams up tall on setting 3 may need setting 2. Our cappuccino vs latte guide explains how much foam each drink should carry. Keep the milk between the MIN and MAX lines on the supplied jug, and set the jug flat on the sensor plate or the wand will not read the temperature correctly.
What the Flashing Lights Mean
| What you see | What it means | What to do |
|---|---|---|
| 1 CUP and 2 CUP flash alternately | 200 shots since the last cleaning cycle | Run the cleaning cycle with the cleaning disc and one tablet |
| 1 CUP with STEAM, and 2 CUP, flash alternately for 15 seconds | The machine needs descaling | Run the descale cycle. Pressing a button only hides the alert |
| MILK TEMP and MILK FOAM lights run downward | The steam wand is still raised | Lower the wand so it can purge |
| STEAM light off, MILK TEMP and MILK FOAM lights flashing | The steam wand is blocked | Clear the tip with the cleaning tool and run a steam tip clean cycle |
| 1 CUP, 2 CUP and STEAM all dark | The water tank is low or not seated | Refill to MAX and press the tank flush against the back |
The descale cycle takes the most time of any job on this machine. Breville’s steps have you fill the tank to the DESCALE line with the descaling agent, set a 2 L (68 fl oz) container under the group head and wand, and let the machine work through the solution before refilling with clean water for the rinse. Our coffee machine descaling guide covers how often to do it based on your water.
Dialing In Shots by Flow Time
Breville’s instruction book judges the shot by when the espresso starts to flow, not by the total shot time. With the preset volumes, the coffee should start dripping 8 to 12 seconds after you press the button and pour like warm syrup.
- Flow starts in under 7 seconds: grind finer or add coffee. The shot will taste thin and sharp.
- Drips but will not flow after 12 seconds: grind coarser. The shot will taste bitter and look dark and spotty.
- Dose: 8 to 11 g in the single basket, 16 to 19 g in the double.
- Basket choice: use the single wall baskets with beans roasted within the last 30 days, and the dual wall baskets for pre-ground coffee or older beans.
The grinder decides how far you can take these adjustments. Single wall baskets need a grinder that can make small steps in the fine range, which is why we rank grinders on exactly that in our best espresso grinder guide.
Bambino plus settings: FAQ
How do I reset the Breville Bambino Plus?
Turn the machine off, hold the 1 CUP and 2 CUP buttons for 5 seconds, then press 1 CUP or 2 CUP. A light flashes three times to confirm the shot volumes are back to factory settings.
Can you change the brew temperature on the Bambino Plus?
No, the Bambino Plus has no brew temperature setting. You can change shot volume, pre-infusion length, milk temperature and milk foam, so adjust grind and dose to fix a bitter or sour shot.
Are Bambino Plus parts dishwasher safe?
No, Breville’s instructions say not to clean any of the parts or accessories in the dishwasher. Rinse the baskets and portafilter under hot water after each use and wash the drip tray in warm soapy water. More espresso guides live on the Coffee Rank IQ homepage.
Conclusion
By understanding and mastering each component and function of the Breville Bambino Plus Compact Automatic Espresso Machine, you’ll be well on your way to creating barista-quality coffee beverages at home. From the initial setup to advanced tips, this guide has provided you with all the essential information needed for a superior coffee experience.
Feel free to revisit sections as needed and don’t hesitate to experiment with different settings to find your perfect brew. Happy brewing!
Keep Exploring Coffee Rank IQ
- Coffee Rank IQ home: reviews, brewing guides, and coffee science
- Best Ways To Customize Temperature Settings On The Behmor Brazen Plus Coffee Maker And Improve Your Brewing Experience By Controlling The Extraction Process For A Perfect Cup Of Coffee Every Time
- Best Milk Frother for Lattes at Home: Handheld vs Electric
- What Is a Cafe au Lait? Coffee and Milk the French Way
- Best Milk Frother for Lattes at Home: Handheld vs Electric