Learn Coffee Roasting at Home: A 10 Batch Practice Plan
If you’ve ever been curious about the art of coffee bean roasting and want to explore the best ways to look at this aromatic world, then . This article will guide you through the enticing routine of learning coffee bean roasting, providing you with valuable insights, tips, and tricks to master this craft. Whether you’re a coffee enthusiast seeking to improve your brewing skills or an aspiring coffee roaster, this article is your complete resource for unlocking the secrets of the perfect roast. Get ready to ignite your passion for coffee and start a flavorful adventure like no other.
The fastest way to learn coffee roasting is to roast one green coffee ten times, changing a single variable per batch and logging first crack, drop time, and weight loss. Start with a hot air popper or small home roaster, let each batch rest at least 12 hours, then taste the batches side by side.
Understanding the basics of coffee bean roasting
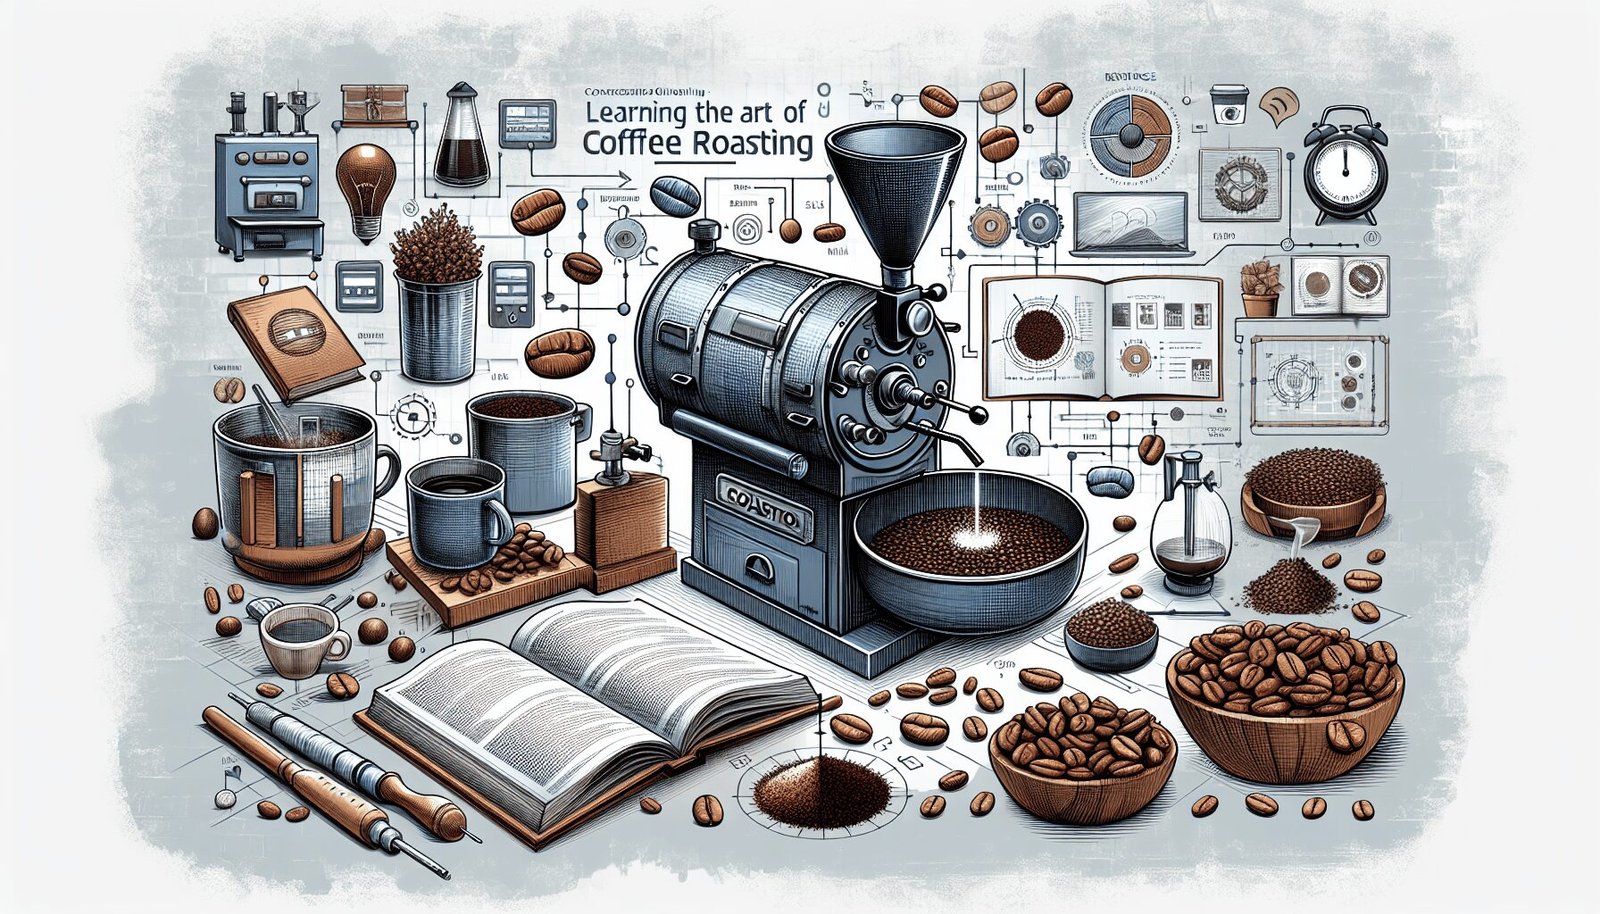
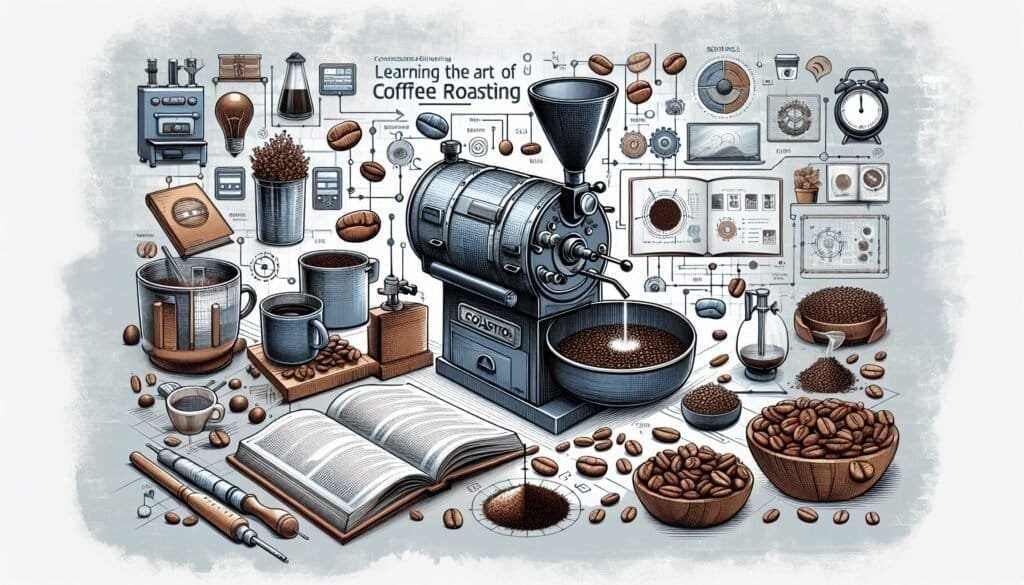
Coffee bean roasting is an art that requires a deep understanding of the process to achieve the perfect cup of coffee. In order to become a master roaster, you must first learn about the different types of coffee beans and the stages of roasting. Also, understanding how the roasting time affects the flavor of the coffee is key in creating that perfect balance of taste.
Different types of coffee beans
Coffee beans are not all the same. There are different varieties and species of coffee beans, each with their own unique flavors and characteristics. Some of the most popular types of coffee beans include Arabica and Robusta. Arabica beans are known for their complex flavors, while Robusta beans have a higher caffeine content and a stronger taste. Exploring different types of coffee beans will allow you to discover new flavors and find your personal favorite.
Stages of coffee bean roasting
Coffee bean roasting occurs in several stages, each with its own distinct characteristics. The first stage is known as drying, during which the moisture is heated and evaporated from the beans. The second stage, known as the browning stage, is when the beans start to change color and develop their aroma. Finally, the beans reach the development stage, where they undergo a chemical reaction that transforms the sugars and acids, resulting in the final flavor profile of the coffee.
How the roasting time affects the flavor
The roasting time plays a critical role in determining the flavor of the coffee. A shorter roasting time will result in a light roast with bright acidity and fruity flavors. On the other hand, a longer roasting time will produce a dark roast with bold flavors and a rich, chocolaty taste. The amount of time spent roasting can greatly influence the flavor profile, making it essential to experiment with different roasting times to find your desired taste.
Getting the right equipment for coffee bean roasting
In order to start your coffee bean roasting routine, you will need the right equipment. There are various options available, depending on your preferences and budget. Two popular choices for home roasters are a home roasting machine and a popcorn popper.
Using a home roasting machine
A home roasting machine is specifically designed for roasting coffee beans. It allows you to control the temperature and time, ensuring a consistent roast every time. These machines often come with different settings for light, medium, and dark roasts, giving you the flexibility to experiment with different flavors. Investing in a home roasting machine can be a great option for those looking for precision and convenience in their roasting process.
Using a popcorn popper
For those on a budget or looking for a more hands-on approach to roasting, a popcorn popper can be a viable option. While not specifically designed for coffee bean roasting, popcorn poppers can be repurposed for this purpose. Pick a hot air popper with a flat bottom and side vents, the design Sweet Maria’s recommends, so the hot air keeps the beans spinning for an even roast. Never leave a popper unattended while it runs. Using a popcorn popper requires a bit more manual control and monitoring, but it can be a fun and affordable way to roast your own coffee beans.
Choosing the right roasting equipment for you
Choosing the right roasting equipment in the end depends on your individual needs and preferences. Consider factors such as budget, level of control desired, and the amount of coffee you plan to roast. If precision and convenience are important to you, investing in a home roasting machine may be the best choice. But, if you enjoy a more hands-on approach and are on a tighter budget, a popcorn popper can be a great alternative. Experiment with different equipment options to find the one that suits you best.
Starting with the Green Beans
Before you can roast coffee beans, you need to start with green beans. Sourcing good quality green beans is essential in achieving a great roast.
Sourcing good quality green beans
Look for reputable sources when purchasing green beans. Specialty coffee shops or online retailers that specialize in green beans are great places to start. It’s important to choose beans that are fresh and high quality to ensure the best flavor. Read reviews, ask for recommendations, and consider experimenting with different origins and varieties to discover unique flavors.
Storing green coffee beans
Proper storage of green coffee beans is key to maintain their freshness and quality before roasting. It’s recommended to store them in a cool, dark place in an airtight container. Avoid exposure to sunlight, heat, and moisture, as these can affect the flavor and aroma of the beans. Also, it’s best to purchase green beans in smaller quantities to ensure they are consumed within a reasonable time frame.
Preparing and measuring green beans
Before roasting, make sure to remove any debris or foreign objects from the green beans. You can do this by hand or by using a screen to sift through the beans. Once the beans are clean, it’s important to measure the desired amount for roasting. A digital scale can be handy for accurately measuring the beans, ensuring consistency in your roasts.
Learning the roasting process
Now that you have your equipment and green beans ready, it’s time to look at the roasting process. Learning the ins and outs of the roasting process is essential in achieving the perfect roast.
Setting the heat
The first step in the roasting process is setting the heat. The temperature at which you roast the beans will greatly impact the flavor profile. It’s recommended to start with a medium heat and adjust as needed. A higher heat will result in a faster roast, while a lower heat will prolong the process. Experiment with different heat settings to find what works best for you and your desired roast.
Monitoring the process
Throughout the roasting process, it’s important to closely monitor the beans. This includes observing the color change, listening for the cracks, and smelling the aroma. Keep an eye on the beans to ensure an even roast and make adjustments as necessary. Paying attention to the details will help you achieve consistent and flavorful roasts.
Listening for the ‘cracks’
One of the key indicators during the roasting process is the crack sound. The first crack marks the point where the beans reach a light roast, and it sounds like popcorn popping. The second crack, which you only reach on darker roasts, is quieter and quicker, a rapid snapping rather than a pop. The cracks signify different stages of the chemical reaction occurring within the beans and can help guide you in achieving your desired roast level.
Cooling and Storing the beans
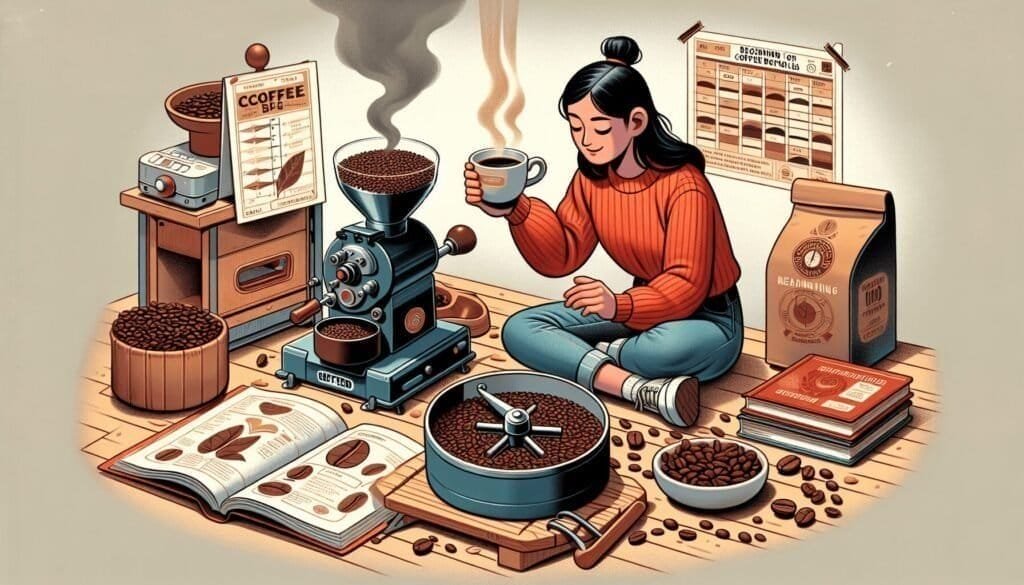
After the beans have reached your desired roast level, it’s time to cool and store them properly to maintain their flavor and freshness.
Proper ways to cool your roasted beans
To cool the freshly roasted beans, you can either transfer them to a colander and toss them gently or use a cooling tray specifically designed for this purpose. It’s important to cool the beans quickly to halt the roasting process and avoid overdevelopment. Once cooled, allow the beans to rest for at least 12 to 24 hours before brewing to allow the flavors to fully develop.
How to store your roasted beans
Proper storage is key in preserving the flavors of your roasted beans. It’s best to store them in an airtight container in a cool, dark place. Avoid exposure to sunlight, heat, and moisture, as these can accelerate the staling process. Most home roasted coffee tastes best within two to four weeks of roasting.
Understanding consumption timelines
Coffee beans have a peak flavor within a certain time frame after roasting. This is often referred to as the consumption timelines. While the exact duration can vary depending on the roast level and bean variety, it’s generally recommended to consume the coffee within two to four weeks after roasting. This is when the flavors are at their best and most vibrant, providing a delightful coffee experience.
Experimenting with roasting profiles
As you become more comfortable with the roasting process, don’t be afraid to experiment with different roasting profiles.
Exploring different roasting times
One way to experiment with roasting profiles is by varying the roasting time. Try roasting a batch for a shorter duration and compare it with a batch roasted for a longer time. By doing so, you can experience the distinct flavors and characteristics that different roast levels bring to the coffee. Take notes and refine your roasting process based on your preferences.
Understanding roasting profiles
Roasting profiles refer to the combination of time, temperature, and heat settings used during the roasting process. Each profile can result in a different flavor profile, allowing you to fine-tune your roasts. Experiment with different profiles, such as varying the temperature throughout the roast or adjusting the heat settings at specific stages. This will expand your understanding of the roasting process and help you develop your own signature roast.
Changing the heat settings
The heat settings during roasting can greatly impact the flavor and intensity of the coffee. It’s worth exploring different heat settings to see how it affects the overall taste profile. Whether you increase or decrease the heat, observe how it influences the flavors and acidity levels. This experimentation can lead to exciting discoveries and a deeper understanding of the roasting process.
Understanding the bean’s first and second crack
The first and second crack are key stages in the roasting process that have a significant impact on the final flavor of the coffee.
What is the first and second crack?
The first crack occurs when the moisture inside the beans turns into steam and creates internal pressure, resulting in a cracking sound. It marks the point where the beans become a drinkable light roast, and the longer you roast past it, the further the flavor moves toward medium. The second crack, which is optional depending on the desired roast level, occurs when the cell structure breaks down further, resulting in a more intense cracking sound.
How to recognize the cracks?
Listening for the cracks during the roasting process requires attentiveness and practice. The first crack is often described as a popping or cracking sound, similar to that of popcorn. It generally occurs at a higher temperature, after the beans have undergone significant drying and browning. The second crack is quieter and quicker, a snapping sound Sweet Maria’s compares to Rice Krispies when you pour milk over them. Being able to recognize these cracks will allow you to determine the roast level and adjust your roasting process accordingly.
Importance of the crack stages
The cracks serve as key indicators of the roast level and help guide the roasting process. They signify the chemical reactions occurring within the beans and provide valuable insights into the flavor development. Understanding the crack stages allows you to control the roast level and achieve the desired flavor profile. Experimenting with different roast levels based on the cracks will open up a world of possibilities in your coffee bean roasting routine.
Cupping and Tasting
Cupping and tasting your freshly roasted coffee is an exciting step in the roasting routine. It allows you to fully appreciate the flavors and aromas that your roasts have to offer.
How to properly cup and taste your roasted coffee
Cupping is a sensory evaluation technique used to assess the flavors and aromas of coffee. To properly cup your coffee, start by grinding the beans to a consistent coarseness. Pour hot water over the coffee grounds in a cupping bowl and let it steep for 3 to 5 minutes, the window used in the Specialty Coffee Association cupping protocol. Break the crust that forms on the surface and gently inhale the aroma. Then, using a spoon, take a sample of the coffee and slurp it loudly to aerate and distribute it across your palate. Pay attention to the flavors, acidity, body, and aftertaste.
Identifying different flavor profiles
Through cupping and tasting, you can identify the many of flavor profiles that coffee has to offer. From fruity and floral notes to nutty and chocolaty undertones, different origins and roasting levels can create diverse flavor profiles. Train your palate to distinguish between the various flavors and understand how they are influenced by the roasting process. This will help you in refining your roasting techniques and creating a distinct coffee experience.
Determining the quality of your roast via cupping
Cupping is not only a way to appreciate the flavors but also a means to assess the quality of your roast. By cupping and comparing different batches or experimenting with different roasting profiles, you can evaluate the consistency, balance, and overall quality of your roast. Take note of any off-flavors or inconsistencies, and make adjustments to your process accordingly. Cupping regularly will enable you to continuously improve your roasting skills and produce exceptional coffee.
Advanced Roasting Techniques
Once you have mastered the basics of coffee bean roasting, you may be ready to explore advanced techniques to further improve your roasts.
Using a profile roasting machine
A profile roasting machine offers precise control over the roasting process. It allows you to create and save profiles with specific time and temperature settings, providing consistency in your roasts. With real-time temperature tracking and the ability to manipulate the heat profile, you can fine-tune every aspect of the roast. Investing in a profile roasting machine can take your roasting skills to the next level and give you more control over the final flavor of your coffee.
Learning about development time ratio
Development time ratio (DTR) is a metric used by expert roasters to measure the duration of the post-crack roast development phase relative to the total roast time. It provides insights into the balance of flavors and allows roasters to adjust this ratio to achieve their desired taste. By experimenting with different DTRs, you can affect the sweetness, acidity, body, and overall complexity of the coffee. Learning about DTR and understanding how it affects the roast will allow you to fine-tune your roasting process and bring out the best in your beans.
Improving your roast with real-time temperature tracking
Monitoring the temperature of the beans during the roasting process is key in achieving consistency and desired roast levels. Real-time temperature tracking allows you to observe and control the roast profile more effectively. By continuously monitoring and analyzing the temperature curve, you can make adjustments in real time, ensuring an even roast and optimizing the flavor development. Real-time temperature tracking is a powerful tool in the hands of a skilled roaster, providing valuable insights and control over the roasting process.
Troubleshooting common roasting issues
Roasting coffee beans is not without its challenges. But, with some troubleshooting techniques, you can overcome common roasting issues and achieve better results.
Dealing with uneven roasts
Uneven roasts can occur due to factors such as improper heat distribution, inconsistent agitation, or variation in bean density. To tackle this issue, consider stirring the beans more frequently or adjusting the heat distribution. You can also try using a different roasting method or equipment that provides better heat circulation. Experiment with different techniques until you achieve a more consistent roast.
Solving under or over roasting
Under or over roasting can result from insufficient or excessive heat, incorrect timing, or misjudgment of the roast level. To address under roasting, increase the heat or extend the roasting time until the desired roast level is achieved. On the other hand, if you find yourself consistently over roasting, try reducing the heat or shortening the roasting time. Take note of the parameters that lead to under or over roasting and make adjustments accordingly to achieve a balanced roast.
Addressing beans that taste too acidic or too bitter
If your beans taste too acidic, it may be an indication of under development during the roasting process. Try extending the roast time or increasing the post-crack development phase to balance the acidity. On the other hand, if your beans taste too bitter, it could signify overdevelopment. Consider shortening the roast time or reducing the post-crack development to mellow out the bitterness. The key is to find the right balance that suits your taste preferences.
In conclusion, coffee bean roasting is a captivating process that requires patience, experimentation, and a deep understanding of the different stages and techniques involved. By learning about the basics of coffee bean roasting, getting the right equipment, starting with high-quality green beans, mastering the roasting process, and experimenting with various profiles, you can develop your own unique style and produce outstanding roasts. With practice and a discerning palate, you can create a cup of coffee that brings joy and satisfaction to your every sip. So, start your coffee bean roasting routine today and open up the endless possibilities of flavor and aroma that await you.
A 10 Batch Practice Plan for Learning to Roast
Reading about first crack teaches you the vocabulary. Roasting the same coffee ten times teaches you the skill. Buy enough of one green coffee for ten small batches, weigh every batch on a coffee scale, and change one thing at a time. Two changes at once and you learn nothing, just faster.
- Batches 1 to 3, the development ladder: same weight, same heat. Drop the beans 60, 90 and 120 seconds after first crack begins. These three bags show you how much the flavor moves in a single minute.
- Batches 4 to 6, the speed test: keep the drop point from your favorite of the first three. Change only how fast you reach first crack: one batch with more heat, one with less. On a home roaster that is the heat or fan setting.
- Batches 7 and 8, the repeat: roast your best recipe twice in a row. If the two batches taste the same on the cupping table, you can repeat a roast, and that is the whole game.
- Batch 9, the edge: go darker on purpose and drop at the first snaps of second crack. You need to know what too far tastes like. Our light roast vs dark roast comparison explains what changes in the cup as you go.
- Batch 10, the reality check: cup your best batch blind next to a bag of similar coffee from a local roaster. Losing is useful information.
Cup every batch after it rests at least 12 hours. Tasting a roast straight out of the cooler tells you mostly about smoke.
What to Write in Your Roast Log
A roast you did not write down is a roast you cannot repeat. The table below uses one example popper batch; the numbers are illustrations, not targets.
| Log field | Example entry | Why it matters |
|---|---|---|
| Green weight | 100 g | Every other number depends on a steady batch size |
| First crack start | 4:00 | The landmark you time everything from |
| Drop time | 5:30 | Total roast time |
| Development time | 1:30 | Time from first crack to drop |
| Development time ratio | 27% | 1:30 divided by 5:30, so you can compare batches of different lengths |
| Roasted weight | 85 g | Weight loss of 15% in this example; darker roasts lose more |
| Tasting notes after rest | Sweet, a bit grassy | The only column that decides your next batch |
To get development time ratio, divide the seconds between first crack and drop by the total roast seconds, then multiply by 100. Weight loss is green weight minus roasted weight, divided by green weight.
Popcorn Popper or Home Roaster: Which to Learn On
| Method | What you control | Best for | Watch for |
|---|---|---|---|
| Hot air popcorn popper | Batch size and drop time | Learning the cracks cheaply | Short roasts, chaff everywhere, needs constant attention |
| Dedicated home roaster | Heat, fan or drum speed, and time | Repeatable roasts and bigger batches | Smoke, so roast near a window or under a vented hood |
| Stovetop pan | Flame and how often you stir | A one time experiment | Scorched spots and uneven color |
If you start with a popper, Sweet Maria’s recommends models with a flat bottom and side vents, batches of about 1/3 to 1/2 cup, and roughly 4 to 7 minutes from light to darker roasts. One line from their guide deserves tape on the wall: never leave the popper while it is roasting.
FAQ
How long does it take to learn coffee roasting?
You can roast a drinkable batch on your first day, but roasting the same coffee the same way twice takes practice and a written log. The ten batch plan above is a realistic first milestone, because by batch eight you are testing whether you can repeat a result, which is what roasters actually do all day.
Can you learn coffee roasting with a popcorn popper?
Yes, a hot air popper with a flat bottom and side vents is the classic way to start. It roasts fast, so you hear first crack within a few minutes and learn the milestones quickly. The tradeoff is limited control, so most people who stick with roasting move to a dedicated home roaster later.
How long should home roasted coffee rest before brewing?
Let home roasted coffee rest at least 12 hours before you brew it, because the beans are still releasing carbon dioxide. Many coffees taste sweeter after a day or two. Keep the rested beans in an airtight coffee storage container away from light and heat, and find brewing guides for your first batches at Coffee Rank IQ.