Gaggia Classic Pro Dial In Guide: Grind, Dose and Shot Fixes
The Gaggia Classic Pro can pull espresso that stands up to a good cafe, but it will not do it on its own. It has three switches, one small brass boiler and no screen to tell you what went wrong. This guide turns the shot you pull now into the shot you want: grind, dose, timing, temperature, and the fix for each mistake.
Gaggia classic pro dial in, in short: To dial in a Gaggia Classic Pro, put 18 grams of fresh, finely ground coffee in the double basket and aim for about 36 grams of espresso in 25 to 30 seconds. If the shot runs fast or tastes sour, grind finer. If it runs slow or tastes bitter, grind coarser. Change one thing per shot.
Gaggia Classic Pro Dial In Guide: Grind, Dose and Shot Fixes
Introduction
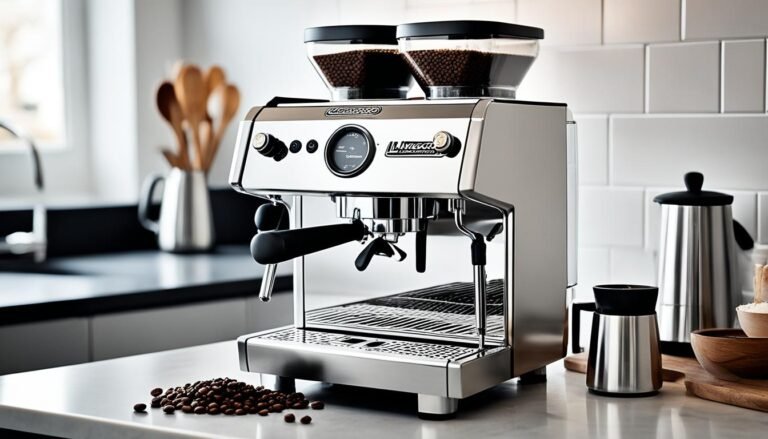
The Classic Pro keeps things simple: a 58 mm portafilter, a commercial style steam wand, and a rocker switch each for power, brew and steam. That simplicity is the appeal, and it puts every variable in your hands.
Why Choose Gaggia Classic Pro?
The Gaggia Classic Pro is one of the most popular home espresso machines on the market, known for its durability and professional-level features. Here’s why it stands out:
| Feature | Benefit |
|---|---|
| Stainless Steel Housing | Brushed steel that handles years of daily use and wipes clean in seconds. |
| Commercial-Grade Components | A 58 mm chrome-plated brass portafilter and group, the size most cafe machines use, so standard baskets and tampers fit. |
| User-Friendly Interface | Three rocker switches for power, brew and steam, plus one steam knob. No menus to learn. |
| 15-Bar Pump | The Ulka pump is rated at 15 bar, and the current E24 model’s pressure valve is set to 9 bar. |
| Quick Heat-Up | The ready light comes on within minutes, though the group needs about 15 minutes to heat through. |
Getting Started
Before looking at the coffee-making process, it’s essential to familiarize yourself with the setup and components of the Gaggia Classic Pro.
Unpacking Your Machine
Upon receiving your espresso machine, carefully unbox it and check that all components are included. The package should contain:
- Gaggia Classic Pro Espresso Machine
- Portafilter
- Single and double shot baskets
- Tamper
- Measuring spoon
Initial Setup
- Placement: Position your machine on a level, stable countertop near a power source.
- Water Tank: Fill the water tank with fresh, cold water. Avoid using distilled or softened water.
- Attach Portafilter: Insert the portafilter into the group head and secure it by turning it to the right.
Priming the Machine
Before making your first espresso, it’s essential to prime the machine:
- Turn On: Switch the machine on with the portafilter locked in and give it about 15 minutes, so the brass group heats through.
- Run Water: Press the brew button to run water through the portafilter and the steam wand. This helps clear any residue and pre-heats the internals.
Mastering the Espresso Basics
Understanding Coffee Beans
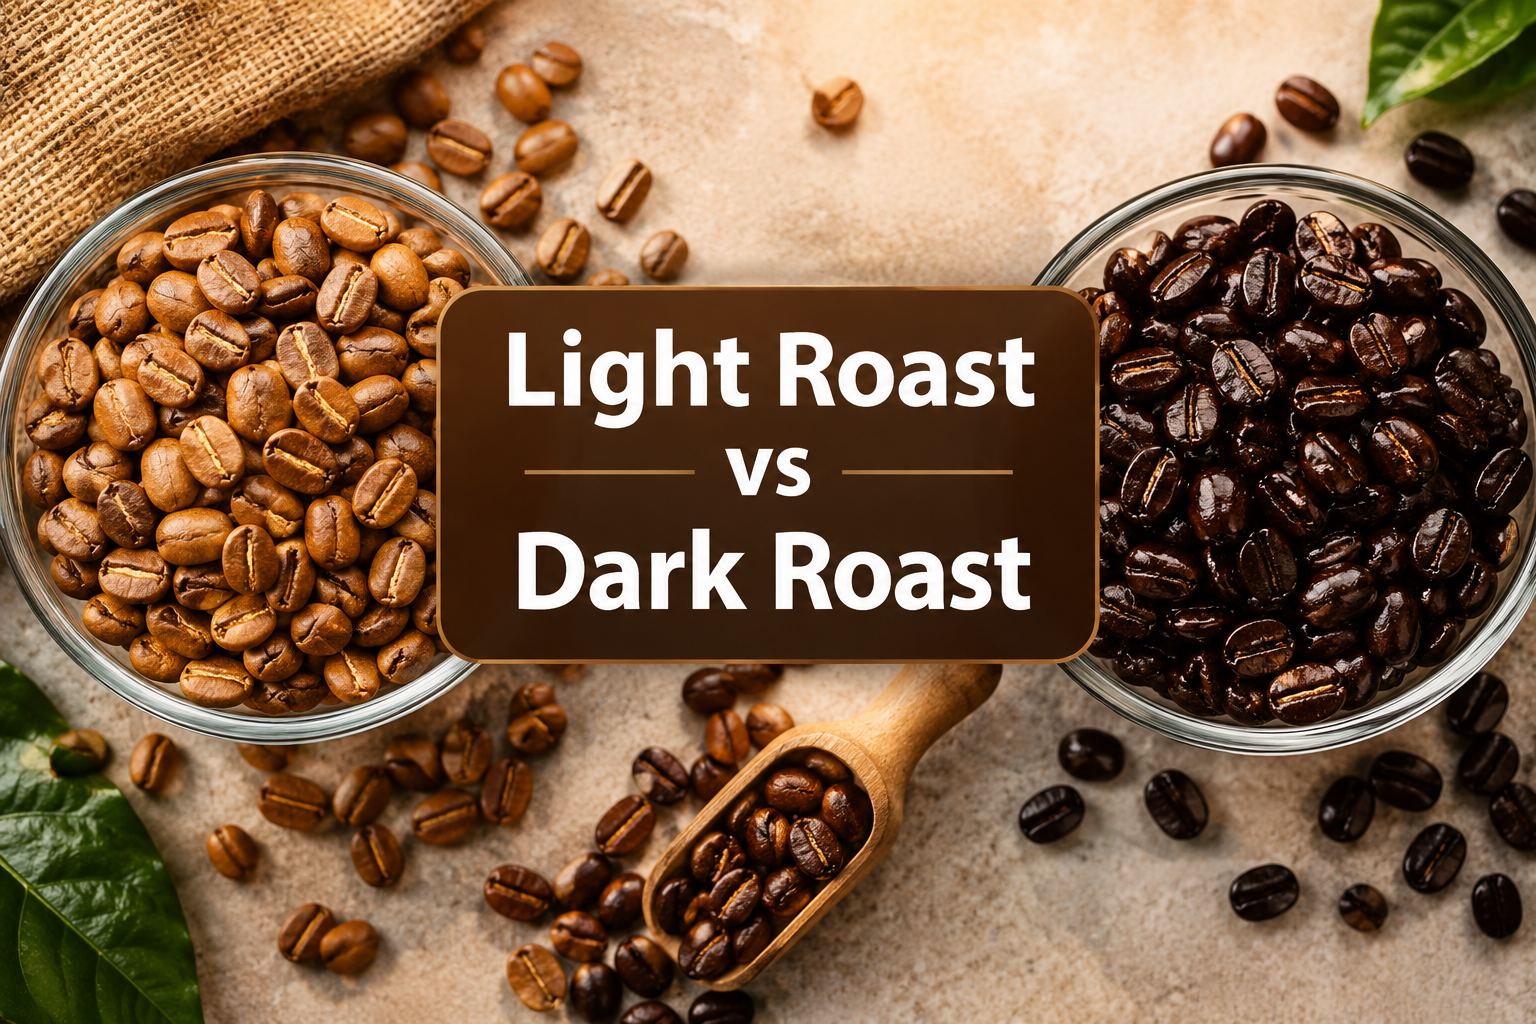
The quality of your espresso largely depends on the beans you use. Opt for high-quality, freshly roasted beans. Here’s how different types of beans can affect your espresso:
| Bean Type | Flavor Profile |
|---|---|
| Arabica | Smooth, slightly acidic, often fruity. |
| Robusta | Strong, bitter, with higher caffeine content. |
| Blends | Balanced flavor, combining the traits of different beans. |
Grinding the Coffee
Grind consistency matters more than any other variable on this machine. Use a burr grinder that can go fine, start a little finer than table salt, and let the shot time tell you where to go next.
Dosing and Tamping
- Dosing: Use approximately 18-20 grams of coffee for a double shot. You can adjust this based on personal preference.
- Tamping: Apply firm, even pressure to compress the coffee grounds in the portafilter. A level tamp ensures uniform extraction.
Brewing Your Espresso
Pre-Infusion
Pre-infusion is a technique that wets the coffee grounds before the full pressure is applied, ensuring an even extraction.
- Load Portafilter: Insert the portafilter into the group head.
- Begin Pre-Infusion: Start the brew for about 2-3 seconds, then stop for 2-3 seconds before continuing the extraction.
Extraction
A standard espresso shot should take approximately 25-30 seconds to extract. Adjust the grind size or dose if your shot takes too long or too short to pour.
| Extraction Time | Issue | Solution |
|---|---|---|
| Under 20 seconds | Sour, thin and pale | Grind finer or check the dose on a scale |
| 25 to 30 seconds | Sweet and balanced | Keep the setting and adjust the ratio by taste |
| Over 35 seconds | Bitter with a dry finish | Grind coarser |
Gaggia Classic Pro E24 Specs That Change Your Shot
New to the machine and still unboxing? Our beginners guide to using the Gaggia Classic Pro covers the first switch-on. This page picks up once you can pull a shot and want it to taste better. The current model is the Classic Pro E24, sold in the US as the Classic Evo Pro, and these are the numbers from Gaggia North America’s product page in September 2026.
| Spec | Classic Pro E24 | What it means at the counter |
|---|---|---|
| Pump | 15 bar Ulka, made in Italy | Plenty of pump. The valve below decides what reaches the coffee. |
| Pressure valve (OPV) | Calibrated to 9 bar | The usual espresso target, so shots are less likely to choke or channel. |
| Boiler | 3.5 oz, lead-free brass, single boiler for brew and steam | Heats fast, swings in temperature, and cannot brew and steam at once. |
| Water tank | 72 oz | Several days of shots for one or two people. |
| Steam wand | Commercial style, 2 holes, rotating | Real microfoam for lattes once you learn the angle. |
| Portafilter | 58 mm | Standard cafe size, so aftermarket baskets and tampers fit. |
| Price | $549 stainless, $599 colors | Gaggia’s own list price, September 2026. |
That 9 bar setting matters if you bought a used machine. Classic Pro units built before the 2023 E24 update left the factory running higher pressure, which is why so many owners fitted a 9 bar valve spring. If your shots gush and spray even with a fine grind, check the model year before you blame the beans.
How to Dial In the Gaggia Classic Pro, Step by Step
Dialing in means finding the grind setting that gives you a set amount of espresso in a set time, then adjusting by taste. Keep the dose fixed and move one thing at a time, or you will never know which change helped.
- Warm it properly. Lock the empty portafilter into the group and leave the machine on for about 15 minutes. The ready light comes on long before the brass is hot all the way through.
- Use the right basket. The pressurized baskets forgive pre-ground coffee. The non-pressurized commercial basket gives you better espresso, but only with fresh beans and a burr grinder that can go fine.
- Weigh 18 grams. Put the portafilter on a scale, zero it, and grind straight in. A level spoon of coffee can vary by a couple of grams, which is enough to move the shot time by several seconds.
- Distribute, then tamp level. Break up clumps with a needle tool or a few taps, then tamp once, firmly and flat. A tilted puck sends water down the thin side.
- Flush the group. Run water from the group head for 2 to 3 seconds before you lock in. It clears old grounds and settles the temperature.
- Pull to weight, not volume. Put your cup on a scale, start a timer as you flip the brew switch, and stop at about 36 grams of liquid. That is a 1 to 2 ratio.
- Read the time. Aim for 25 to 30 seconds. Faster means grind finer. Slower means grind coarser. Change the grinder by one small step per shot.
- Taste, then fine tune the ratio. Once the time sits in the window, sour and thin means pull a little longer, toward 40 grams. Harsh and bitter means stop shorter, toward 30 grams.
Plan on three or four shots for a new bag. The first one is research. Drink the third.
Gaggia Classic Pro Shot Troubleshooting Chart
| What you see or taste | Likely cause | Try this first |
|---|---|---|
| Shot finishes in under 20 seconds, tastes sour | Grind too coarse or dose too light | Grind finer by one step and confirm 18 g on the scale |
| Shot drips for 40 seconds or more, tastes bitter | Grind too fine or basket overfilled | Grind coarser by one step |
| Starts slow, then suddenly gushes pale | Channeling through a crack in the puck | Break up clumps before tamping and tamp level |
| Spray or jets from the bottom of the basket | Uneven distribution or a tilted tamp | Distribute more carefully, check the tamp is flat |
| Thin, pale crema that fades fast | Stale beans or grind too coarse | Use beans roasted within the last few weeks |
| Water leaks around the portafilter ears | Worn group gasket or grounds on the rim | Wipe the basket rim, replace the gasket if it keeps leaking |
| Puck sticks to the shower screen | Too much coffee for the basket | Drop the dose half a gram |
Judge by taste before looks. A shot with modest crema that tastes sweet beats a thick, pretty head that tastes like a burnt match.
Temperature Surfing on a Single Boiler
The Classic Pro has no PID. A thermostat switches the heater on and off, so the water can be a few degrees hotter or cooler depending on when you press the brew switch. Light roasts notice this most.
A simple routine gets you closer to the same temperature every time. Run water from the group until the ready light goes out, which means the heater has kicked in. Wait for the light to come back on, then start your shot within a few seconds. Do the same thing every morning and your shots stop wandering.
Owners who want a fixed temperature fit an aftermarket PID kit. Try the surfing routine for a few weeks first. Most people find it good enough for milk drinks.
Steaming Milk Between Shots
One boiler means one job at a time. Pull the shot first, because espresso waits better than milk foam.
- Flip the steam switch and wait for the steam ready light.
- Point the wand at the drip tray and open the knob for a second to purge water.
- Put the tip just under the surface of cold milk in a metal pitcher and open the knob fully.
- Let it hiss gently while the milk rises, then sink the tip a little to spin the milk until the pitcher is too hot to hold comfortably.
- Close the knob, wipe the wand straight away, and purge again.
Then refill the boiler. Turn the steam switch off, set a cup under the wand, open the knob and flip the brew switch until water flows steadily instead of spitting steam. Skip this and the next shot pulls far too hot. The two-hole tip handles enough milk for a latte or two cappuccinos, and our cappuccino vs latte guide covers how much foam each drink needs.
Weekly Care That Keeps Shots Consistent
- Daily: knock out the puck, rinse the basket, flush the group, and wipe the steam wand after every use.
- Weekly: backflush with water using a blind basket. The Classic Pro has a three-way solenoid valve, which is what makes backflushing possible.
- Monthly: backflush with espresso machine detergent and soak the baskets and portafilter spouts.
- Every few months: descale, sooner in hard water areas. Our coffee machine descaling guide covers schedules and which descalers to use.
- Once a year or so: check the group gasket. If the handle has to swing much further to seal than it used to, the rubber has hardened.
The Grinder Decides How Far You Get
The Classic Pro rewards a good grinder more than any upgrade to the machine itself. With the commercial basket, one small grind step can move the shot time by several seconds, so a grinder with small, repeatable steps saves beans and patience. A blade grinder or a coarse drip grinder will send you straight back to the pressurized basket. Budget for the two together, and see our picks for the best espresso grinder before you buy.
More machine guides, bean picks and brewing science live on the Coffee Rank IQ homepage.
FAQ
What pressure does the Gaggia Classic Pro brew at?
The current Classic Pro E24 brews at 9 bar. Its pump is rated at 15 bar, but the pressure valve is calibrated to 9 bar, according to Gaggia North America. Older units made before the 2023 update ran higher, and many owners fitted a 9 bar spring themselves.
How long should a Gaggia Classic Pro warm up?
Give it about 15 minutes with the portafilter locked in. The ready light comes on much sooner, but the brass group and portafilter need longer to reach a steady temperature, and a cold portafilter pulls a sour shot.
Why is my Gaggia Classic Pro shot running too fast?
A fast shot almost always means the grind is too coarse or the dose is too light. Weigh 18 grams, grind one step finer, and check that you are using the non-pressurized basket with fresh beans. Pre-ground coffee in the commercial basket will run fast at any setting.