Home Barista Setup: What to Buy First, Second, Third
The best home barista setup is bought in the order that changes the cup most per dollar: grinder first or alongside the machine, then a machine matched to the drinks you make, then a 0.1 g scale, then a tamper that fits your basket. Everything after that, from the WDT tool to the knock box, fixes a smaller problem and can wait for payday.
Most people shop the other way round. They spend the budget on a shiny machine, pair it with a blade grinder or a bag of pre-ground coffee, and then wonder why the shots run sour in eleven seconds. The machine gets blamed. The grinder was the problem. This guide puts every purchase in order, explains what each one fixes, and shows three complete builds for different kitchens and different levels of obsession.
Quick Answer
Build a home barista setup in this order: an espresso-capable burr grinder, a machine that fits your drink habits, a scale that reads to 0.1 g, and a tamper sized to your basket (51, 54 or 58 mm). Add a WDT tool, a milk pitcher, a knock box and a puck screen later. A home barista setup with a strong grinder and a modest machine beats an expensive machine fed by a weak grinder every morning.
Home Barista Setup Buying Order at a Glance
| Order | Item | What it fixes | The spec that decides it |
|---|---|---|---|
| 1 | Espresso burr grinder | Shots that gush, choke or taste random | Fine steps in the espresso range, low retention |
| 2 | Espresso machine | Temperature swings, weak steam, slow workflow | Basket size, boiler type, steam power for milk drinks |
| 3 | Scale with 0.1 g resolution | Guessing your dose and yield | 0.1 g readout, built-in timer, fits on the drip tray |
| 4 | Tamper that fits the basket | Channeling from a loose, tilted tamp | Diameter matched to the basket, usually within 0.5 mm |
| 5 | WDT tool | Clumps that cause spurting and uneven extraction | Fine needles, around 0.3 to 0.4 mm |
| 6 | Milk pitcher | Overflowing or thin microfoam | 12 oz for one drink, 20 oz for two |
| 7 | Knock box | Spent pucks in the sink and the trash | Sized to how many shots you pull a day |
| 8 | Puck screen | A dirty shower screen, uneven water at the top of the puck | Diameter matched to the basket |
| 9 | Water treatment | Scale buildup and flat, chalky shots | Hardness and alkalinity near the SCA target |
Water targets from the Specialty Coffee Association coffee standards; WDT history from the Daily Coffee News interview with John Weiss.
Step One: The Grinder Comes First in Any Home Barista Setup
Espresso is the least forgiving brew method you can choose. Hot water passes through a compact puck of coffee at roughly 9 bars of pressure for about half a minute, and the grind size decides how fast it flows. Move the grind one notch and a 28 second shot becomes a 20 second shot. A drip grinder or a blade grinder cannot hit that window and hold it, so the machine never gets a fair chance.
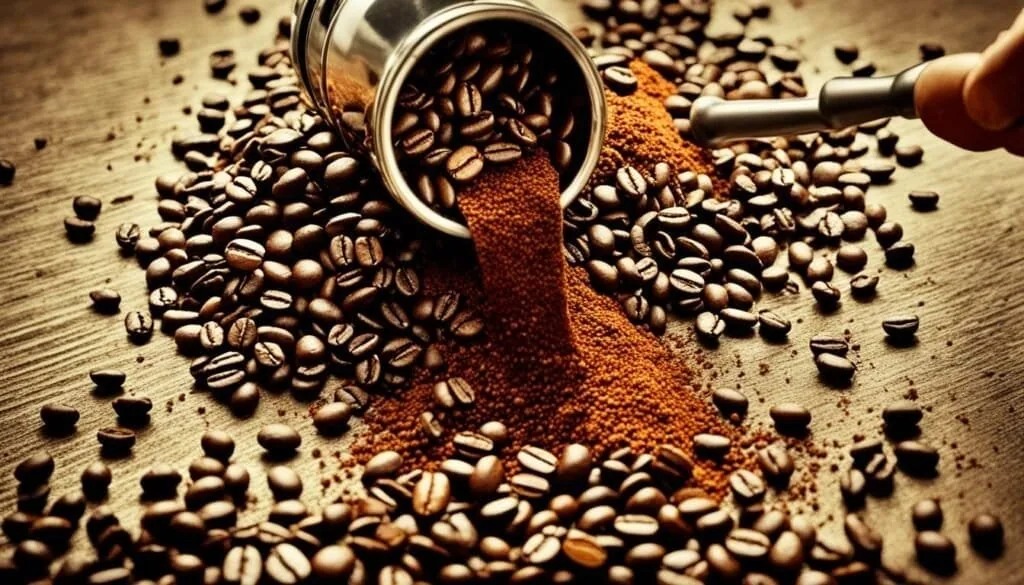
What you want is a burr grinder built with espresso in mind: small, repeatable steps in the fine range, burrs that stay aligned, and a chute that does not hoard yesterday’s grounds. Stepless grinders let you set any point on the dial. Stepped grinders work too, provided the steps are close together where espresso lives. Our best espresso grinder guide ranks models by that exact spec.
If the budget only allows one good purchase this month, make it the grinder. A strong grinder makes a cheap machine sound talented. A weak grinder makes an expensive machine sound broken. And a good espresso grinder usually outlives two or three machines, because burrs are a replaceable part and motors rarely die.
Electric or hand grinder?
A hand grinder with espresso-grade burrs can match electric grinders costing far more. The trade is time and effort: grinding 18 g of a light roast fine enough for espresso takes real arm work, and you will feel it on a sleepy Monday. Choose a hand grinder if you pull one or two shots a day, live in a small apartment or travel with your coffee. Choose electric if you make drinks for two or more people, or if you want the routine to happen while you get the cups down.
Step Two: Match the Machine to the Drinks You Make
The right machine depends far more on your drink list than on any bar rating printed on the box. Start with one honest question: how many milk drinks do you make in a row?
- Mostly straight espresso or Americanos. A single boiler machine is plenty. You get stable brew temperature and spend the savings on the grinder.
- One milk drink at a time. A single boiler or thermoblock machine works, with a short wait while it switches to steam temperature.
- Two or more milk drinks back to back. Look at heat exchanger or dual boiler machines, which brew and steam at the same time. The extra cost buys you a calm morning instead of a waiting game.
Basket size is the second decision, and it locks in your accessories. Breville’s compact machines, including the Bambino line and the Barista Express, use 54 mm portafilters. The DeLonghi Dedica uses 51 mm. The Gaggia Classic Pro and most prosumer machines use 58 mm, the commercial standard with the widest choice of baskets, tampers and puck screens. None of these is wrong, but knowing the number before you shop prevents a drawer full of accessories that do not fit.
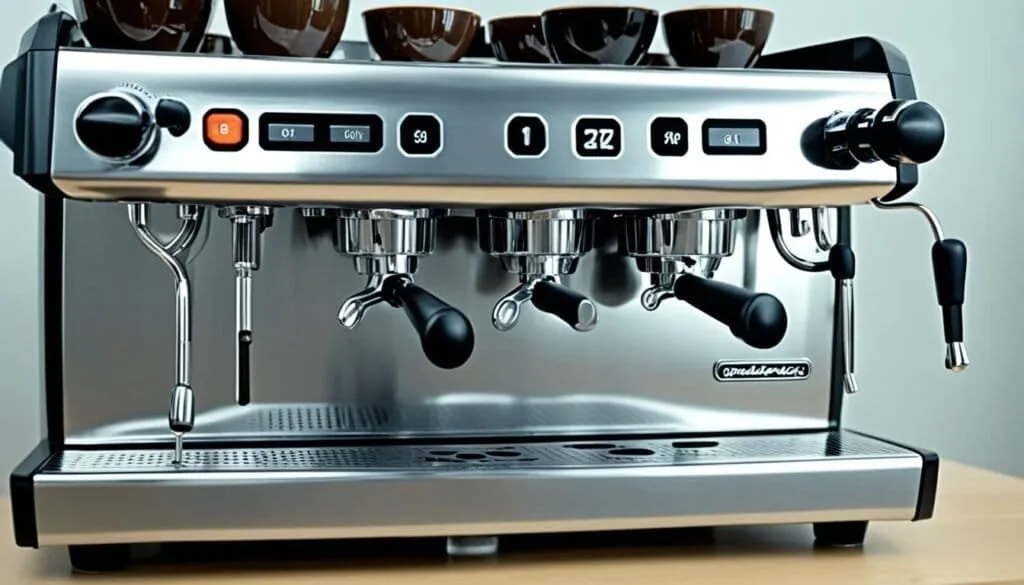
Ignore the big pressure numbers. Many pump machines advertise 15 or 20 bars, while espresso has traditionally been brewed at around 9. Look for temperature stability, steam power if you drink milk, and a portafilter that accepts a standard non-pressurized basket. Our best espresso machine for beginners guide sorts machines by how forgiving they are while you learn. If you make two or three milk drinks most mornings, the Breville Bambino Plus espresso machine fits that brief: it heats in seconds and textures milk with an automatic steam wand.
Step Three: A Scale That Reads to 0.1 g
A scale is the cheapest upgrade in this list and the one that turns guessing into a recipe. Most espresso recipes start around 18 g of ground coffee in the basket and 36 g of liquid espresso in the cup, pulled in about 25 to 30 seconds. That 1:2 ratio is the starting line, not a law, but you cannot adjust a recipe you never measured.
Resolution is the spec to check. On an 18 g dose, a 1 g error is more than 5 percent of the coffee, enough to change how fast the shot runs and how it tastes. A kitchen scale that reads in whole grams hides that error. An espresso scale reads to 0.1 g, starts a timer when the first drops land on some models, and is small enough to sit on the drip tray under the cup. Our best coffee scale guide covers models with built-in timers, and the how to dial in espresso guide shows what to change when the numbers drift. One example built for the job is the Timemore Basic 2.0 coffee scale, which adds a built-in timer and a water flow rate readout.
Step Four: A Tamper That Fits the Basket
The plastic tamper that comes in most boxes is usually a millimeter or two narrower than the basket. That gap leaves a ring of loose coffee around the edge, and water rushes through it. A tamper matched to your basket presses the whole bed evenly. For 58 mm baskets, a 58.5 mm tamper is a popular match because baskets run a touch wider than their nominal size.
Flat or spring-loaded is a matter of habit. A calibrated spring tamper takes pressure out of the equation, which helps if your tamp changes from one morning to the next. A flat tamper with a good handle is cheaper and works just as well once you learn to press level. Our espresso tamper sizes guide lists the right diameter for popular machines.
Steps Five to Nine: The Accessories That Fix Smaller Problems
5. WDT tool
Fine espresso grounds clump, and clumps create dense spots and empty pockets in the puck. Stirring the grounds in the basket with thin needles breaks them up. John Weiss shared the method on a home espresso forum back in 2005, and it has spread from a paper clip and a cork to purpose-built tools with fine needles. It is a small purchase that fixes spurting shots fast. See our WDT tool guide.
6. Milk pitcher
If you drink lattes or cappuccinos, a stainless pitcher with a defined spout is the difference between foam and microfoam. Size it to the drink: a 12 oz pitcher suits one cappuccino or small latte, and a 20 oz pitcher handles two drinks or one large latte. The full sizing math sits in our milk frothing pitcher size guide.
7. Knock box
A knock box gives spent pucks somewhere to go besides the kitchen trash, where they leave a brown streak every time. It earns a spot on the counter once you pull more than a shot or two a day.
8. Puck screen
A thin metal disc on top of the puck keeps the shower screen cleaner and spreads incoming water more evenly. The cleaning benefit is clear; the flavor benefit depends on your machine. Read our puck screen guide before you buy one, and match it to your basket diameter.
9. Water
Water is around 90 percent of an espresso and decides how fast scale builds up inside the boiler. It gets its own section below, because it changes both the taste and the lifespan of the machine.

Three Sample Home Barista Setup Builds
These builds are described by category with named examples, so you can swap in models that fit your kitchen. Prices move constantly, so check the current price on each piece before you commit.
| Build | Machine example | Grinder example | Add these first | Who it suits |
|---|---|---|---|---|
| Weekday cappuccino | Breville Bambino Plus (54 mm, automatic milk texturing) | Baratza Encore ESP (electric, espresso-focused range) | 0.1 g scale, 54 mm tamper, 12 oz pitcher | One or two milk drinks before work |
| Shot hobbyist | Gaggia Classic Pro (58 mm, commercial-style steam wand) | A single dose grinder such as the DF64 | Scale with timer, 58.5 mm tamper, WDT tool, puck screen | Straight espresso, lots of dialing in |
| Small kitchen | DeLonghi Dedica (51 mm, slim body) | An espresso-grade hand grinder such as the Kingrinder K6 | Drip tray scale, 51 mm tamper | Apartments, one shot a day |
The weekday cappuccino build spends on convenience. The Bambino Plus heats in a few seconds and textures milk on its own, which is the feature that gets used at 7:10 on a Tuesday. The Encore ESP gives you an espresso range with finer steps than the standard Encore, so dialing in feels possible instead of frustrating.
The shot hobbyist build spends on the grinder and accepts a simpler machine. The Gaggia Classic Pro is a single boiler with a 58 mm group, so every tamper, basket and puck screen on the market fits it. Pair it with a single dose grinder and you have a setup that can grow with you for years. Our espresso grinder rankings include single dose options at several budgets.
The small kitchen build spends on space. The Dedica’s slim footprint fits beside a toaster, and a hand grinder disappears into a drawer between uses. You give up some steam power and workflow speed, which is a fair trade for a counter you can still use.
What to Skip in a Home Barista Setup
- Pressurized baskets as a long-term plan. Dual-wall baskets create pressure with a tiny exit hole, which hides a poor grind but also caps the flavor you can get. They are training wheels. Move to a standard basket once your grinder can handle it.
- A tamping mat, tamping station and matching tray before a scale. They look tidy in photos. A scale changes the cup; a mat protects the counter.
- Distribution tools that spin on top of the coffee before you own a WDT tool. Leveling the surface does less than breaking up clumps through the full depth of the basket.
- Accessories in the wrong size. A 58 mm puck screen does nothing for a 54 mm basket. Confirm the diameter first.
- Machine upgrades to fix a grinder problem. If shots are inconsistent from one to the next, the machine is rarely the cause.
As an Amazon Associate, Coffee Rank IQ earns from qualifying purchases.
Water and Maintenance
The Specialty Coffee Association’s water standard targets total dissolved solids around 150 mg/L (acceptable from 75 to 250), calcium hardness around 68 mg/L (acceptable from 17 to 85), total alkalinity at or near 40 mg/L, a pH near 7, and no chlorine. Very hard tap water scales the boiler and dulls acidity. Very soft or distilled water can taste flat and may confuse machines that sense water level through conductivity.
Start with a cheap test strip or your local water report. If your water is hard, a filter pitcher or an in-tank filter cartridge helps, and some home baristas build their own water from distilled water and mineral packets. Our coffee machine descaling guide covers how often to descale based on hardness and what to use.
Daily care for any home barista setup takes a minute: knock out the puck, rinse the basket, purge the group head, and wipe and purge the steam wand right after every milk drink. Weekly, soak the portafilter and baskets in a coffee equipment cleaner. If your machine has a three-way solenoid valve, backflush with a blind basket as the manual directs. Brush out the grinder chute and burrs every few weeks so stale oils do not flavor the next shot.
Myths and Mistakes
- “More bars means better espresso.” Pressure ratings on the box describe what the pump can reach, not what the shot needs. Around 9 bars at the puck is the classic target.
- “Press as hard as you can.” A consistent, level tamp matters more than force. Once the coffee is fully compressed, extra pressure changes very little.
- “Any fresh beans will do.” Supermarket beans with no roast date often taste stale and flat as espresso. Buy from a roaster that prints the roast date, and give espresso beans several days of rest after roasting.
- “Timing alone tells you the shot is right.” Time is a clue. Taste and the weight in the cup decide. A 28 second shot that tastes sour still needs a change.
- “Buy everything at once.” Buying in stages lets you learn which problem you are solving. You will spend less and own fewer gadgets you never touch.
If you are building out the rest of the kitchen, browse the brewing, grinder and bean guides at Coffee Rank IQ to pick the next piece with the same buying order in mind.
How to Set Up Your First Morning
- Weigh 18 g of beans and grind them at a fine starting setting your grinder’s manual suggests for espresso.
- Stir with the WDT tool if you own one, then tap the portafilter once to settle the bed.
- Tamp level with the fitted tamper until the coffee stops compressing.
- Lock in, put the cup on the scale and start the shot. Stop at about 36 g.
- Check the time. Under 20 seconds and sour, grind finer. Over 35 seconds and bitter, grind coarser. Change one thing at a time.
- Taste, then adjust. Write down the dose, yield and time that worked so tomorrow starts from there.
The Verdict
A good home barista setup is a sequence, not a shopping spree. Put the grinder first, choose a machine for the drinks you make, then add a 0.1 g scale and a tamper that fits. Those four pieces produce the biggest jump in flavor. The WDT tool, pitcher, knock box, puck screen and water treatment arrive one at a time, each one fixing a problem you have already noticed. Buy in that order and every purchase feels like progress instead of clutter.
Home Barista Setup FAQ
Keep reading
- Best Espresso Grinder: The Spec That Decides Your Shot
- Best Espresso Machine for Beginners
- How to Dial In Espresso: Grind, Ratio, Time, and Taste
- WDT Tool: The Fix for Clumpy Espresso Grounds
- Coffee Machine Descaling: How Often and What to Use
Start from the Coffee Rank IQ homepage for more guides.
Home Barista Setup: The Short Version
Build your home barista setup around the grinder, then a machine sized to your drinks, a 0.1 g scale and a tamper that fits the basket. Add the WDT tool, pitcher, knock box, puck screen and water treatment one at a time. A home barista setup bought in this order improves the cup with every purchase.